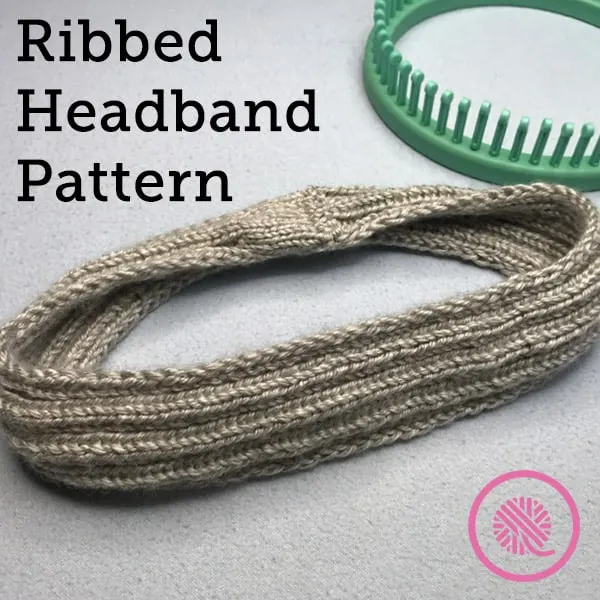
Inside: Easy Ribbed Headband pattern includes tips for custom sizing, written instructions and tutorial video.
“Get your hair out of your face!”
I think every mother has said it. More than once.
Girl, you need a headband!
The easy ribbed headband pattern below can keep the flyaways at bay. The ribbing makes a wonderfully stretchy fabric. I also included a slipped stitch edge that gives the headband a finished look.
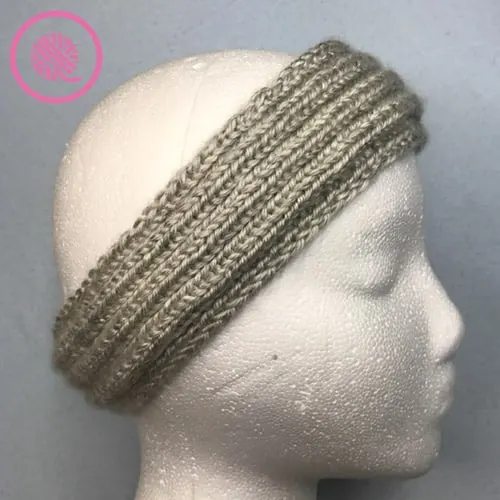
Featuring a simple 2 x 2 ribbed stitch you can customize this pattern for virtually any size head from child to adult. But that’s not all!
Not a fan of 2 x 2 ribbing? No problem. I’ve included recommended cast on numbers for other ribbing stitch patterns. For more info on ribbed stitch patterns click on over to my blog post about easy loom knit stitch patterns!
Designed with the beginner loom knitter in mind the instructions are written clearly with no abbreviations. I’ve also got a tutorial video for my visual learners to see exactly how to work the stitch pattern.
Need a loom knitting refresher? No problem!
Questions for Beginner Loom Knitters
How to Loom Knit – Basics
How to Loom Knit – Stitch Patterns
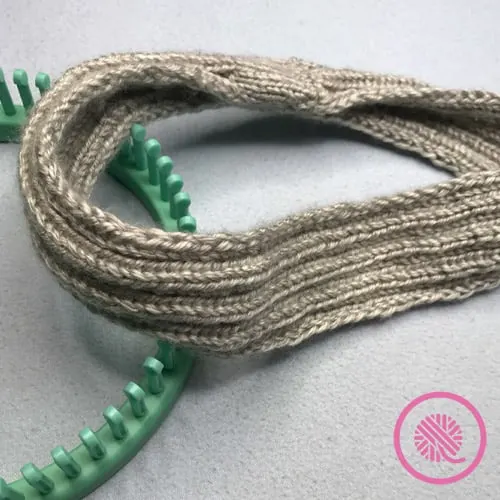
Easy Ribbed Headband Pattern
By Kristen Mangus
Cozy and cute! This Ribbed Headband is simple enough for a beginner loom knitter to make. The versatile pattern is loom knit on a small gauge (SG) loom with just 18 pegs. Warm enough to keep the chill off your ears in winter, but lightweight enough to wear year round. Knit one up today!
The pattern includes written instructions, and a video link to GoodKnit Kisses’ YouTube channel to show you all the skills you need to make this project.
MATERIALS
(Materials list may contain affiliate links to products I used to make this project. Using these links costs you nothing, but helps support GKK.)
Yarn: Medium (#4) weight yarn
Lion Brand Heartland in color Katmai used in sample.
(5 oz/142 g / 251 yds/230 m).
Loom: ⅜” small gauge (SG) loom with at least 18 pegs
Knitting Board Premium Round Loom used in sample
Tapestry needle
Measuring tape
GAUGE
8.5 sts x 7 rows = 1” (2.5cm) in 2 x 2 ribbing
SKILL LEVEL Beginner
MEASUREMENTS
Approx. 2” wide x 21.5” long* (5 x 54.6 cm)
*Finished headband should measure 2-2.5” less than head circumference of wearer.
NOTES
Cast on: I recommend the chain cast on or E wrap flat cast on.
Bind off: I recommend the basic bind off “in-pattern”. Bind off as you would continue the pattern in a knit or purl for that row. For seed stitch alternate knit and purl.
Flat knit: I recommend using the flat knit stitch in this pattern.
Slip stitch: To slip a stitch bring the working yarn behind the peg and move on the next peg.
Ribbing: 2 x 2 ribbing (knit 2, purl 2) is used in this pattern. You may substitute another ribbed stitch pattern then adjust your stitch count as follows:
| Ribbing Pattern | Cast On Stitches | Finished Width |
| 1 x 1 | 19 | 2.5” (6.3 cm) |
| 2 x 2^ | 18 | 2” (5 cm) |
| 3 x 3 | 21 | 2.5” (6.3 cm) |
| 3 x 1 | 18 | 3” (7.5 cm) |
^ 2 x 2 ribbing instructions are listed below.
Headband length: Measure the circumference of the head then subtract 2-2.5” (5-6.3 cm). Knit to this length.
INSTRUCTIONS
(using 2 x 2 ribbing)
Cast on 18 stitches.
Stockinette Stitch
Row 1: Knit across.
Repeat Row 1 10 times. (About 1”/2.5 cm)
Ribbing
Row 2: Slip 1, knit 1, *purl 2, knit 2. Repeat from * to end of row.
Repeat Row 2 to desired length. (Sample knit to 21.5” or 148 rows.)
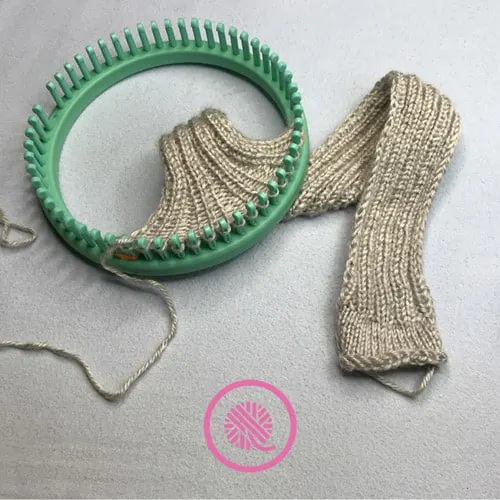
Bind off in pattern leaving long tail for seaming.
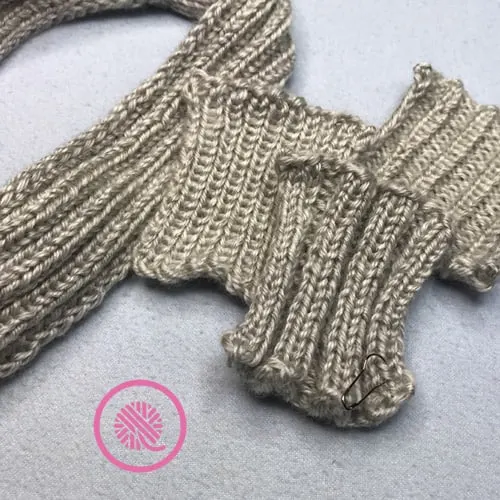
From wrong side sew ends together without twisting the headband.
On wrong side sew selvedge (side) edges together for about 1” along stockinette section.
Weave in ends.
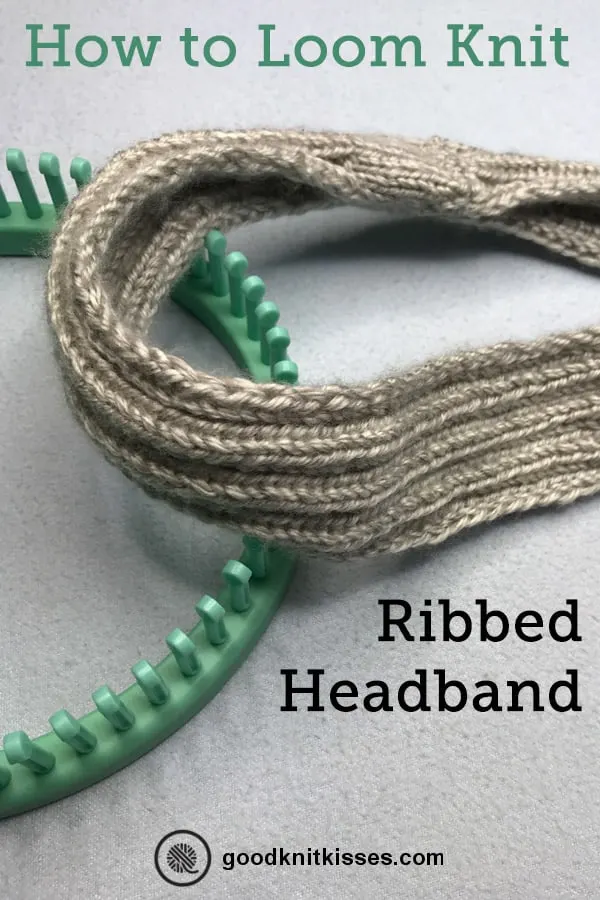
How to Loom Knit Ribbed Stitch Patterns Video
Try these other patterns just for beginner loom knitters:\
Easy Garter Stitch Patterns for Beginners
Easy Seed Stitch Patterns for Beginners

