Inside: Crochet crab stitch border instructions, tips and video tutorial.
You just finished pulling the last loop through your hook. You look down at your finished blanket and think, “It needs a little something more.”
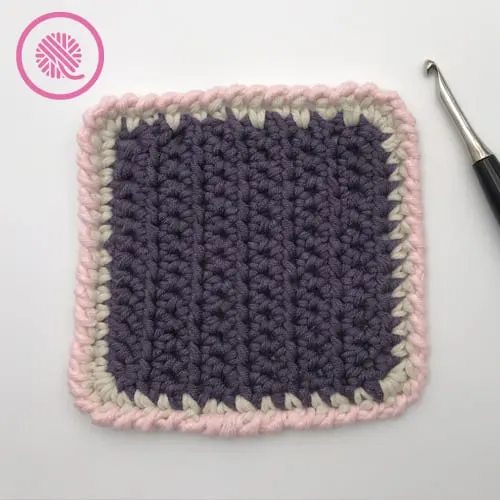
What it needs is a crab stitch border to give the edge a finished look.
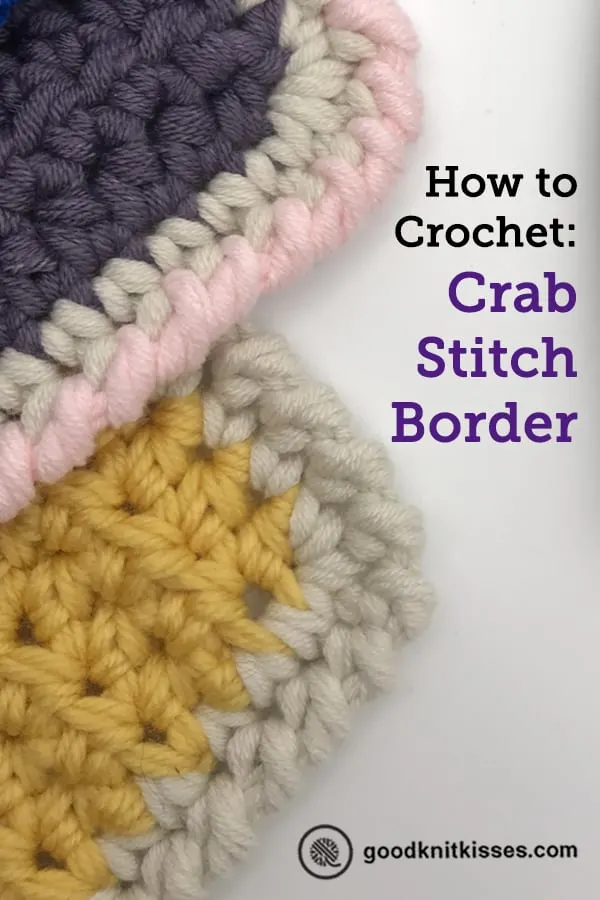
The crab stitch is a unique crochet edging that adds a bumpy rope-like texture to almost any crochet project. It’s unique because you work the stitch backwards.

When you’re first learning the stitch it seems like your crochet hook (not to mention your brain) are twisted into the wrong position. But don’t worry, I’ve got plenty of tips for you in my tutorial video to walk you through the stitch one step at a time.
This border works best when worked after a full round of single crochet stitches. When adding this edge to an existing project it’s best to work one full round of sc before adding the crab stitch.
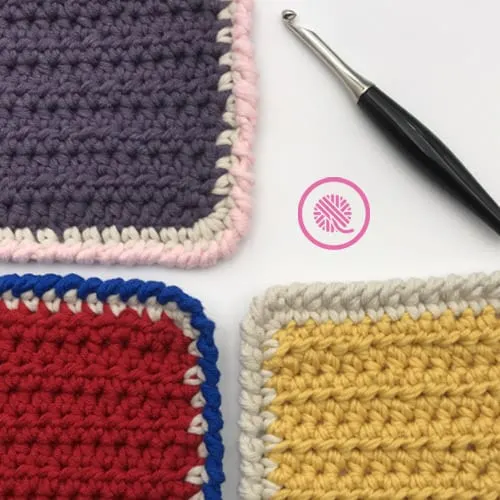
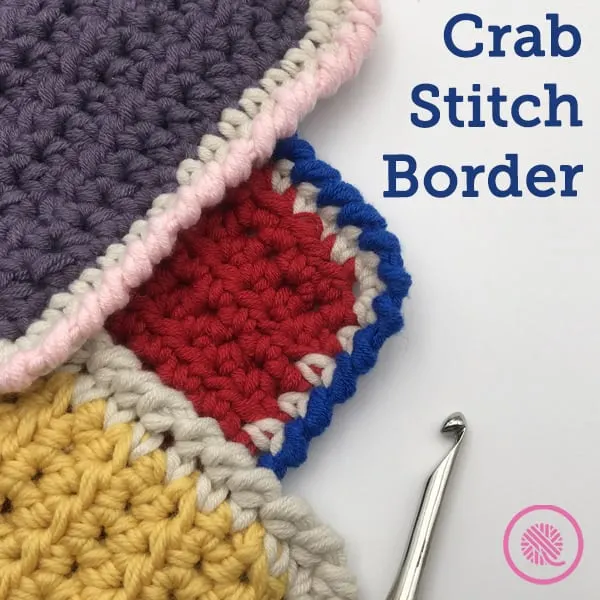
The crab stitch is a narrow knotted border. Work it in the same color as your single crochet round for a wider border. Or crochet it in a contrasting color to make it stand out.

Also, it’s important to know that the heavier the yarn you use the more pronounced the crab stitch bumps appear on your finished project.
If you need a crochet refresher, be sure to check out my How to Crochet series!
Crochet Crab Stitch Instructions:
Before your begin, if you are adding this border to a flat panel crochet project add a full round of single crochet stitches all the way around the edge working 3 sc sts into each corner. This will give you a solid round of stitches to work the crab stitch on.
If you’re working in the round you can work this border into stitches or across chains.
NOTE: This stitch is worked in the OPPOSITE direction you typically crochet. However, you will still be holding your hook like you normally would. Right handers you’ll be working toward the right; lefties work toward the left.
- Attach yarn (if not already attached) with a slip knot.
2. Put your crochet hook through the stitch BEFORE the current stitch. (Instead of the stitch toward the tip of your hook it will be the one toward the handle.) TIP: Point your hook straight down and angle it through the stitch.
3. Pull a loop through the stitch then twist the hook back to your normal working position. Be sure to keep your tension loose so the border doesn’t pucker the edge of your work.
4. Yarnover and pull through both loops on your hook.
Repeat these steps all the way around and slip stitch to first st. If you already added 3 sc stitches to each corner you do not need to add any additional stitches.

Crochet Crab Stitch Video Tutorial
Select videos are available to GoodKnit Kisses YouTube members only. To get exclusive access to GKK VIP-only content, free PDF patterns, weekly Zoom meetup and more, sign in to YouTube and join as a VIP Member today! Find out more about GKK Membership HERE!


Michele
Wednesday 27th of April 2022
I'm left handed so it's so it's so nice to see tutorials showing how I will do them. Thanks again.
Trish
Monday 23rd of November 2020
Thank you for this Crab Stitch Tutorial. I have tried this stitch before but it didn't seem to have a really special look to it. I tried it on a dishcloth for myself so it didn't really matter but I felt disappointed with it. But now that you have given us the secret .... do a full round of single crochet stitches BEFORE beginning the crab stitch....I can see the difference it makes! Also, thank you for the tid-bit about using a heavier yarn for the Crab-stitch finishing. I think I'll try a coaster for practice and instant gratification because it's small/quick finish. It's so nice to have someone like you to give us something up-lifting in these dreary days of Covid 19 restrictions.