Inside: Learn to loom knit a twisted headband with this free pattern including written instructions, diagrams and full loom-along tutorial videos for both right and left handed loom knitters.
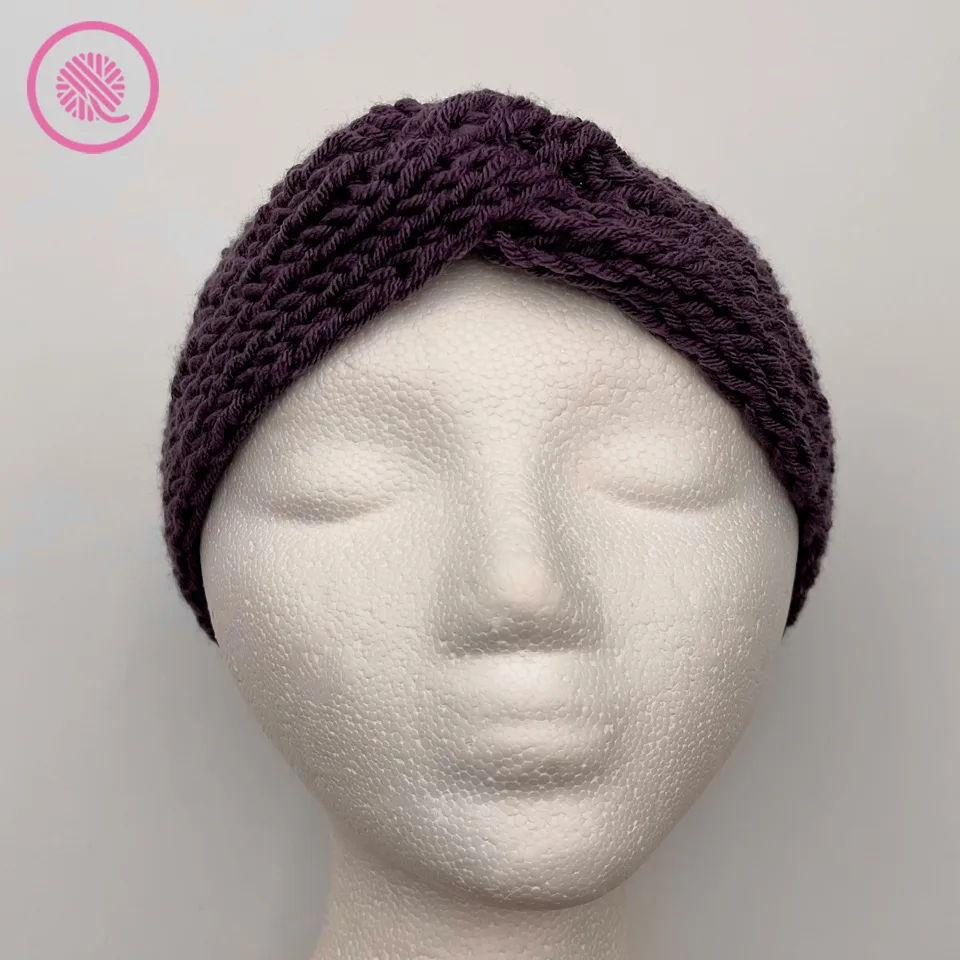
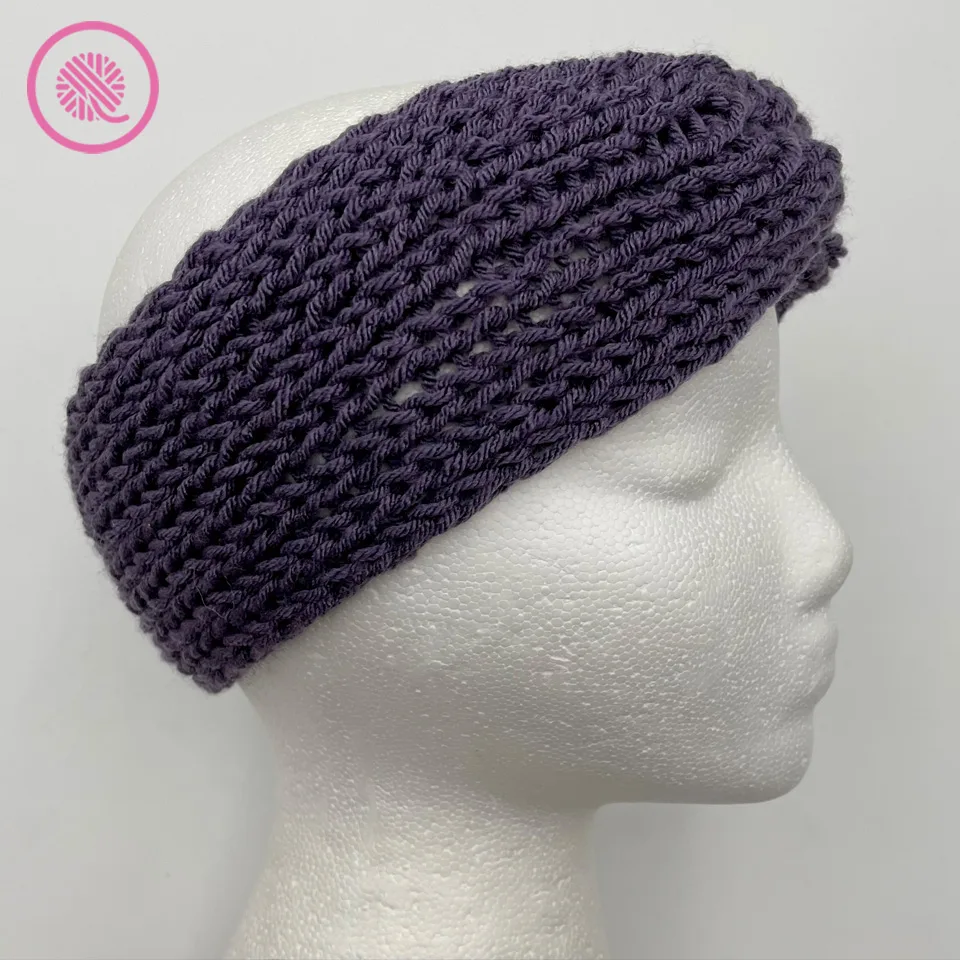
Let’s twist again! The Twisted Headband is double knit then seamed to create the decorative front. This headband is warm enough to use as a winter ear warmer but also light enough to use as a hair accessory. It features the duplicate zigzag stitch which loom knits up quickly and makes a perfectly stretchy fabric.
Pattern includes written instructions, diagrams, and links to fully captioned tutorial videos for both left and right handed loom knitters.
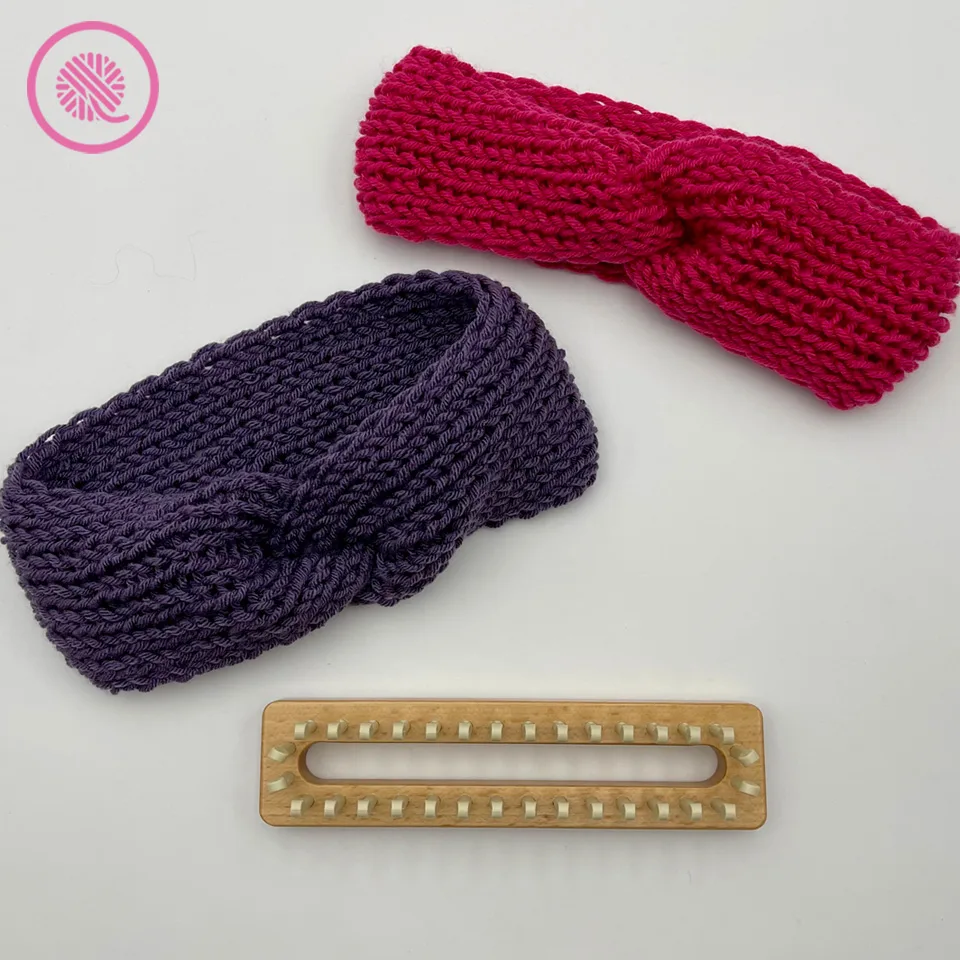
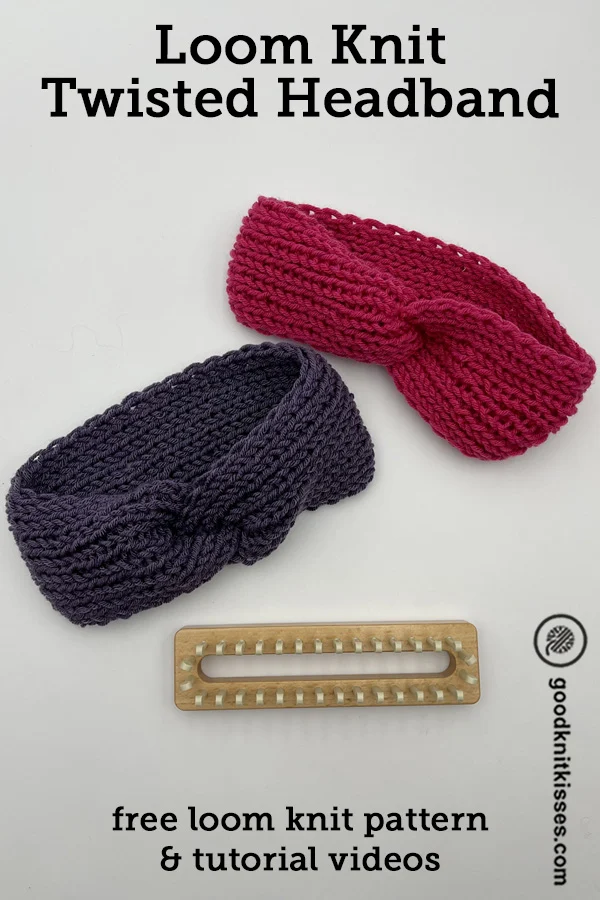
Loom Knit Twisted Headband
By Kristen Mangus
A downloadable PDF of this pattern is available in my Etsy store or from Ravelry at the links below:
MATERIALS
(Materials list may contain affiliate links to products I used to make this project. Using these links costs you nothing, but helps support GKK.)
Yarn
Medium (#4) weight yarn
Yarn Bee Soft & Sleek (225g/ 7.9oz, 261 meters/ 285 yd.) in colors Hot Pink & Purple used in samples.
Scrap yarn in contrasting color to use as anchor yarn
Loom
7/16” small gauge (SG) loom with at least 9 pairs of pegs.
KB Basics Loom used in sample.
Crochet hook (for bind off)
Tapestry needle (for seaming and weaving in ends)
GAUGE
10.25 sts x 16 rows in 4” in duplicate zigzag (brioche)
SKILL LEVEL Easy+
MEASUREMENTS
3.5” wide x 21.5” circumference (9 x 53.5 cm)
NOTES
Size: Measure circumference of head and subtract 2” (5 cm). This is the length you will knit your headband.
Slipping first peg: In this pattern we slip, or skip, the first peg in every row. Do not wrap this peg but continue following the wrapping pattern as illustrated.
INSTRUCTIONS
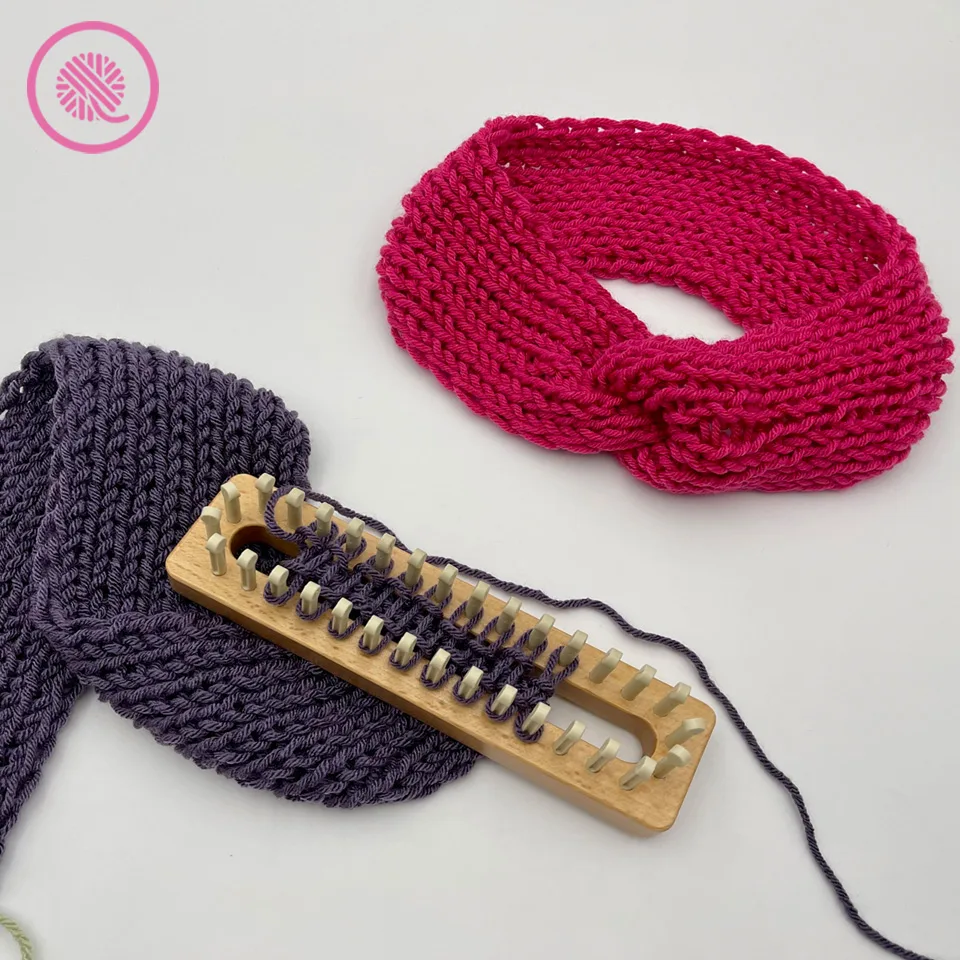
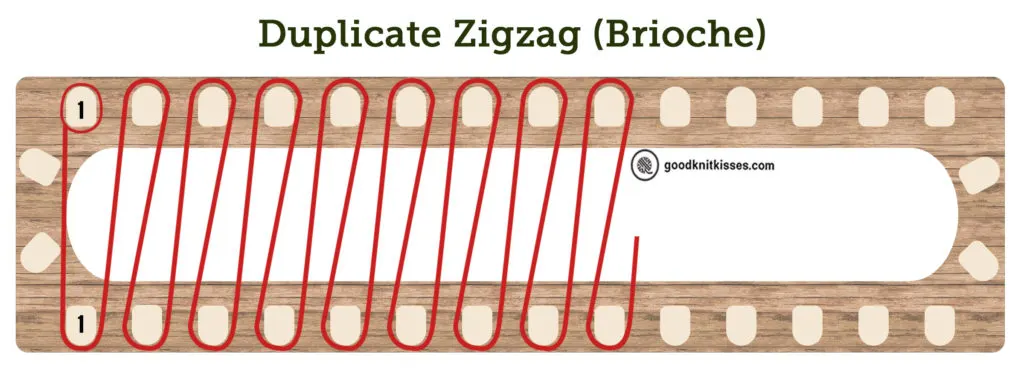
Cast on 9 pairs of pegs in Duplicate Zigzag (Brioche) stitch pattern (see diagram) using the method below:
- Place slip knot on Peg 1 of upper board at one end.
- Guide yarn to lower board and wrap around outside of Peg 1.
- Guide yarn around peg back up to upper board and wrap around outside of Peg 2 on upper board.
- Continue to lower board and repeat wrapping around Peg 2 to complete wrapping 2nd pair of pegs.
- Continue wrapping pairs in same direction across both boards until 9 pairs of pegs are wrapped.
- Lay anchor yarn.
- Slipping first peg, wrap pegs in opposite direction on top of previous row to complete cast on. All pegs except slipped peg will have two loops.
- Knit over all pegs with two loops.
Row 1: Slip 1, wrap remaining pegs as before and knit over.
Repeat Row 1 until fabric measures 21.5” or to desired length. (NOTE: Tug on knitting to ease tension before measuring. If headband is too long, unknit rows until you reach the correct length.)
Bind off:
- Using crochet hook, pick up stitch on last peg opposite where the working yarn is. (Ex: If the working yarn is on the upper board at the left, pick up the stitch on the lower board at the right.)
- Pick up stitch from peg on opposite board to complete that pair. You have 2 stitches on your hook.
- Pull the stitch closest to the tip of the hook through the other stitch to bind off.
- Move back to the opposite board and pick up the next stitch in the sequence and pull that stitch through the one on your hook.
- Repeat Step 4 until you have one stitch left on your hook.
- Cut a long yarn tail for sewing and pull through the last stitch.
Finish cast on end:
Now we’re going to create a clean edge at the beginning of the headband.
- With your crochet hook, pick up the stitch at the opposite end of the row from the yarn tail. [Note: Make sure you do not pick up any strands of the anchor yarn.]
- Pick up the next stitch. Now you have 2 stitches on your hook.
- Pull the stitch closest to the tip of the hook through the other stitch.
- Repeat Steps 2 & 3 until you have one stitch left.
- Using the crochet hook, pick up the yarn tail and pull it through the last stitch.
- Gently pull the anchor yarn out of your cast on edge.
Seam Headband:
- Fold both the cast on and bind off edges toward the inside.
- Interlock the two open ends together as shown in diagram below to create 4 layers.
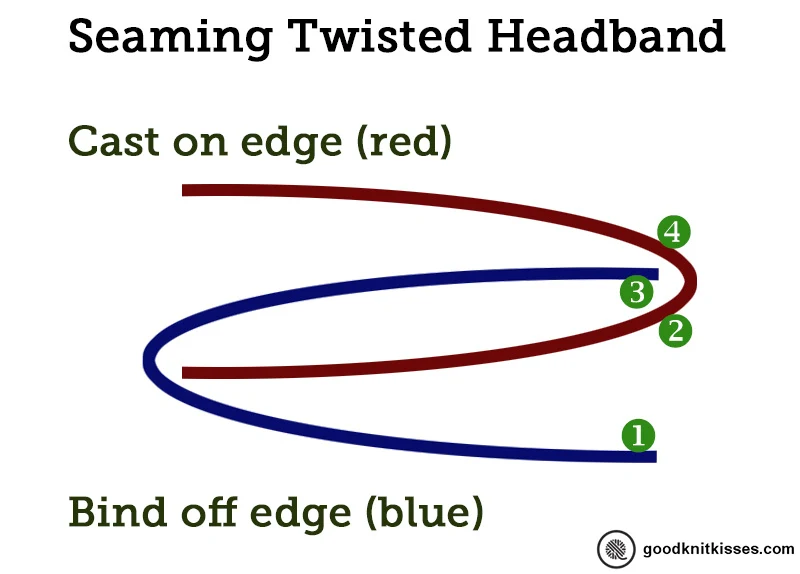
- Stitch through end stitch ❶ of first layer, then through stitch at fold ❷, next though the end stitch of the third layer ❸ and last through the next stitch on the fold ❹.
- Sew back through all layers in the opposite direction picking up the next stitch in each layer.
- Continue sewing through all layers until all stitches are sewn.
- Next, whip stitch only the outside leg of the two outermost layers (Layers 1 and 4) all the way across the headband. This will make the seam lie flat.
- Weave in remaining tails.
- Turn headband right side out.
PIN IT!
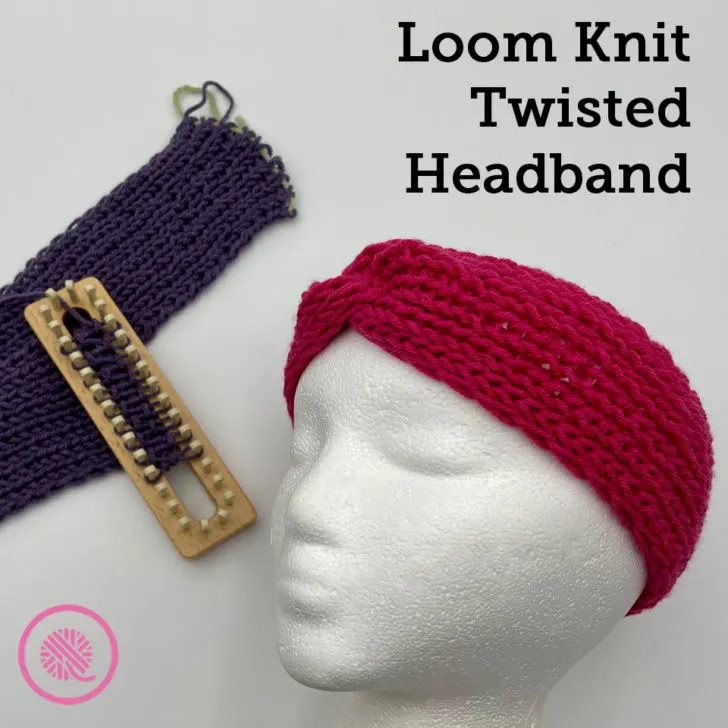
Loom Knit Twisted Headband FULL Video Tutorial
Select videos are available to GoodKnit Kisses YouTube members only. To get exclusive access to GKK VIP-only content, free PDF patterns, weekly Zoom meetup and more, sign in to YouTube and join as a VIP Member today! Find out more about GKK Membership HERE!
This video tutorial walks you through every step of the Twisted Headband pattern from gathering supplies to weaving in the ends. Videos are available for both left and right handed loom knitters.



Sue
Thursday 22nd of August 2024
This was fun to make. I like the results. My granddaughter is a football cheerleader. I made this for her in her school colors.