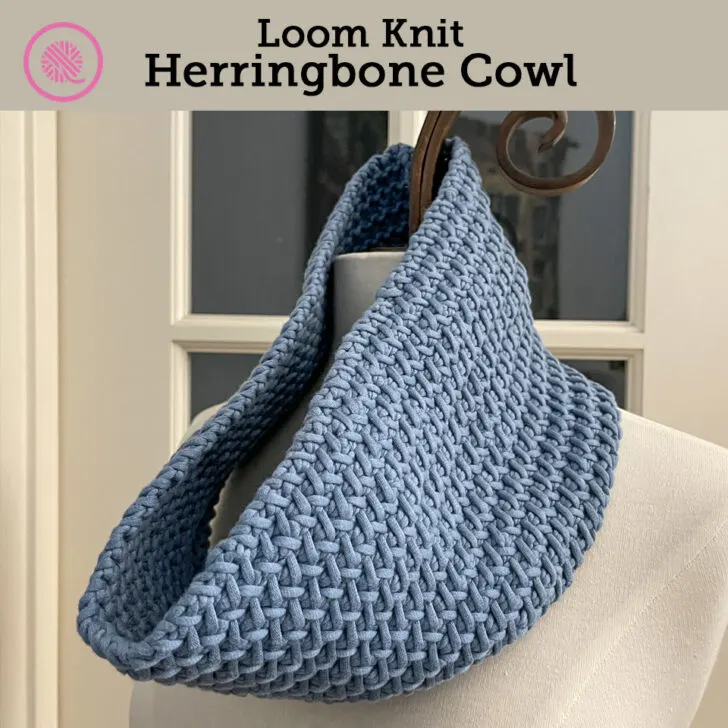
Inside: Loom knit the Herringbone Cowl with this free pattern that includes step by step instructions plus fully captioned tutorial video.
Get cozy with the Herringbone Cowl! This beautiful loom knit cowl uses the vertical herringbone stitch pattern to create the classic look. The best part? The stitch pattern uses a 1 row repeat that you can easily master. This cowl is loom knit as a flat panel then seamed.
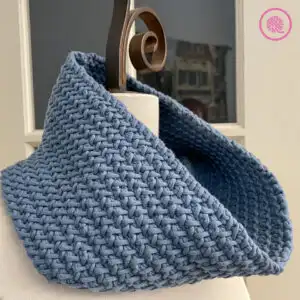
Pattern includes written instructions and link to a fully captioned tutorial video demonstrating the stitch pattern.
Loom Knit the Herringbone Cowl
By Kristen Mangus
An ad-free downloadable PDF of this pattern is available for purchase in my GoodKnit Kisses online store, Etsy or Ravelry at the links below:
MATERIALS
(Materials list may contain affiliate links to products I used to make this project. Using these links costs you nothing, but helps support GKK.)
Yarn
Bulky (#5) weight yarn
Bernat Maker Home Dec (8.8 oz / 250 g 317 yds/290 m) in color Steel Blue used in sample.
Loom
⅝” large gauge (LG) loom with at least 25 pegs
KB Flexee Loom Chunky used in sample.
Notions
Tapestry needle
Stitch marker
GAUGE 17 sts x 22 rows = 4” (10 cm) in vertical herringbone st
SKILL LEVEL Beginner
MEASUREMENT Approx. 5.75” wide x 28” circumference (14.5 x 71 cm)
ABBREVIATIONS
K = U wrap knit
Rep = Repeat
Psso = Pass slipped stitch over
Sl = Slip stitch
St(s) = Stitch(es)
YO = Yarnover
For a refresher on loom knitting basics see the blog posts below to get started:
13 Questions for Beginner Loom Knitters
How to Loom Knit Basics (cast on, knit, purl, & bind off)
How to Loom Knit Basic Stitch Patterns (garter st, seed st and ribbing)
How to Loom Knit in the Round
NOTES
This cowl is worked as a flat panel and seamed together when finished.
Cast on: I recommend the chain cast on.
U-Wrap knit: I recommend using the u-wrap knit stitch in this pattern.
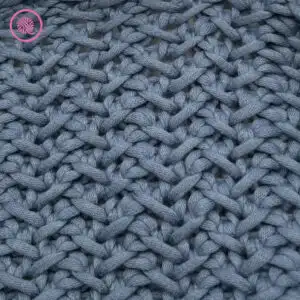
Vertical Herringbone Stitch Pattern:
This stitch pattern uses a multiple of 3+1. I cast on 25 sts, to get a width of almost 6” but feel free to cast on more for a wider cowl.
The vertical herringbone stitch pattern is worked over 3 pegs, but the peg BEFORE the repeat is used as a placeholder for the yarnover. The sequence of stitches is yo, s1, k2, psso. If you are not familiar with knitting terminology, I’ll break down the steps below.
- YO: Wrap peg BEFORE the first peg in your repeat (We call this Peg 0 and it is the last peg of the previous repeat. Wrap the peg above the existing stitch and we will move it later.)
- S1: Skip Peg 1 with yarn behind the peg.
- K2: Knit Peg 2 and move new stitch to Peg 1. Knit Peg 3 and move new stitch to Peg 1. (3 loops on Peg 1)
- Psso: Knit bottom loop on Peg 1 over the top 2 sts.
- Move top st on Peg 1 to Peg 3.
- Move last st on Peg 1 to Peg 2.
- Move YO from Peg 0 to Peg 1.
- Starting at Peg 1 tighten each stitch with your loom tool to remove the slack. Do not skip this step!
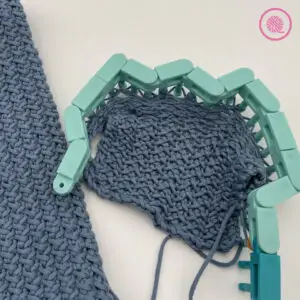
INSTRUCTIONS
Cast on 25 sts using chain cast on.
Foundation Row: K all.
Row 1: K1, *yo, s1, k2, psso. Rep from * to end of row.
Rep. Row 1 until piece measures 28” (71 cm) or to desired length.
Bind off leaving long tail for seaming. Seam cast on edge to bind off edge with yarn tail and weave in ends.
PIN IT!
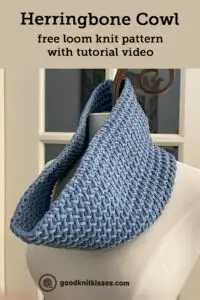
Loom Knit the Herringbone Cowl with my Tutorial Video!
Select videos are available to GoodKnit Kisses YouTube members only. To get exclusive access to GKK VIP-only content, free PDF patterns, weekly Zoom meetup and more, sign in to YouTube and join as a VIP Member today! Find out more about GKK Membership HERE!
The following tutorial video demonstrates the vertical herringbone stitch pattern.

