Newsboy Messy Bun Hat or Ponytail Hat (loom)
Pattern by Kristen Mangus
Newsboy Messy Bun Hat Pattern Notes
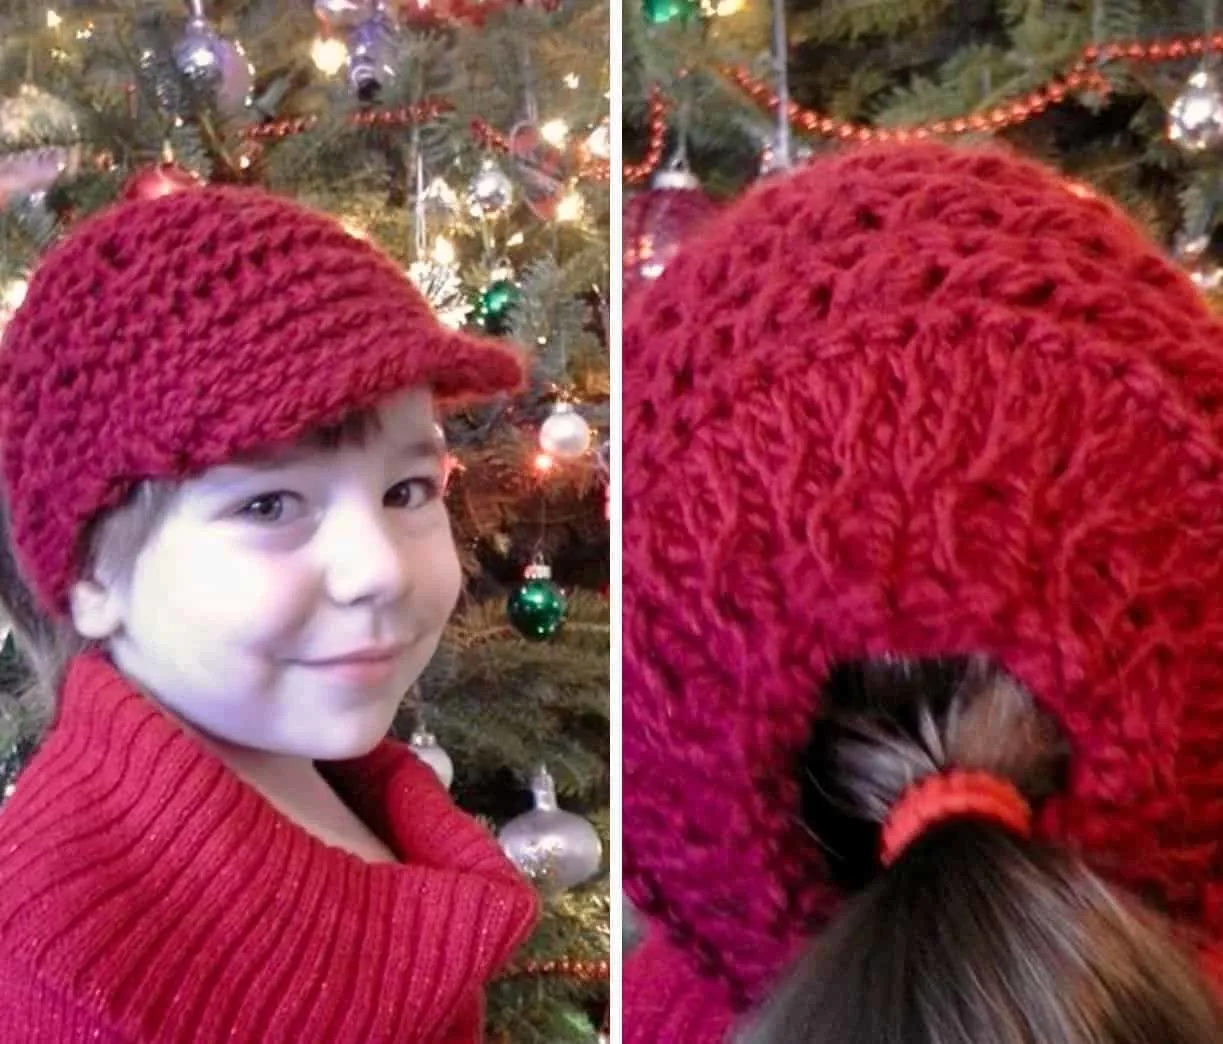
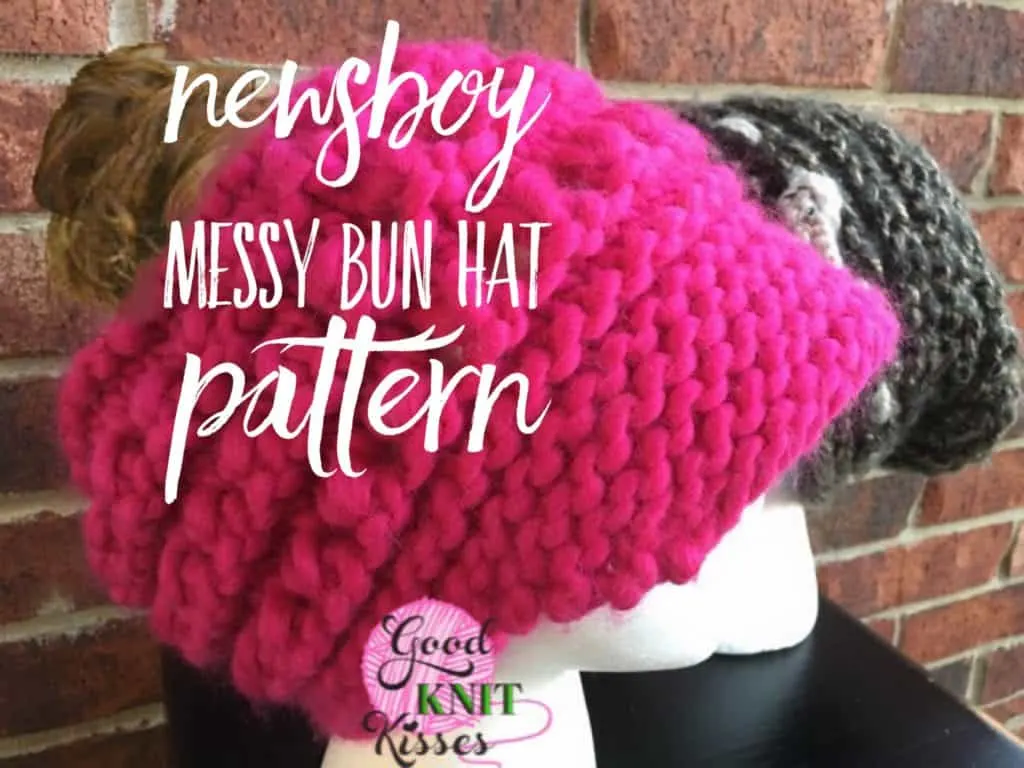
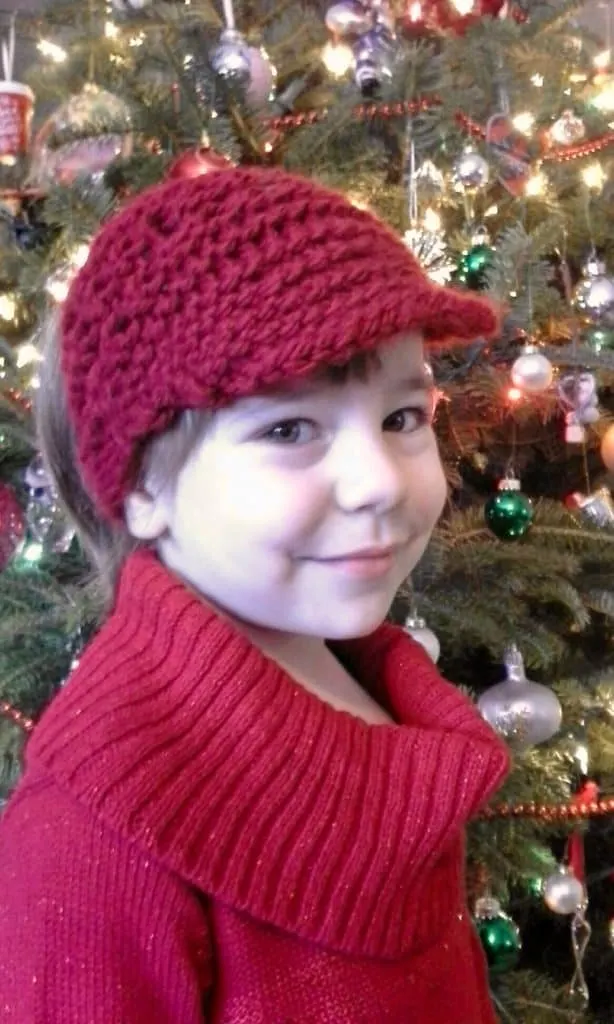
This newsboy messy bun hat is twist on the trendy style for buns and ponytails. It features a soft brim and flexible back opening for hair. A closed back version is also available in a slouchy style (Slouchy Newsboy Hat). It fits more hair & sits over the ears. Pattern below includes slouchy option as well if XL size needed.
It’s so fun to just throw your hair in a ponytail or easy bun and just go, right?!
For a convenient PDF in two versions:
Notes about looms first –
- You can use any loom that knits “in the round” that is at least 48 pegs.
- A second 24 peg loom will also be needed unless your loom can adjust in size.
- A Large Gauge (LG) loom is recommended for most adults but a Regular Gauge (RG) loom will make a smaller more petite hat; the yarn used will also change your sizing so you can really make a hat to fit anyone in your family.
 Looms for Large Hat:
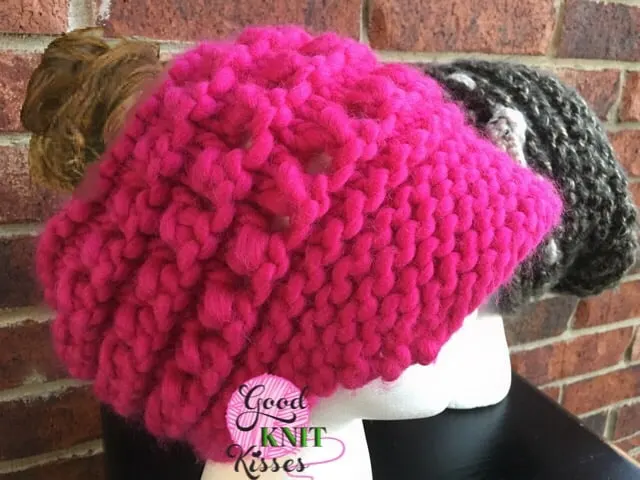
48 & 24 peg 5/8” Large Gauge (LG) round looms. The purple 48 peg round & the blue 24 peg Knifty Knitter looms were used in large sample.
Looms for Petite Hat:
48 & 24 peg Regular Gauge (RG) round or adjustable looms. CinDWood or KISS looms work. A Small Gauge (SG) KISS loom with 4 washers was used in petite sample; tester noted 2 more washers needed to make an RG loom for larger size; keep in mind yarn selection.
Notions(s):
2 stitch markers, tapestry needle, & scissors
Yarn(s):
#6 Super bulky. 2 skeins (113g – 64 yards ea) Hometown USA by Lion Brand Super.
1 ball (200g – 87 yards) Wool And The Gang Crazy Sexy wool color Hot Punk Pink.
Petite hat used smaller yarn – Deborah Norville Serenity Chunky color Red Ochre
Gauge:
2 sts per inch x 4 rows per inch (large size)
Sizing:
- Fits most adults; for slight adjustment change yarn or tension in main body of the hat by using a Flat Knit or a U-wrap Knit instead of E-wrap. For a smaller head or Youth or use the RG loom option mentioned above.
- For much smaller sizes, like a baby or toddler, adjust stitch count down in multiples of 6. Visor cast on 1/3 of final st count, increase to 1/2 of final st count.
- For XL (Extra Large) hat add OPTIONAL SLOUCH.
ABBREVIATIONS:
EWK = E-Wrap Knit
P = Purl
Sl = Slip Stitch (leave the beginning peg alone when starting that row)
INC = Adding increased wrap on outside of flat panel.
P2tog: Purl 2 together –
EW YO: Yarn Over
Chain CO: Chain Cast On –
KO: Knit Over the wrapped stitches (also called work the stitch)
St(s) = Stitches
Rem = Remaining
Rep = Repeat
Bet = Between
For a refresher on loom knitting basics see the blog posts below to get started:
13 Questions for Beginner Loom Knitters
How to Loom Knit Basics (cast on, knit, purl, & bind off)
How to Loom Knit Basic Stitch Patterns (garter st, seed st and ribbing)
How to Loom Knit in the Round
CAST ON & “SETUP for ROW 1”:
Visor Video here http://youtu.be/ph0FL_MaUm0 *CORRECTION, I added 1 more EWK on purl rows which is NOT in the video, depending on the yarn used the edge may look jagged on this side if you do not use an extra EWK due to the double increase.
Chain CO starting at 5th peg 16 stitches. Peg 5-20. Work back to left in EWK to 5th peg.
NOTES FOR NUMBERING LOOM:
Peg 1 is the first peg to the right (or counterclockwise) to the end or starter peg. A notation of peg #5 is the peg to the right. This is for starting purposes of the brim.
*VISOR BRIM or SHORT BILL (increasing by 2s):
Row 1: Sl, EWK 2, Purl 12, EWK (16 pegs total)
Row 2: Sl, EWK 15, add 2 INC. (18 pegs)
Row 3: Sl (it’s the last INC you added), EWK 2, Purl 15, add 2 INC (20 pegs)
Row 4: Sl (it’s the last INC you added), EWK 19 (using 20 pegs total)
Row 5: Sl, EWK 2, P 16, EW 1 (20 pegs)
Row 6: Sl, EWK 19, add 2 INC (22 pegs)
Row 7: Sl, EWK 2, P 19, add 2 INC (24 pegs)
Row 8: Sl, EWK 23 (24 pegs) FINISHED WITH VISOR
CO FOR REST OF HAT:
Row 9: Sl, EWK 1, P 21, EWK, chain CO rest of pegs up to peg 48; *place last loop on peg 1 or ladder will show long. KO this stitch first before moving on to the body of the hat.
BODY OF HAT:
Work in the round
Round 10-11: EWK
Round 12: P
Round 13-14: EWK
Round 15: *P 1, P 1 then place on peg before.* repeat till 24 pegs have 2 loops. You are purling all pegs here but setting up for the next round by moving them.
Round 16: *P2tog, EW YO*, rep (you’ve already moved your loops over for the p2tog) [see video]
Round 17-19: EWK
Round 20: *P 1, P 1 then place on peg before.* repeat till 24 pegs have 2 loops. (You are purling all pegs here but setting up for the next round by moving them).
Round 21: *P2tog, EW YO*, rep
Round 22-24: EWK
Round 25: *P 1, P 1 then place on peg before.* repeat till 24 pegs have 2 loops. (You are purling all pegs here but setting up for the next round by moving them).
Round 26: *P2tog, EW YO*, rep
*OPTIONAL SLOUCH (rounds 27-31)
– If Slouchy wanted; then add rounds between parenthesis “(…)” below. Picture at bottom of pattern in brown sample. Skip to round 32 if no slouch desired; recommend skipping this section unless you want an XL size hat.
(* Round 27: EWK
Round 28: EWK
Round 29: EWK
Round 30: *P 1, P 1 then place on peg before.* repeat till 24 pegs have 2 loops. (You are purling all pegs here but setting up for the next round by moving them).
Round 31: *P2tog, EWK YO*, rep *)
FINISH HAT BODY:
Round 32-34: EWK
Round 35: P
Round 36-37: EWK
STARTING CROWN:
Decrease:
Divide pegs into sections of 6 pegs (8 sections). Decreased beanie: Divide pegs into four sections with markers at every 6th peg.
Round 1 move peg loop 2 to 1 and KO in each of the 8 sections. EWK all leftover pegs.
Round 2: move peg loop 4 to 3 and KO in each of the 8 sections. EWK all leftover pegs.
Round 3: move peg loop 6 to 5 and KO in each of 8 sections. EWK all leftover pegs.
You should have 24 pegs left.
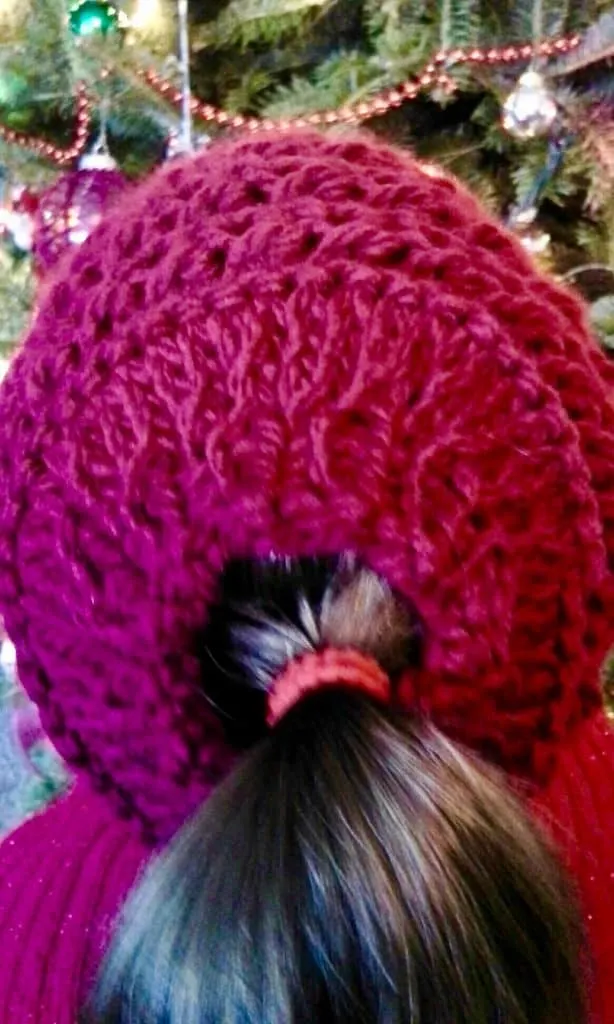 FLEXIBLE BACK OPENING to get your Newsboy Messy Bun Hat:
For the last three rounds switch to 24 peg loom or adjust loom smaller if using an adjustable size loom. Start with provisional bind off (taking loops off loom by using scrap yarn). Use some scrap yarn in a contrasting color to weave through live loops on the loom. Take off the 48-peg loom to transfer to 24-peg loom then take out scrap yarn.
3 rounds: *EWK1, P1* rep bet *,* to end
BIND OFF:
Bind off your Newsboy Messy Bun Hat in pattern. “In pattern” means to knit the knits and purl the purls as you bind off; if in doubt how to bind off in pattern use a regular flat panel bind-off. Cut yarn. Using tapestry needle insert needle through beginning bind off stitch to complete the finished chain and connect. Weave all tails.
I hope you enjoy your Newsboy Messy Bun Hat or Ponytail Hat!
Optional DECORATIVE KNOTTED TRIM (see picture):
In a contrasting color yarn chain 140 approximately.
Weave thru the first set of P2 tog eyelet spaces. Find an opening to connect the chains with a decorative knot. Weave the ends of the chains and tie a knot on the ends of both to complete. (Make chain longer and tie into a bow, or frog part of chain to shorten decorative knot. You can also connect the ends together to leave out the decoration and just have a chain trim).
©2016 GoodKnit Kisses. This pattern is the property of Kristen Mangus and all photography. Pattern written by Kristen Mangus. Pattern is available for personal use only. No unauthorized reproduction, in whole or in part, or distribution of this pattern or content, including text or pictures is allowed. No commercial reproduction from this pattern is allowed without prior written permission on file from Kristen Mangus. All rights are reserved. Photo Credit and testing in red ochre hat by Joann Gay. Thank you Joann!
December 6, 2016
I hope you enjoy your Newsboy Messy Bun Hat or Ponytail Hat!

