2017 Bernat Blanket Stitch Along Clue 6
We made it! It’s been 5 weeks of learning new stitch patterns, changing colors and joining panels. 5 weeks of the thrill of victory and the agony of frogging. Those 5 weeks have brought us here to the final week. We have one final clue to finish before we can cuddle up under our squishy soft blankets and enjoy the well-deserved feeling of accomplishment. I’ll wait here while you run over to Joann.com and grab the 2017 Bernat Blanket Stitch Along Clue 6.
If you need a Stitch Along refresher you can find the previous clues below.
Clue 1 – Clue 2 – Clue 3 – Clue 4 – Clue 5
Living on the edge…
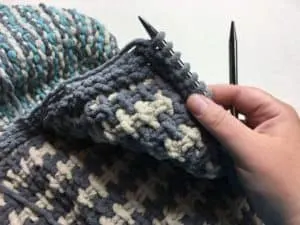
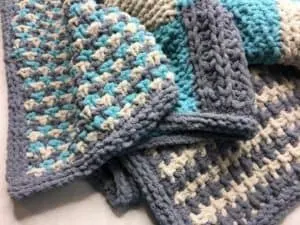
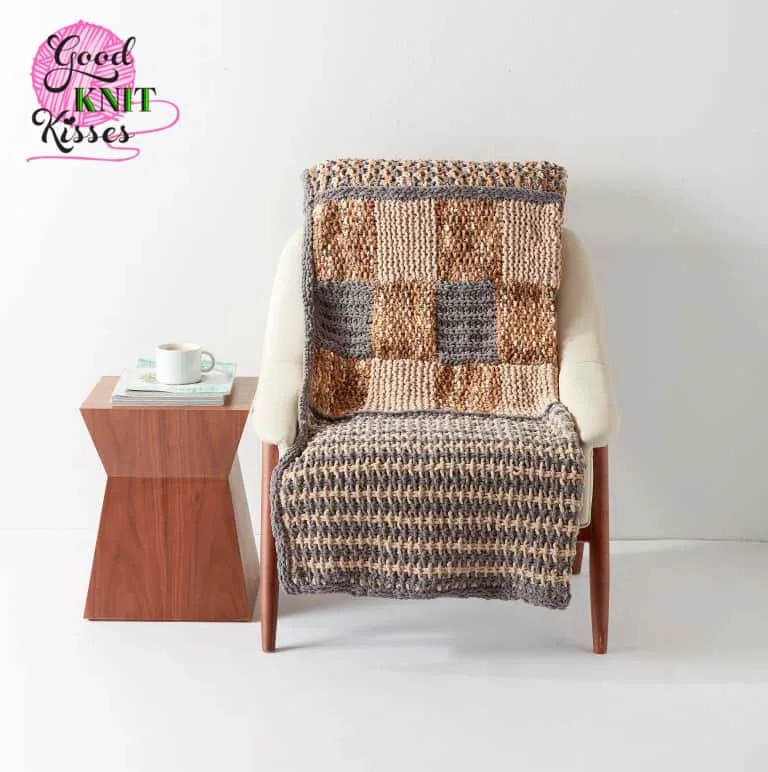
No blanket is complete without a border and I think you’ll love the way this border brings the entire design together. The simple, narrow border gives the blanket the finishing touch it needs while still allowing the other stitch patterns to shine. Let’s face it the tweed sections are gorgeous! I’m so glad they stand out in the finished blanket.

Practice, practice, practice…
They say the best way to learn is to practice. I don’t know who “they” are, but they must have been knitters. All four sides of the blanket use the same techniques: pick up stitches, knit a row, purl a row, and bind off. That’s it. You’ve already learned all the techniques while working the other clues. I have nothing new to teach you. Now it’s all up to YOU!

Check out the video below to get all my tips for finishing the 2017 Bernat Blanket Stitch Along Clue 6!
[embedyt] https://www.youtube.com/watch?v=E6QMhY0hLGk[/embedyt]
Notes for Loom Knitters:
Well, loomers. This is it- your final border! Just like last week with Clue 5, we’re doing our own thing. You attach the border as you knit. The join is similar to the one we worked last week, but is NOT the same so follow the instructions carefully. I’ve also included 2 options for the edge. One is like the needle knit version and you knit straight along each side and the other is like the 10-stitch blanket pattern and has short-rowed corners so you knit it in one piece. The choice is yours!
Join my live broadcast Monday at 9 am central time on the GoodKnit Kisses Facebook Page for a loom knitting demo of the clue. If you miss it, I’ll be linking the video of the broadcast below.
2017 Bernat Blanket Stitch Along Clue 6:
Abbreviations:
K – U-knit stitch
P – purl stitch
S – slip stitch (skip peg)
W – Ewrap peg without knitting the stitch.
Join 1 –
- Pick up purl bump (or cast on/bind off stitch) from edge of panel to be joined and place it on the last peg above the stitch on the peg.
- Wrap and knit over both loops on the peg.
Option 1: Work the join on each edge separately.
Knit the edging on each panel in the following order:
Bottom edge: Slipped Stitch Tweed (Clue 3)
Top edge: Shaker Tweed (Clue 4)
Right edge
Left edge
Using Contrast A cast on 4 stitches.
Row 1: S1, K2, Join 1.
Row 2: P3, K1.
Row 3: S1, K2, Join 1.
Row 4: P3, K1.
Row 5: S1, K3.
Row 6: P3. K1.
Top and Bottom Edges: Repeat Rows 1-2 to the end of the panel. (NOTE: You pick up purl bumps in alternating colors from the edge of the tweed sections: Clues 3 and 4.)
Right and Left Edges: Repeat Rows 1-6 to the end of the panel. (NOTE: You pick up cast on or bind off stitches from all the clues on this edge.)
Option 2: Work a continuous join with short-rowed corners.
This options uses the same join along the edges, but incorporates a turn around the corner so it is knit in one piece. If you’re familiar with the 10-stitch blanket the corners are worked the same way.
Using Contrast A cast on 4 stitches.
Join Section:
Row 1: S1, K2, Join 1.
Row 2: P3, K1.
Row 3: S1, K2, Join 1.
Row 4: P3, K1.
Row 5: S1, K3.
Row 6: P3. K1.
Top and Bottom Edges: Repeat Rows 1-2 to the end of the panel. (NOTE: You pick up purl bumps in alternating colors from the edge of the tweed sections: Clues 3 and 4.)
Right and Left Edges: Repeat Rows 1-6 to the end of the panel. (NOTE: You pick up cast on or bind off stitches from all the clues on this edge.)
Corner Section:
Row 7: S1, K2, W1
Row 8: P2, K1
Row 9: S1, K1, W1
Row 10: P1, K1
Row 11: S1, W1
Row 12: K1
Row 13: S1, W1
Row 14: K1
Row 15: S1, K1, W1
Row 16: P1, K1
Row 17: S1, K2, W1
Row 18: P2, K1
Row 19: S1, K3
Row 20: P3, K1
Continue working the Join Section along each edge and the Corner Section at each corner. You will end with a final Corner Section and work a purl bind off after Row 19. Leave a yarn tail long enough to join your bind off and cast on edges.
Clue 6 loom knitting demo
Be sure to share your progress pictures and color schemes on Joann’s Bernat Blanket Stitch Along Facebook page and share on social media with the tags #handmadewithjoann and #goodknitkisses . Don’t forget the giveaway will continue until Sunday, Oct. 29th. If you haven’t entered yet, check out the 2017 Bernat Blanket Stitch Along Giveaway blog post.
Thank you for letting me take you on this journey of mystery! I have enjoyed each week of this Stitch Along with you: revealing the clue, seeing your progress and chatting on the Facebook Page. You have made this a joy for me! Thanks also to Yarnspirations and Joann.com for sponsoring this fantastic Stitch Along.
This post contains content sponsored by Yarnspirations.


Sherry Hoffman
Monday 13th of November 2017
Just beautiful!
Sherry Hoffman
Monday 13th of November 2017
Just beautiful!