
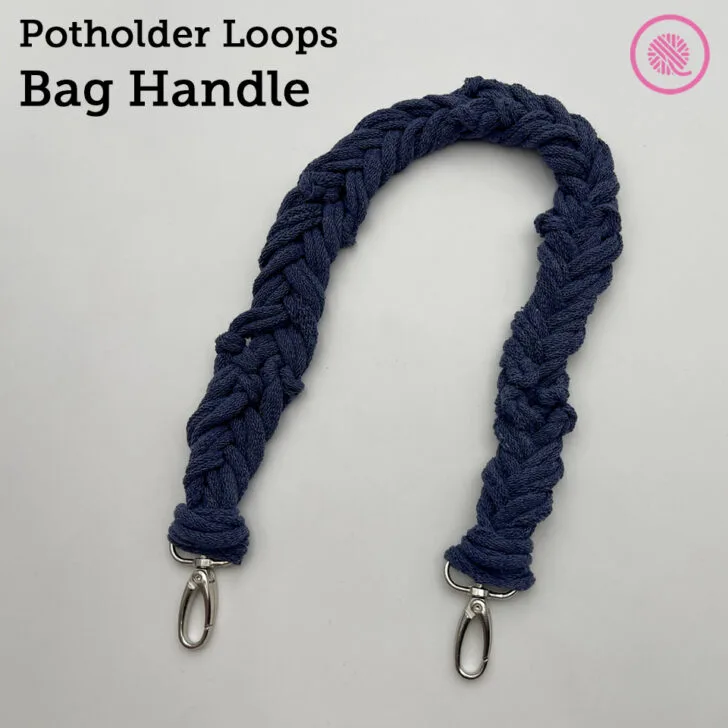
Inside: Fully captioned tutorial video teaching you how to make a removeable bag handle with potholder loops.
Whenever I make a project that needs handles, there’s a lot to consider.
I want a handle that will be strong and flexible. But I don’t want it to be so stretchy that my shoulder bag hits my knees. (You know what I mean if you’ve ever knit a garter stitch strap!)
I’ve made spiral handles and braided I-cord handles and love the results of both of these.
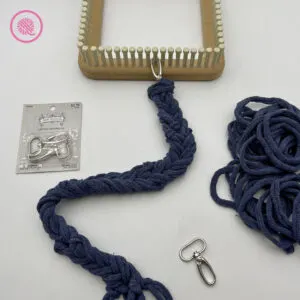
But my latest project is a woven bag. I’m designing a tote made entirely of squares woven on a potholder loom. Since I want my handles to match the rest of the bag, I knew I needed to find a way to use the potholder loops to make a handle.
And I am thrilled with results!
This method needs no special tools, just the loops and swivel hooks. That’s right. There’s no sewing!
How to Make a Bag Handle with Potholder Loops
MATERIALS
(Materials list may contain affiliate links to products I used to make this project. Using these links costs you nothing, but helps support GKK.)
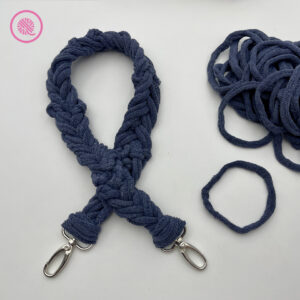
Loops
25-30 cotton potholder loops (for 7” loom) per handle
Loops in color Denim were purchased from friendlyloom.com. (Denim is an exclusive Loop Group color.)
Notions
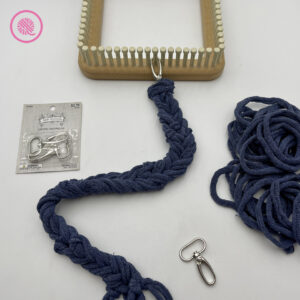
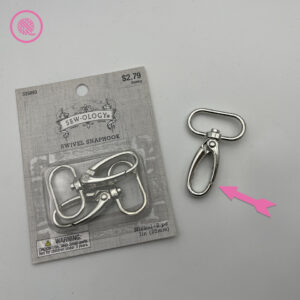
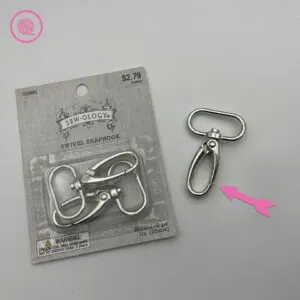
1” Swivel Snap Hooks – 2 per handle
(optional) Potholder loom or other loom to secure the end of your handle while working
MEASUREMENTS
24-26″ (61-66 cm)
NOTES
I listed a range for the size because you can make this style handle in a variety of lengths. For a tote bag, I recommend making each strand of your braid 5-6 loops long. Whatever length you choose the method is the same, but be sure each strand is the same length.
The tutorial video below is essential for making this project. Most of my tutorials have full written instructions, but I’m only including a brief list of the steps below. This project is not simple to explain, but it’s very easy to do after seeing it, so watch the video!
Also, when buying swivel snap hooks you want to make sure that you get ones that have the opening on the side, like a carabiner. (See the pink arrow in the image below.) If the opening is right at the tip of the hook, like in some lobstar clasps, it can fall off your bag.
INSTRUCTIONS
- Begin by linking 5-6 loops together.
- Repeat Step 1 until you have 5 separate strands of loops.
- Line up the strands to you can put your finger through 5 loops at one end. Make sure the strand are not twisted.
- Attach the strands to a swivel hook by pushing all 5 loops through the base of the swivel hook. Then pull the loops up and over the top of the hook. Tug the strands to tighten.
- Secure the swivel hook to a loom or other stationary object so it won’t move while you’re braiding. Fan out the strands in front of you so they are separated and untangled.
- Work a 5-strand braid in the following manner:
- Pick up the strand on the RIGHT and bring it over the next 2 strands to the middle.
- Pick up the strand on the LEFT and bring it over the 2 strands to the middle.
- Continue these two steps tightening your braid as you go.
- When you have about 1.5″ left to braid, attach the next swivel hook the same way you did the first one.
PIN IT!

