By Kristen Mangus
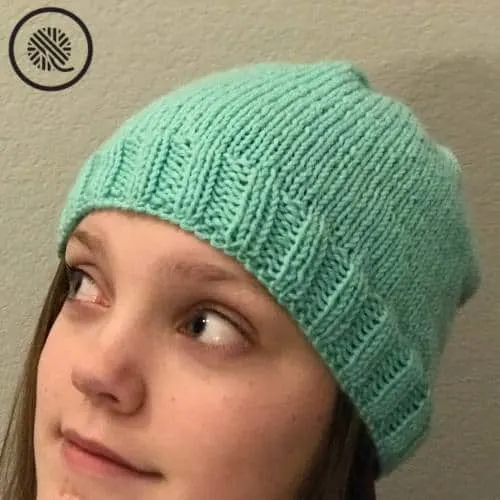
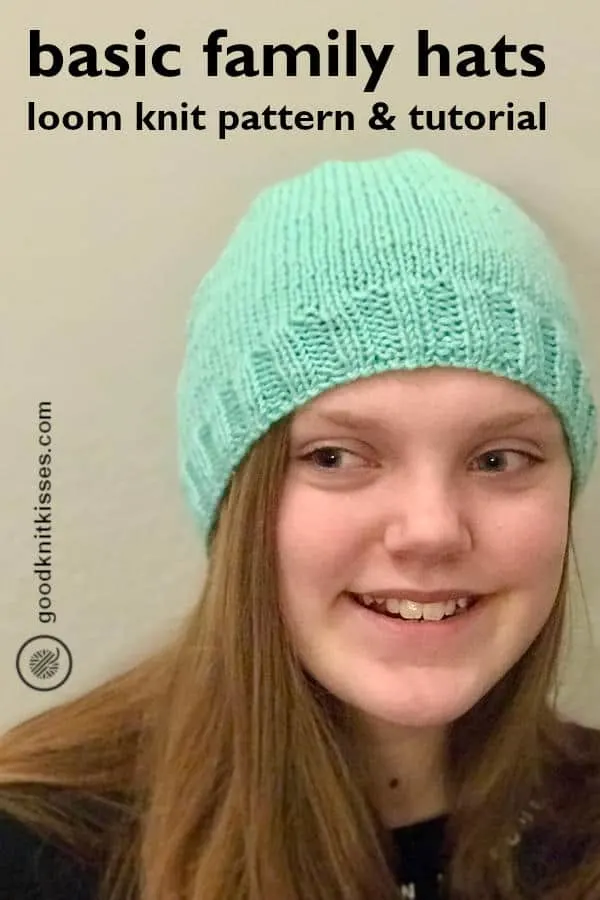
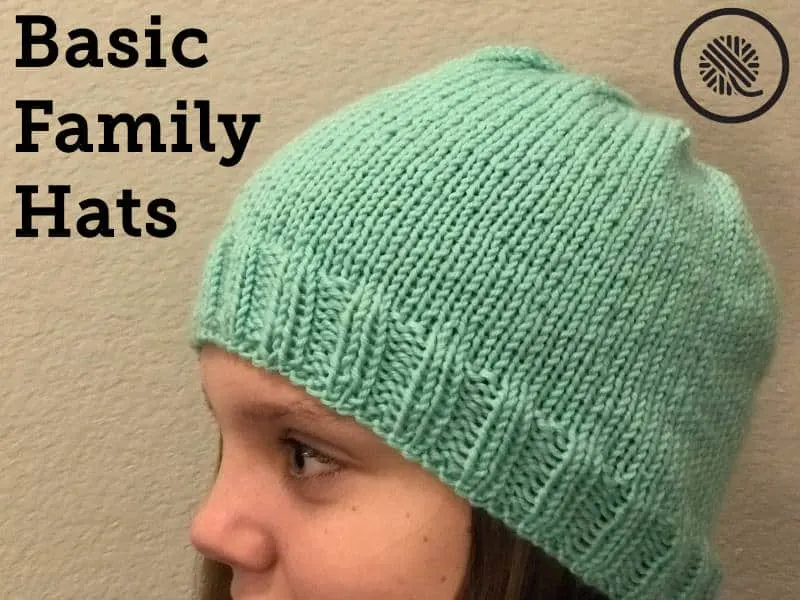
Every loom knitter needs a basic hat pattern that can be adapted to fit everyone in the family. The Basic Family Hats pattern is it! Featuring a ribbed brim, smooth stockinette body and decreased crown this basic hat is fast and easy to loom knit. Sized from Toddler to Adult Large it’s an ideal hat for gifts or donations to charity.

The pattern is written using one color, but you can easily switch colors to add stripes or use the duplicate stitch to embellish your basic hat. You could even change the main stitch pattern to add some texture or knit a longer brim to truly create your own design.
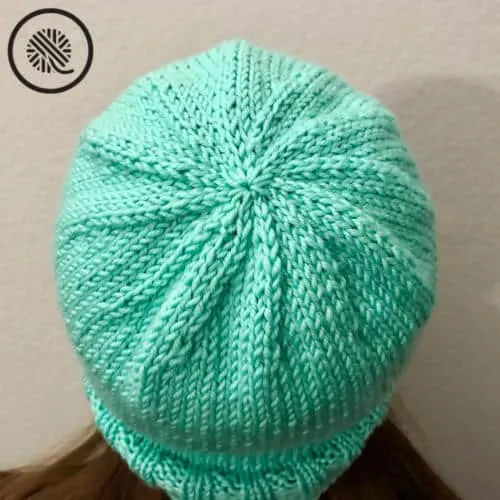
This hat has a decreased crown that shapes the top of the hat for a better fit. The pattern is written using a specific gauge and yarn weight, but the Shaped Top instructions can be used with other looms and gauges, and even other loom knit hat patterns. The instructions include options for shaping the top with both adjustable and non-adjustable (fixed size) looms.

Basic Family Loom Knit Hat Patterns
An ad-free downloadable PDF of this pattern is available for purchase in my GoodKnit Kisses online store, Etsy or Ravelry at the links below:
MATERIALS
Links below are affiliate links that benefit GKK if you make a purchase.
Yarn
Contrast A Patons® Alpaca Blend (3.5 oz/100 g; 155 yds/142 m) Peony. 1 ball.
Loom
Small Gauge (3/8”) loom with multiple of 4 set up to work in the round
Knitting Board All In One loom used in smallest sample.
Other adjustable looms include Cindwood X Loom, Kiss Looms Small Gauge Loom.
Possible fixed peg looms for sizes Toddler, Child & Small include Knitting Board Premium Round Looms. (Looms with a multiple of 8 pegs are ideal. See notes in Shaped Top section.)
Notions
Tapestry needle to weave in ends
Crochet hook (for cast on; small enough for between pegs)
Stitch markers
ABBREVIATIONS
Approx = approximately
Beg = Beginning
Cont = Continue
K = Uwrap Knit
P = Purl
Pat = Pattern
Rep = Repeat
Rnd = Round
St(s) = Stitch(es)
For a refresher on loom knitting basics see the blog posts below to get started:
13 Questions for Beginner Loom Knitters
How to Loom Knit Basics (cast on, knit, purl, & bind off)
How to Loom Knit Basic Stitch Patterns (garter st, seed st and ribbing)
How to Loom Knit in the Round
GAUGE
16.5 sts x 25 rows in 4” (10 cm) in stockinette.
CHECK YOUR GAUGE. Change loom peg count to obtain correct size.
SKILL LEVEL
Easy+
SIZES
Toddler (Child, Small, Medium, Large)
MEASUREMENTS
Circumference 15.5 (17.5, 19.5, 21.25, 23.25) inches [39.5 (44.5, 49.5, 54, 59) cm] and 7.5 (8, 8.5, 9, 9.5) inches [19 (20.5, 21.5, 23, 24) cm] in height
NOTES
Chain cast on is listed in pattern instructions, but you may also use the double ewrap or longtail cast on if you prefer.
Item will be worked in the round. For right handed knitters work from right to left (clockwise); work in the opposite direction for left handed knitters (counter clockwise).
All knit stitches are Uwrap knit. Be sure to work loosely to achieve correct gauge. Tight knitters may be able to use the true knit stitch. Ewrap is not recommended for this project.
This pattern can be worked on either a fixed peg loom or an adjustable loom with a slider to decrease the number of pegs in use. Please note the special instructions for non-adjustable (fixed peg) looms after Round 7.
INSTRUCTIONS
With A cast on 64 (72, 80, 88, 96) sts and join in the round. Place marker on Peg 1 to mark beginning of round.
Rnd 1: *K2. P2. Rep from * to end of rnd.
Rep Rnd 1 for 1 (1, 1.25, 1.5, 1.5) inches [2.5 (2.5, 3, 4, 4) cm].
NOTE: For longer brim rep Rnd 1 until desired length.
Rnd 2: Knit.
Rep Rnd 2 until work from beg measures approx 5.5 (6, 6.5, 7, 7.5) inches [14 (15, 16.5, 18, 19) cm].
Non Adjustable looms only:
Work Rnd 2 for an additional 1” and continue to SHAPE TOP working rnds 1-7 only.
NOTE: If peg count is a multiple of 6 (instead of 8), work SHAPE TOP beginning at Rnd 5 and work only Rnds 5-13. For example looms with 30, 36 or 66 pegs divide evenly into 6. Place stitch markers on every 6th peg around the loom to mark where you will decrease.

SHAPE TOP:
Starting at the beginning of the round place a stitch marker every 8 pegs. You will need 8 (9, 10, 11, 12) markers. As you work the decreases be sure to move the stitch marker as you shift stitches around your loom. (See video tutorial for example.)
Rnd 1: With A *K6. K2tog. Rep from * around. 56 (65, 72, 77, 84) sts.
Rnd 2 and alt rnds: Knit.
Rnd 3: *K5. K2tog. Rep from * around. 48 (56, 62, 66, 72) sts.
Rnd 5: *K4. K2tog. Rep from * around. 40 (47, 52, 55, 60) sts.
Rnd 7: *K3. K2tog. Rep from * around. 32 (38, 42, 44, 48) sts.
If working on an adjustable loom cont in pat as written.
If your loom is NOT adjustable knit one more round and continue to ** below.
Rnd 9: *K2. K2tog. Rep from * around. 24 (29, 32, 33, 36) sts.
Rnd 11: *K1. K2tog. Rep from * around. 16 (20, 22, 22, 24) sts.
Rnd 13: *K2tog. Rep from * around. 8 (11, 12, 11, 12) sts. Break yarn, leaving a long end.
**Thread end through rem sts and draw up tightly. Fasten securely. Weave in tails.
For a colorful variation of this pattern check out my Family Fair Isle Hats Pattern!


Peggy Fairless
Wednesday 13th of March 2019
Thank you, Kristen! The instructions and video are awesome. So much nicer crown than my top gathered hats.
Peggy Fairless
Wednesday 13th of March 2019
Thank you, Kristen! The instructions and video are awesome. So much nicer crown than my top gathered hats.