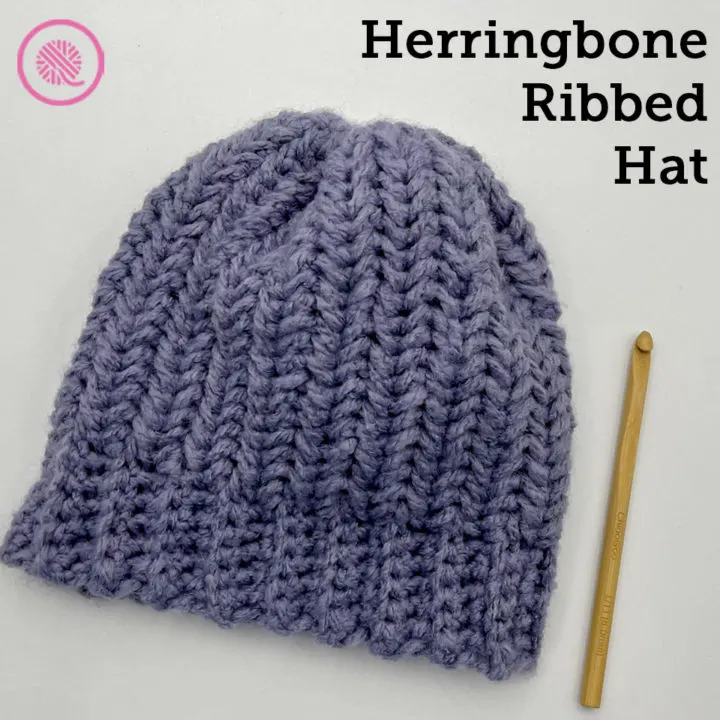
Inside: Make the crochet Herringbone Ribbed Hat with my free pattern. Includes instructions for 5 sizes from toddler to adult and tutorial videos.
The iconic herringbone stitch is a favorite of mine.
The rows of nested “V” stitches create a smooth, dense fabric. I already taught how to crochet the herringbone stitch and designed a blanket square and cozy mug hug. But I knew this stitch would make a great hat too. However, I decided to do something a little different with the design.
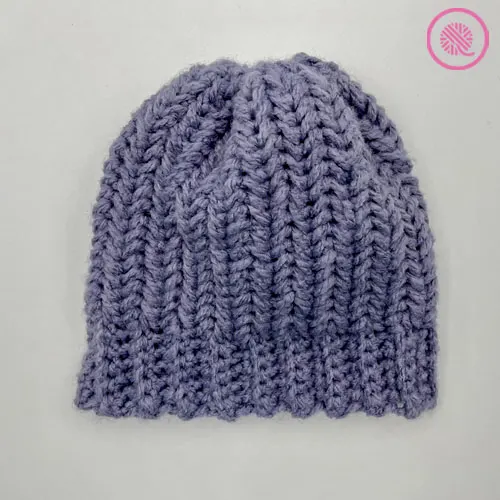
Instead of crocheting a hat in the round I chose to work it sideways as a flat panel. This style allowed me to incorporate a ribbed brim. It also turns the herringbone stitch on it’s side to make vertical columns of this beautiful stitch.
The hat also features a wide ribbed brim that you can fold up to keep off chill or wear down as a slouchy hat.
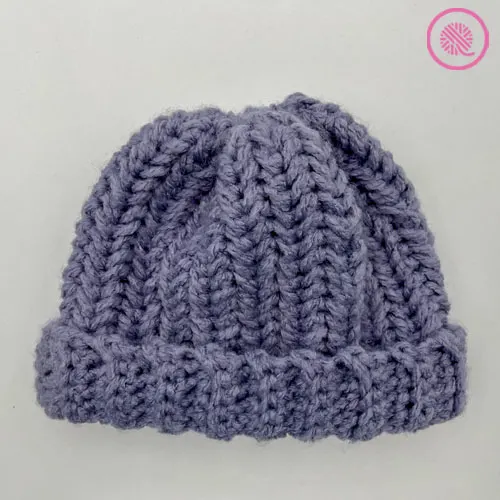
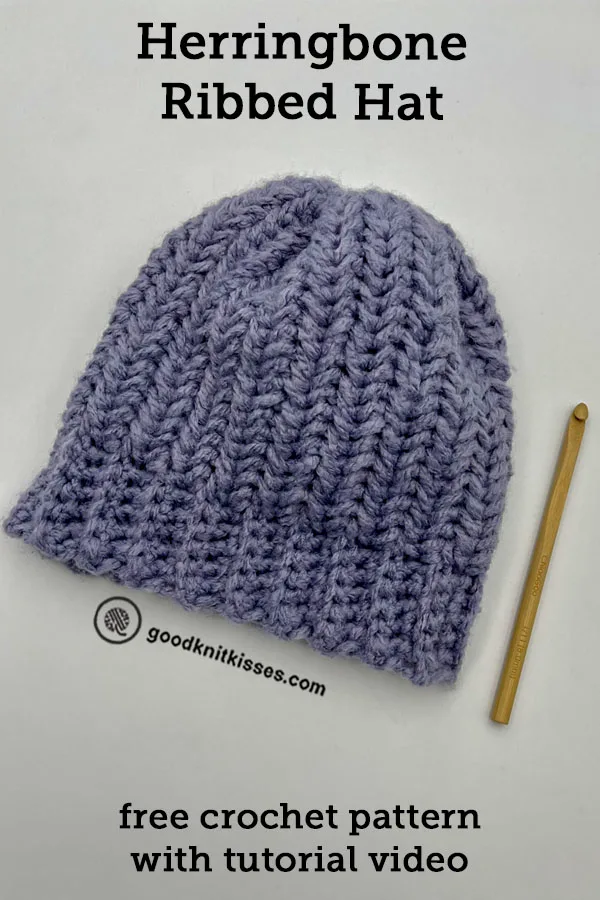
Crochet Herringbone Ribbed Hat
By Kristen Mangus
A downloadable PDF of this pattern is available in my Etsy store and from Ravelry at the links below:The Herringbone Ribbed Hat makes a warm, thick hat perfect for the coldest weather. It features a ribbed brim, vertical columns of the iconic herringbone stitch and a drawstring crown. This hat is crocheted side to side as a flat panel then seamed.
Pattern includes written instructions for 5 sizes of hats from Toddler to Adult and links to fully captioned tutorial videos for both left and right handed crocheters.
MATERIALS
(Materials list may contain affiliate links to products I used to make this project. Using these links cost you nothing, but helps support GKK.)
Yarn
Bulky (#5) weight yarn
Bernat Bounce Back (225g/ 7.9oz, 261 meters/ 285 yd.) in color Lilac used in sample.
Hook
US Size L-11 (8 mm) crochet hook
ChiaoGoo L-11 (8 mm) hook used in sample.
Tapestry needle
Locking stitch marker
ABBREVIATIONS
ch = chain
Hsc = Herringbone single crochet (see notes below)
PM = place marker (place locking stitch marker on specific stitch; the marks beginning/end of brim in this pattern)
rep = repeat
Rev Hsc = Reverse herringbone single crochet (see notes below)
Rev sc = Reverse single crochet (See notes below)
sc = single crochet
sk = skip
st(s) = stitch(es)
If you need a refresher, be sure to check out my How to Crochet series!
GAUGE
13 sts x 9 rows in 4” (10 cm) in herringbone stitch
SKILL LEVEL Easy
MEASUREMENTS
Toddler: 8” x 17” circumference (20 x 43 cm)
Child: 8.5” x 18” circumference (21.5 x 45.5 cm)
Small: 9.5” x 19.5” circumference (24 x 49.5 cm)
Medium: 10.5” x 21” circumference (26.5 x 53.5 cm)
Large: 11.5” x 22” circumference (29 x 56 cm)
SIZES
Toddler (Child, Small, Medium, Large)
NOTES
The herringbone stitch pattern is a multiple of 1 stitch with a 2 row repeat.
The Herringbone Ribbed Hat is crocheted as a flat panel and incorporates the herringbone stitch pattern with a ribbed brim. It is worked side to side so the width of your panel will be the height of the finished hat. The length you crochet is the desired circumference of your final hat.
The ending row and beginning row will be joined to make the vertical seam of the hat. The top/crown of the hat will then be completed. Add a pom-pom or tassel to complete your look.
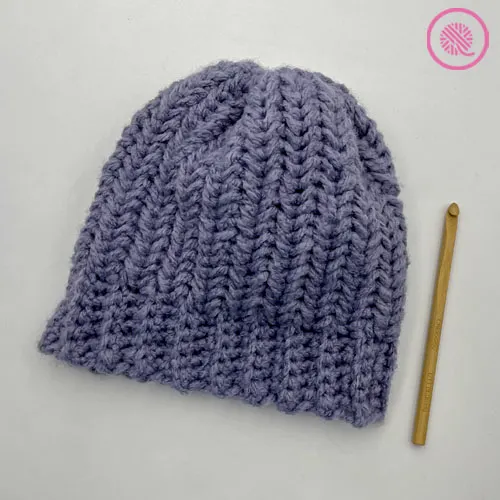
The top of the hat does not have a shaped crown. It is designed to be bulky as an oversized, slouchy hat.
Herringbone single crochet (Hsc): insert hook through vertical bar of the previous single crochet st (last bar closest to working yarn), insert into the next stitch and pull up a loop, yarn over and pull through all 3 loops on the hook. TIP: Make sure yarnover loop is pulled up to height of a full sc).
Reverse herringbone single crochet (Rev Hsc): insert hook through vertical bar on the BACKSIDE of the previous single crochet st (last bar closest to working yarn), insert the hook into the next stitch from BACK to front (same as reverse sc), yarn over, pull up a loop to the BACK, yarn over and pull through all 3 loops on the hook. TIP: Make sure yarn over loop is pulled up to height of a full sc).
INSTRUCTIONS
Hat (Flat Panel):
Chain 27 (29, 32, 35, 38).
Row 1 (RS): Sc into the back hump of second chain from hook. Hsc in rem sts until 6 sts rem. PM on last Hsc. Sc in the back hump of next 6 sts. Turn.
Row 2: Ch 1, Sc in back loop of next 5 sts. Loosely, sc in back loop of next st. Rev Hsc in rem sts. Turn.
Row 3 (RS): Ch 1, Sc in first st. Hsc in each st until 6 sts rem. Sc in back loop of next 6 sts. Turn.
Rep Rows 2-3 until the piece measures 17” (18”, 19.5”, 21”, 22”), or until desired hat circumference, ending after a RS row. Turn.
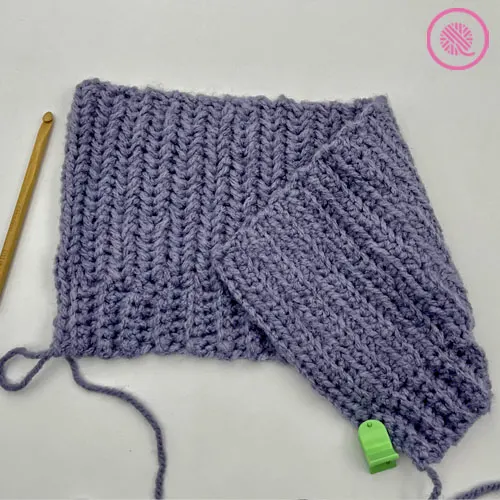
Seam Hat:
Fold panel in half aligning FIRST row to LAST row with the front (RS) of your hat on the inside and the back (WS) facing you.
Brim: Place hook through both loops of 1st st on LAST row and back loop only on FIRST row. Pull up loop and slip with st on hook. Repeat this slip stitch for the next 5 sts.
Hat Body: *Insert hook into both loops of next stitch on both the FIRST and LAST rows. Pull up a loop and slip with st on hook. Repeat from * to end of row.
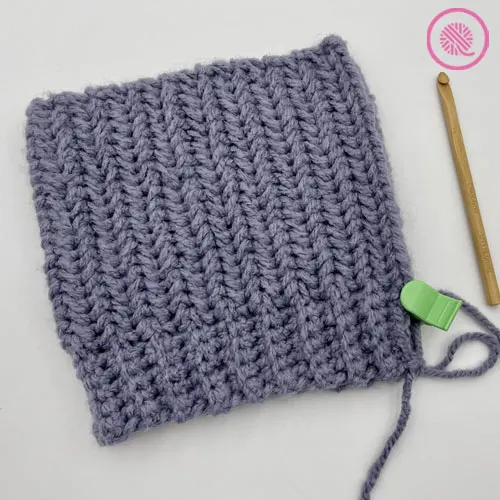
Finishing:
Continue working on the inside of the hat in the round.
Rnd 1: Ch 1. Sc into top of first herringbone column. *Sc into next herringbone column. Rep from * until all herringbone columns have a sc. Sc at top of seam to complete round. Pull through about 12-18” and cut yarn.
Using tapestry needle, pull through each sc of last round and pull drawstring tight to close hat. Sew through all loops once more. Tighten and knot. Weave in remaining tails and trim. Turn hat right side (RS) out.
PIN IT!
Crochet Herringbone Ribbed Hat Video Tutorial
Select videos are available to GoodKnit Kisses YouTube members only. To get exclusive access to GKK VIP-only content, free PDF patterns, weekly Zoom meetup and more, sign in to YouTube and join as a VIP Member today! Find out more about GKK Membership HERE!

