Easy-Going Knit Hat | Yarnspirations
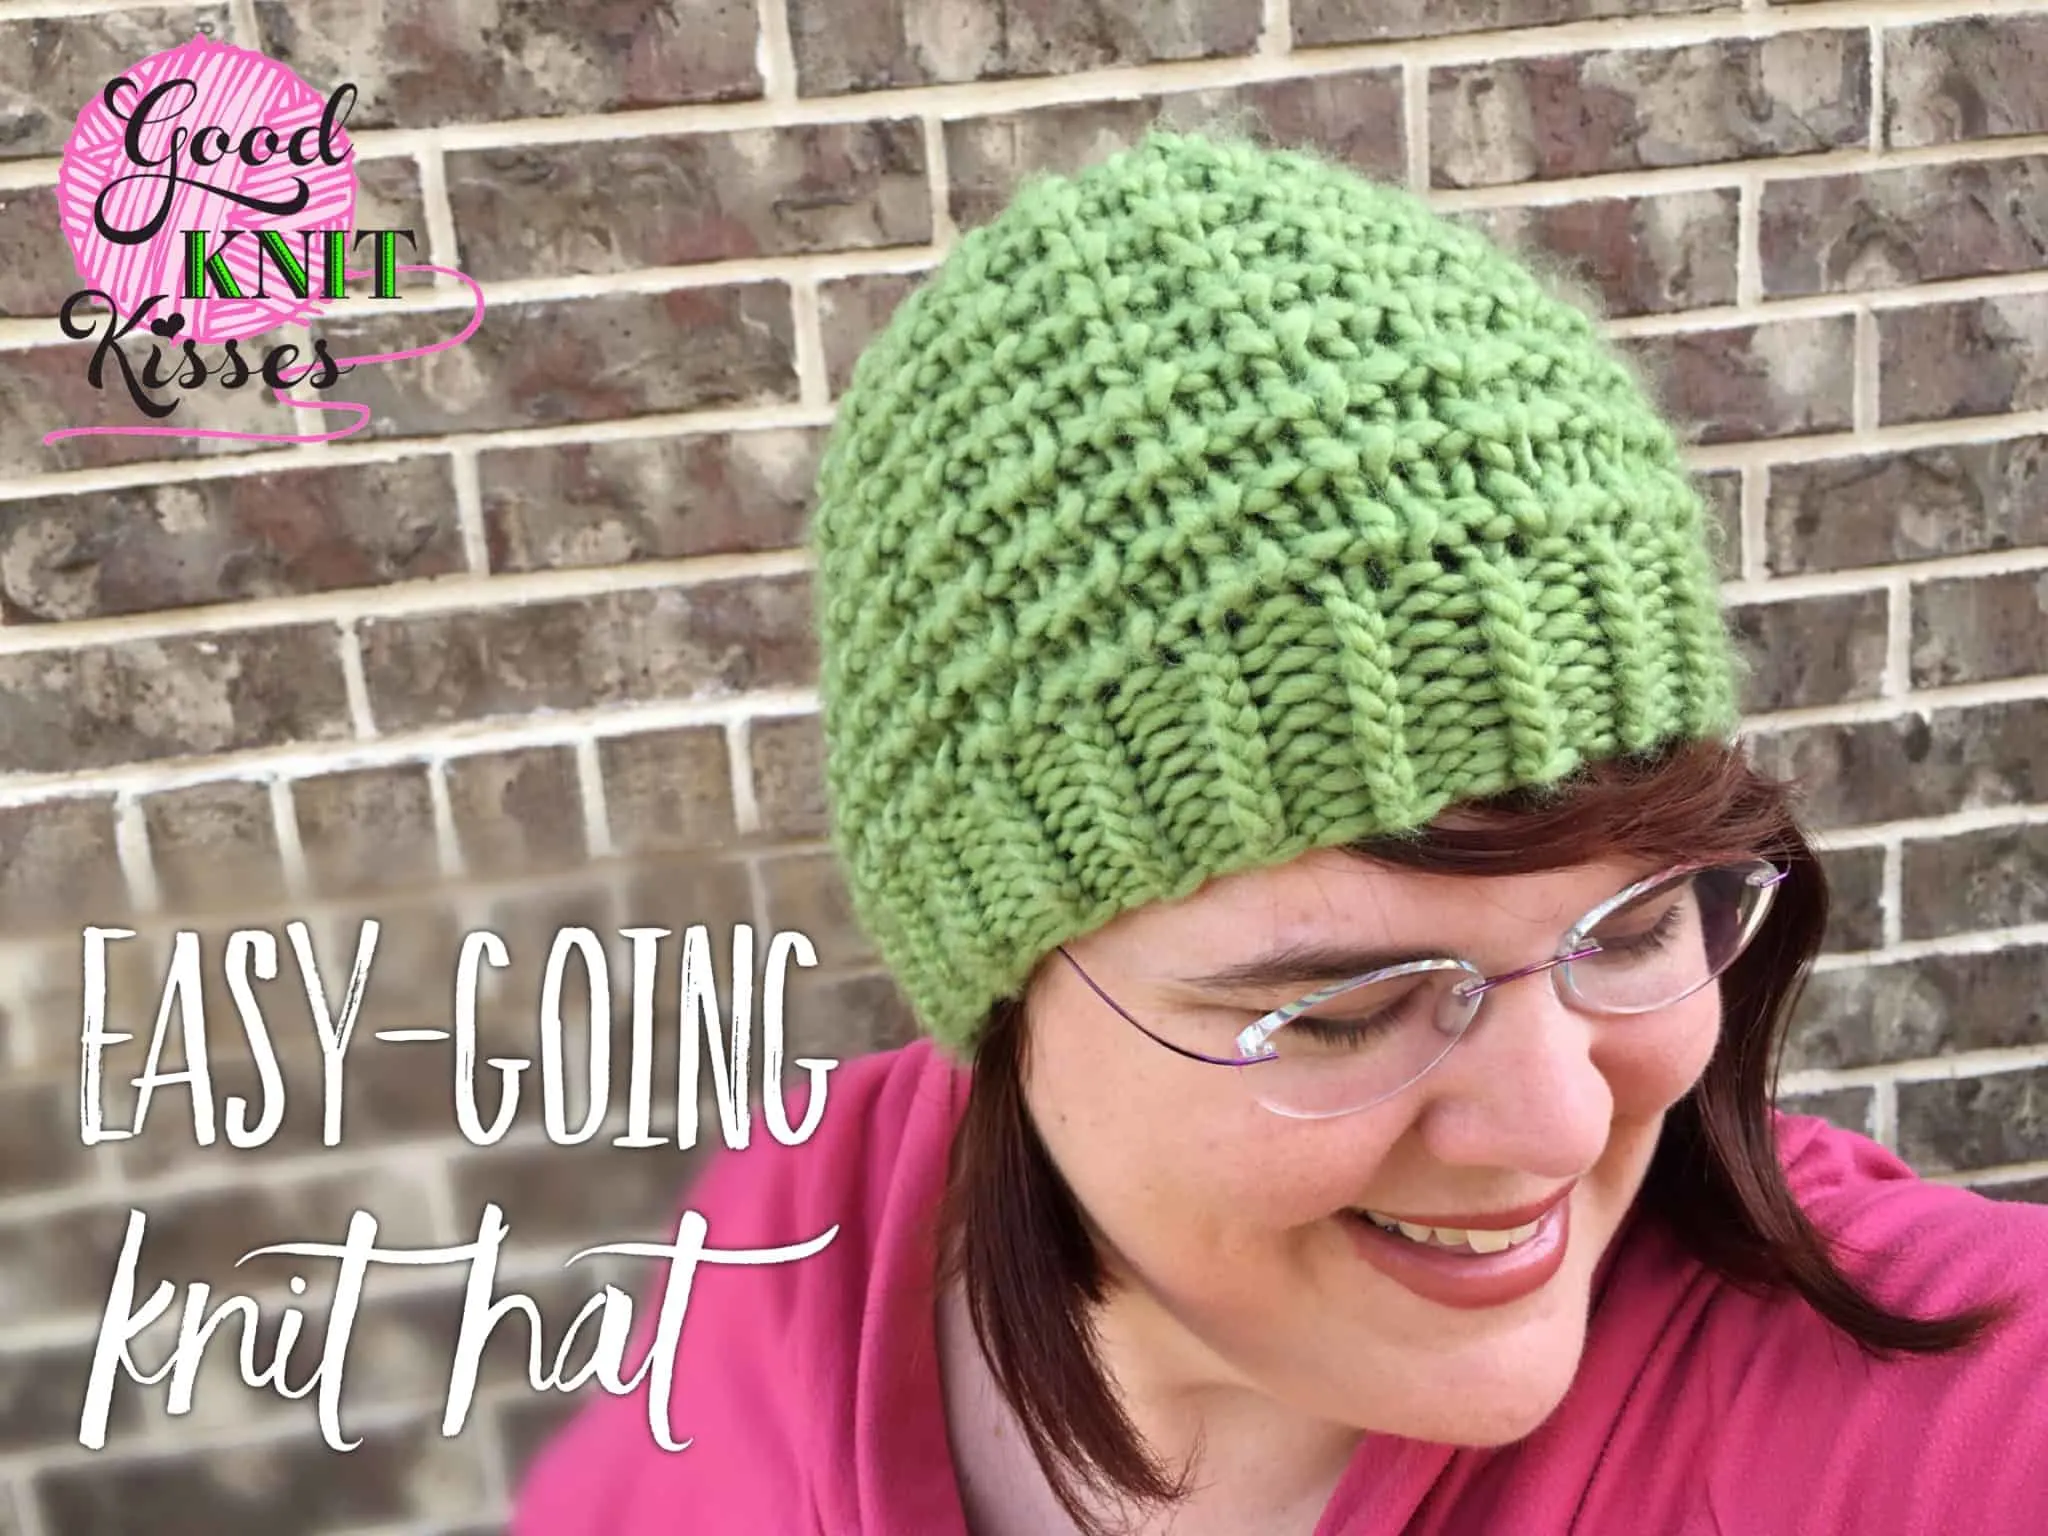
Bam! September 1st and right out of the gate I am flashing a bulky knit hat at you. Summer is over, the kids are back in school, and I am looking at months of yarny antics ahead. I am so glad you’re right here to enjoy it with me.
[insert virtual fog and cue the flashback music]
Remember back in February when I got started on the Easy-Going Knit Sweater from Yarnspirations? It had that amazing squishy textured stitch pattern knit up in the Bernat Roving yarn. Have you finished yours yet? Haha! I’ts been such a busy year mine is safe and sound in the WIP basket and it may be there a while.
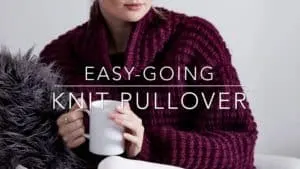
One of our GKK followers, Robin Sperry, loom knit a hat using the same stitch pattern and it is beautiful! I immediately contacted Yarnspirations about publishing a pattern for the hat and they agreed. It is so exciting to see our community work together and share our creativity and today we get to see the result. This is the needle knit version of the hat, but don’t worry, loomers, I have an upcoming surprise for you!
Easy-Going Knit Hat
Pattern
Yarn
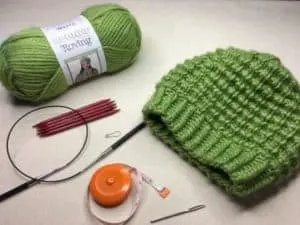
Bernat® Roving (3.5 oz/100 g; 120 yds/109 m)
Clover (00222) 1 ball
Needles & Supplies
Set of five size U.S. 10½ (6.5 mm) double-pointed knitting needles or size needed to obtain gauge. (Alternately use circular needles and then double-pointed needles for crown).
Stitch marker
Measuring tape
Tapestry needle for weaving in ends
Skill Level
Easy
Size
One size to fit average woman’s head.
Gauge
12 sts and 16 rows = 4″ [10 cm] in Texture Pat.
Skills taught in this tutorial
Cast on
Knit Stitch
K = Knit
K1tbl – Knit next stitch through back loop
K2tog – Knit next 2 stitches together
Purl Stitch
P1below – Place working yarn below both loops on peg and purl together.
Bind off
If you need a slow motion video on the main stitches or techniques, please check out my slower tutorials on GoodKnit Kisses YouTube playlist. Don’t forget on your desktop you can slow down the playback of ANY video to clearly see how the techniques are knit.
Let’s get knitting!
The Techniques
Cast on and Ribbing
We’ll start with the longtail cast-on. By now you guys know that this one is my favorite, right? I’ll also show you a little trick to join in the round that will give you a smooth join with no gap. You’re going to love this! The hat has a 1×1 ribbing brim. A standard 1×1 rib is K1, P1, but you’ll be using the twisted knit stitch, also know as K1tbl, instead of a regular knit stitch, K. Using the twisted knit stitch gives your ribbing a slightly different texture that perfectly complements the main body of the hat. I’ll show you exactly how to work that stitch so your ribbing will be perfect.
Textured Stitch Pattern
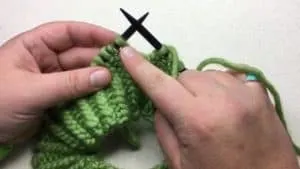
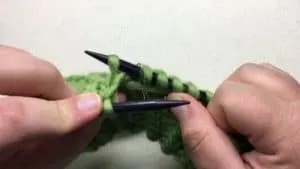
Are you ready for the star of this show? The textured stitch pattern is what gives this hat it’s appeal. It is a four round repeat and three of those rounds are just knit. The new technique that brings the texture is the P1below, purl in the stitch below. This involves purling the stitch prom the previous row. It’s much easier than it sounds and I’ll show you slowly so you can easily see the technique in action.
Crown
The hat features a decreased crown that will give you a great fit. The decreases are evenly spaced around using a K2tog or knit 2 stitches together. If you’re working on a circular needle, you’ll want to switch to DPNs so you can comfortably work the decreases.
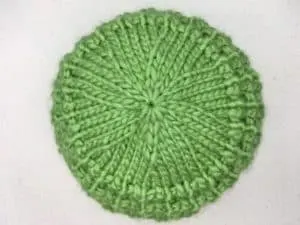
That’s it! I know it seems like we just got started, but you’ve already finished your hat. They don’t call this the Easy-Going Knit hat for nothing.

Sara
Tuesday 5th of September 2017
Can't wait to make:)
Sara
Tuesday 5th of September 2017
Can't wait to make:)
Denise
Sunday 3rd of September 2017
I can't wait for the loom pattern either!
Denise
Sunday 3rd of September 2017
I can't wait for the loom pattern either!
Raelyn Arnold
Saturday 2nd of September 2017
Kristen,
Great pattern & tutorial! I love the hat!