
Inside: Free pattern for loom knit Pie Carrier including written instructions with 2 variations and tutorial videos for each step.
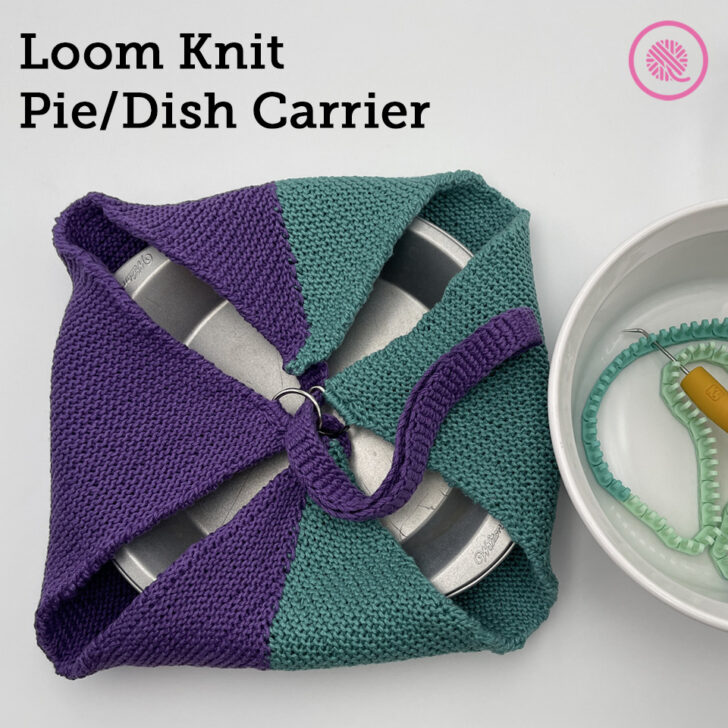
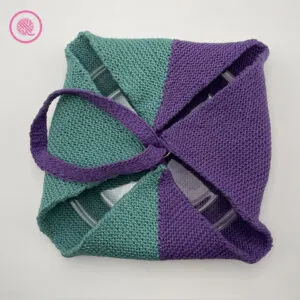
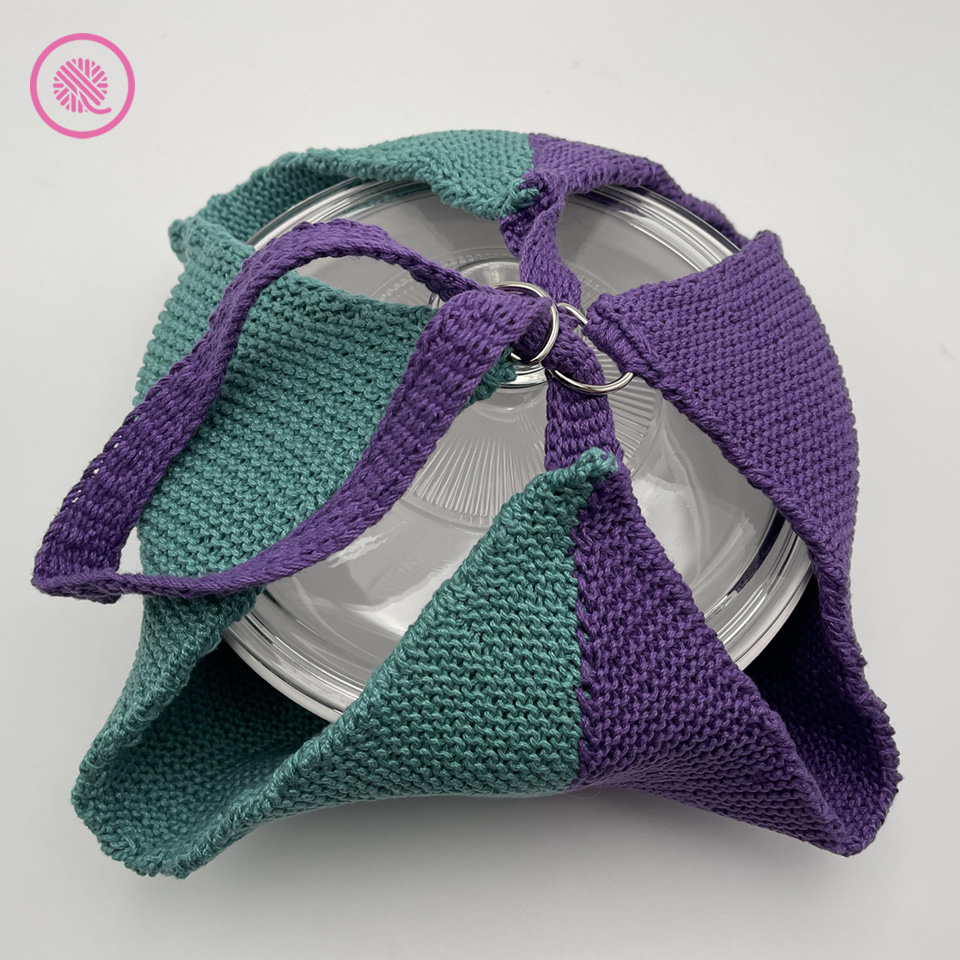
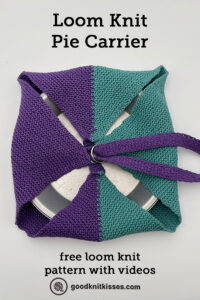
The loom knit Pie Carrier is a must for your next picnic! This handy cotton tote fits a large pie plate or casserole dish and the attached handle slides through the rings at the corners to close. It uses mercerized cotton, so it’s fully heat-proof and washable. This project is loom knit on a fine gauge loom so the fabric is thick and strong.

The pattern includes written instructions and fully-captioned tutorial videos showing you how to loom knit the squares and handle and how to assemble the carrier.
Loom Knit Pie Carrier
By Kristen Mangus
An ad-free downloadable PDF of this pattern is available for purchase in my GoodKnit Kisses online store, Etsy or Ravelry at the links below:


MATERIALS
(Some materials listed below may contain affiliate links to products I use. These links cost you nothing, but help support GoodKnit Kisses. Thanks!)


Yarn: Medium weight (#4) mercerized cotton
Lion Brand 24/7 Cotton (186 yds./3.5 oz. (170 m /100g) used in sample.
Contrast A – Color Jade 1-2 balls
Contrast B – Color Purple 1-2 balls
Loom: ¼” fine gauge (FG) loom with at least 84 pegs for the carrier and 108 pegs for the handle.
KB Flexee Loom Links Bitty used in sample.
Tapestry needle
2 – 1” D rings
GAUGE 23 sts x 48 rows in 4” (10 cm) garter stitch
SIZE Approx. 16” x 16” (41 cm x 41 cm)
ABBREVIATIONS
K = Knit (U knit, True knit or E wrap)
P = Purl
Slwyif = Slip stitch with yarn in front
St(s) = Stitch(es)
W = Wrap the peg as if to U knit; bring yarn around peg to front. Do not knit peg. Begin next row working in the opposite direction.
For a refresher on loom knitting basics see the blog posts below to get started:
13 Questions for Beginner Loom Knitters
How to Loom Knit Basics (cast on, knit, purl, & bind off)
How to Loom Knit Basic Stitch Patterns (garter st, seed st and ribbing)
How to Loom Knit in the Round
SKILL LEVEL Easy+


NOTES
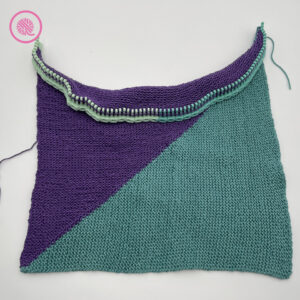
This project uses 1 or 2 mitered squares as the base for the carrier. Use 1 square to make a basic soft carrier or use 2 to make a heat-proof thermal carrier.
The handle is loom knit using the linen stitch. The handle and D rings are sewn onto the corners to complete the project.
Short row – This technique is used to shape your knitting. It involves working a portion of the row then wrapping a peg and working back in the opposite direction. This leaves the stitches at the end of the row unworked. Because we’re working in garter stitch all wraps are on knit rows and on the following row you purl back to the beginning.
Two color design – When using two colors you switch colors in the middle of Row 9. Work the first stitch in Color A, then cut the yarn leaving a tail to weave in. Next pick up Color B and wrap the next peg. Do NOT use a slipknot to begin Color B.
Slwyif: To slip with the yarn in front, you want the working yarn in front of the fabric but behind the peg. See the video for the quick hack to work this without moving the stitch.
Blocking – When you finish your project may not appear perfectly square, but tug it in both directions and let the stitches relax. If desired, you can steam or wet block each square before seaming to ensure an exact size. Video link: How to Wet Block
Seaming – For seaming the squares of the thermal carrier, I recommend using the whip stitch.
INSTRUCTIONS
Mitered Square – Make 1 for soft carrier or Make 2 for thermal carrier.
Cast on 84 sts using chain cast on.
Row 1: Knit to last st, W1. [2 loops on last peg.]
Row 2: Purl all.
Row 3: Knit to 1 st before wrapped peg, W1. [2 loops on last 2 pegs.]
Row 4: Purl all.
Row 5: Knit to 1 st before wrapped peg, W1.
Row 6: Purl all.
Rep Rows 5-6 until all except the first 2 sts are wrapped.
Row 7: K1, W1
Row 8: P1
Row 9: K1, [If working two color design cut Color A leaving yarn tail and switch to Color B. Do NOT use a slipknot.] W1. [3 loops on Peg 2, 2 loops on rem pegs.]
Row 10: P1
Row 11: K2 (knitting over all 3 wraps on peg 2), W1. [3 loops on Peg 3, 2 loops on rem pegs.]
Row 12: P2
Row 13: Knit all pegs up to and including double-wrapped peg, W1. [3 loops on Peg 4, 2 loops on rem pegs.]
Row 14: Purl all.
Row 15: Knit all pegs up to and including double-wrapped peg, W1.
Row 16: Purl all.
Rep Rows 15-16 until 3 loops on next to the last peg and 2 loops on the last peg.
Row 17: Purl all.
Row 18: Knit all. [All pegs have 1 loop only.]
Row 19: Purl all.
Bind off. Fasten off by pulling beginning yarn tail and working yarn tail through last stitch. Weave in ends, steam or wet block to make square if needed.
Handle – Make 1
With B, cast on 108 sts; leave a 9-12” tail for sewing.
Row 1: Sl1. *K1, Slwyif. Rep from * to end of row.
Rep Row 1 until piece measures 1” (2.5 cm); about 12 rows.
Bind off loosely; leaving a 9-12” tail. Leave both tails for sewing.
Assembly
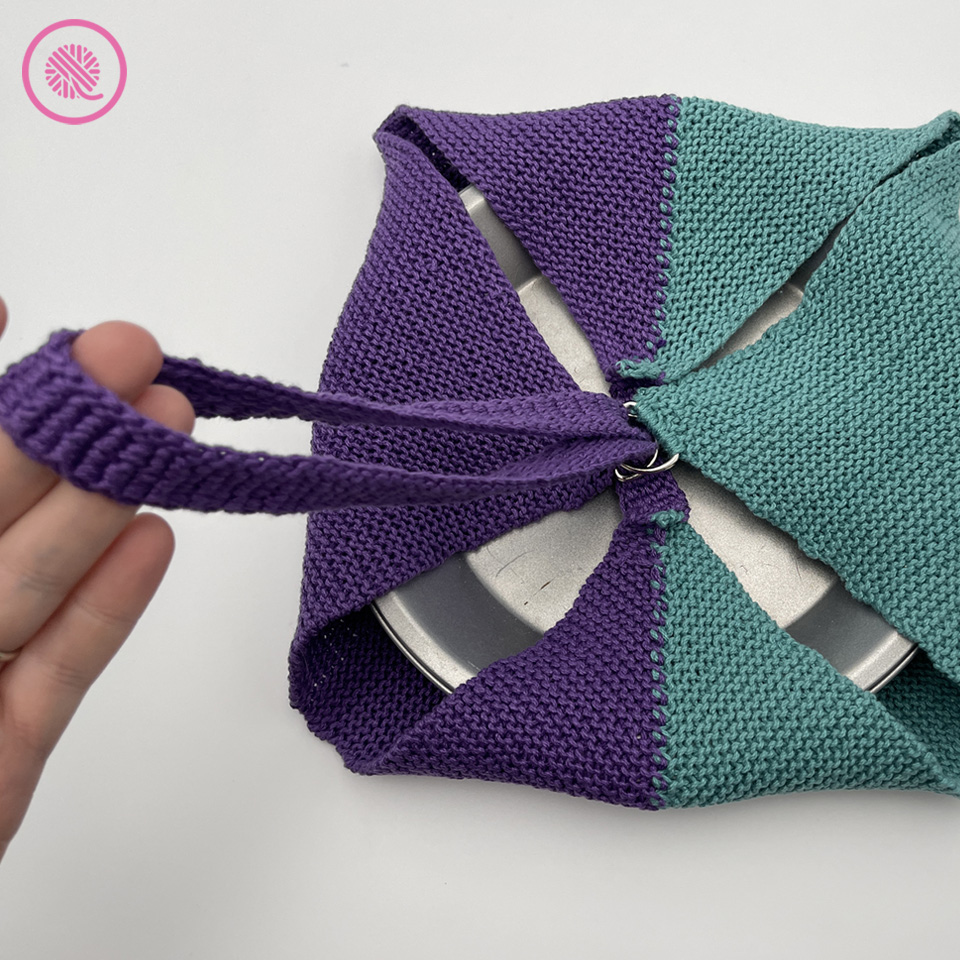
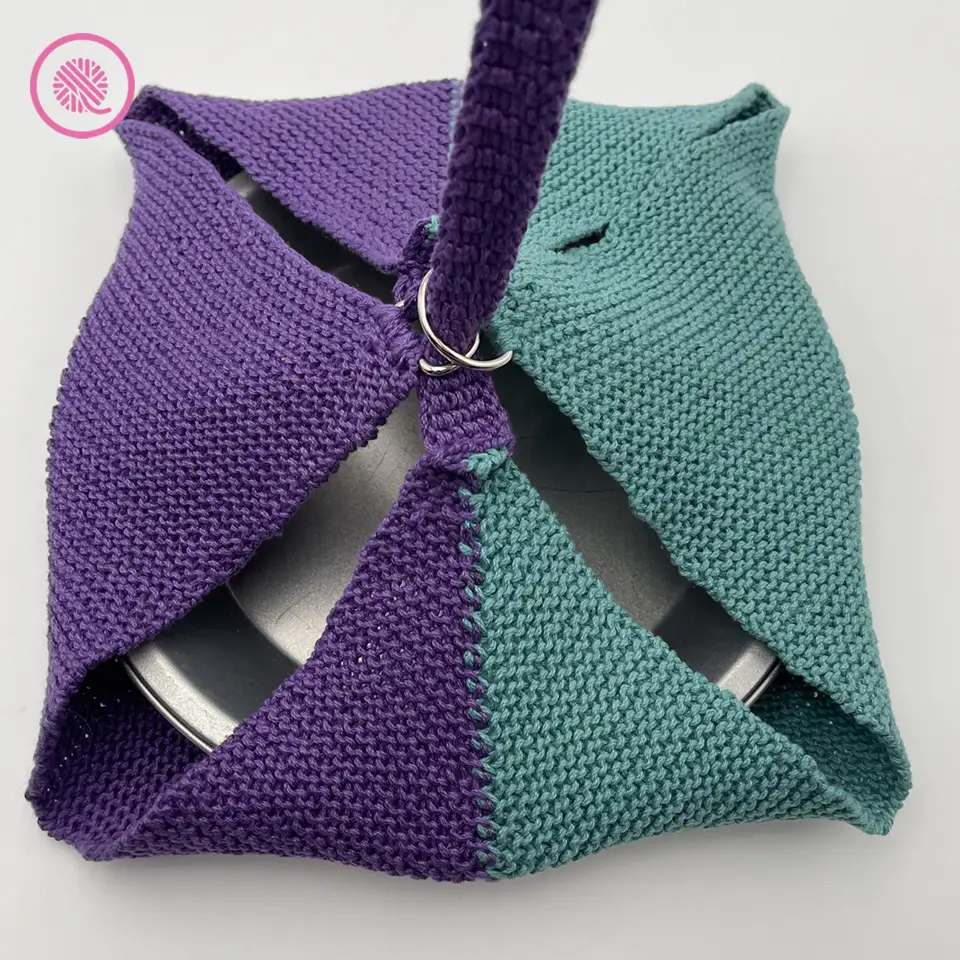
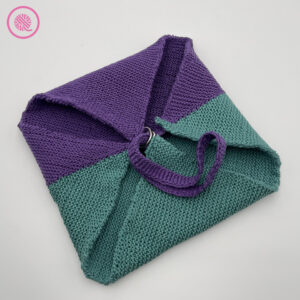
Sew each end of the handle to one of the corners where the two colors meet. (See image.) Weave in tails.
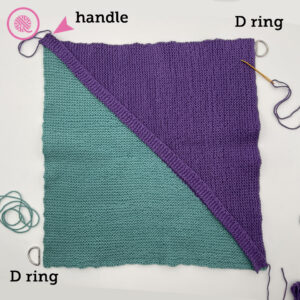
Sew the two 1-inch D rings onto the corners as follows. Attach 1 ring into the Contrast A corner and 1 into the contrast B corner. Weave in tails.
For double layer thermal tote only:
With wrong sides together, seam edges of squares all the way around using the whip stitch.
PIN IT!
Loom Knit Pie Carrier Tutorial Videos
The following tutorial videos demonstrate the main stitches and techniques used to make this project.