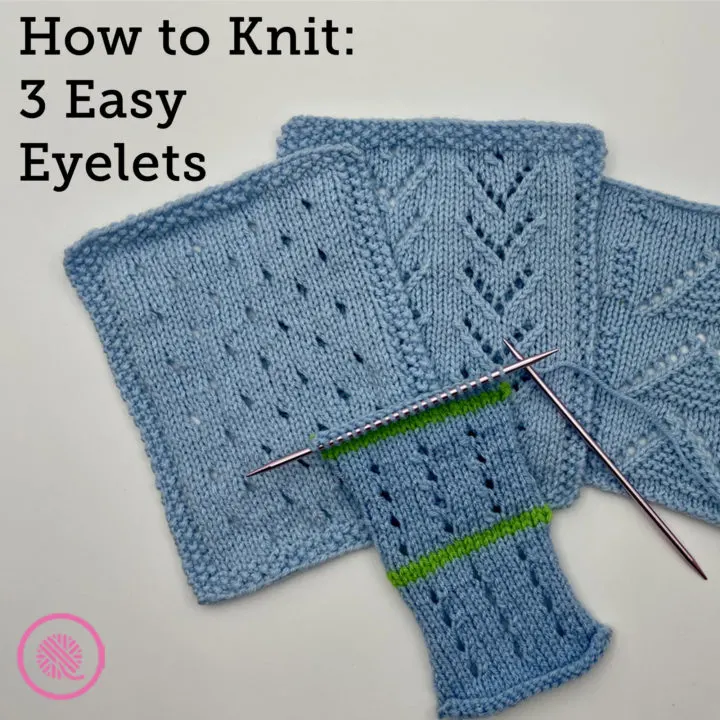
Inside: Learn how to knit 3 easy eyelets. Eyelets are essential for lace knitting and I teach you all the skills. Includes written instructions, knitting chart & free blanket square pattern in 2 common sizes.
We all love the beautiful openwork of eyelets. They’re what adds the movement of the stitches to lace knitting. While I’m going to show you some more complex lace designs, we’re going to cover all the basics of how to create those eyelets.
What is an eyelet?
Simply put, an eyelet is an intentional hole in your knit fabric.
We’re going to create simple eyelets today that have 2 main parts:
- a decrease (2 stitches into 1)
- a yarnover increase (adds 1 stitch)
By removing one stitch and adding another in the same row, you keep the same stitch count but add an eyelet to your fabric.
In the examples below, each decrease and yarnover will be directly next to each other. In other intricate lace patterns they may be separated by other stitches.
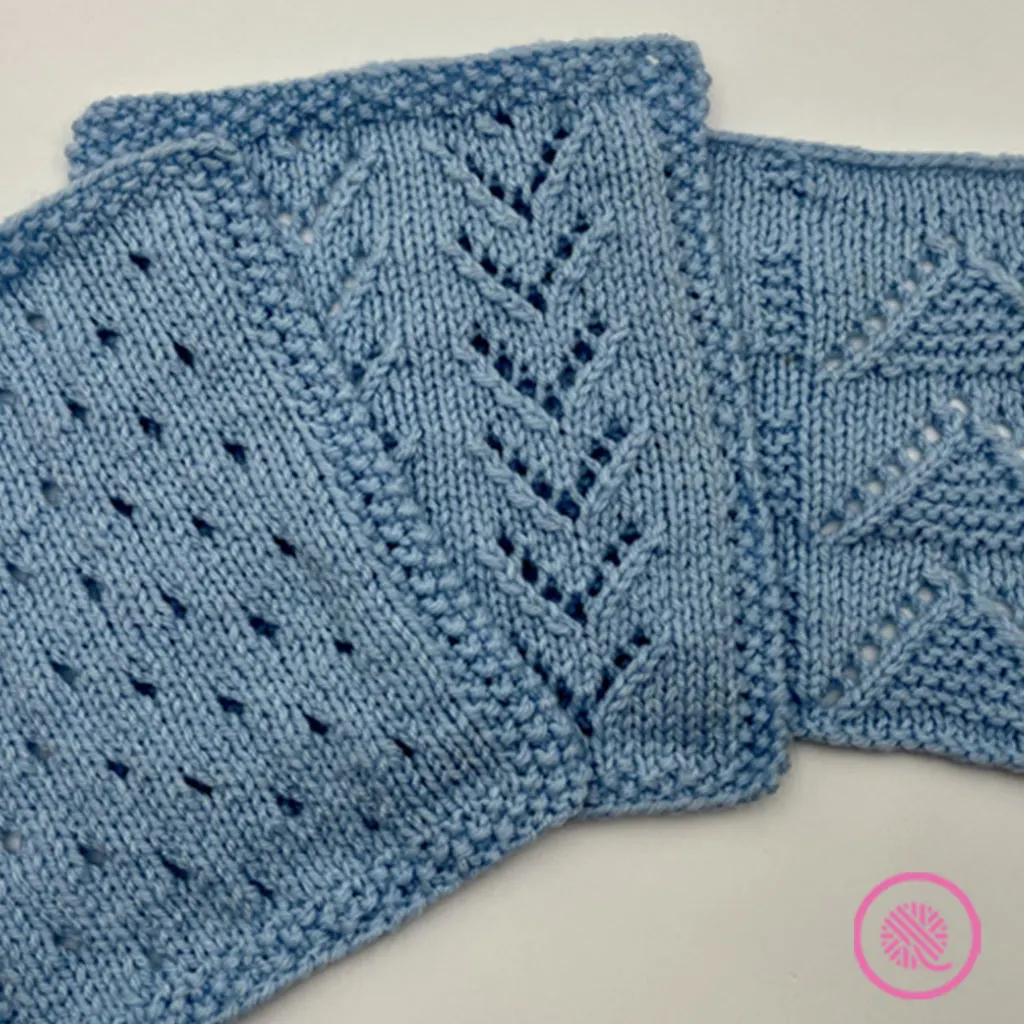
(left to right)
Creating Eyelet Lace Designs
You’ll notice in the samples above distinct diagonal lines in the V eyelet stitch patterns. Those lines are created by choosing either a right or left leaning decrease and combining them in specific ways.
This lesson covers 3 different decreases: k2tog, ssk, skp. The k2tog is a right leaning decrease and the ssk and skp both lean to the left.
- K2tog = Knit 2 stitches together
- Ssk = Slip, slip, knit
- Skp = Slip 1, knit 1, pass slipped stitch over
I show each of these on the video below, but if you need a detailed refresher on these stitches you can see my blog post, 5 Easy Decreases for Beginner Knitters.
But there’s a bit more to it than just the decrease. Whether you work the yarnover before or after the decrease also determines how well that leaning stitch shows up on the fabric. I created the following chart to help you determine which eyelet is right for you.

As you can see from the chart, when you work a k2tog followed by a yarnover you will see the stitch at the bottom of the eyelet leaning to the right. But if you work the yarnover first, the eyelet appears to be centered without a leaning stitch.
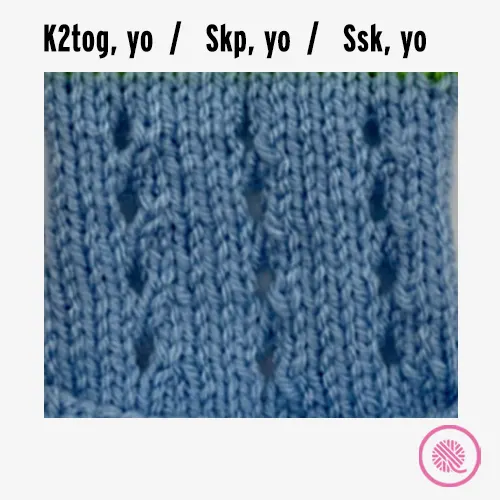
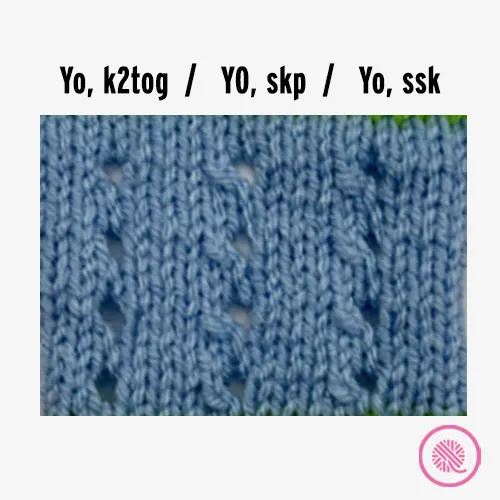
Let’s take a look at some closeups of these combinations. Each column in the samples below used the same eyelet.
This sample shows the decrease worked before the yarnover. You’ll notice only the first column has a defined leaning stitch.
This sample shows what each eyelet looks like when you add the yarnover first, then the decrease. These show the left leaning stitch.
Time to practice some eyelets!
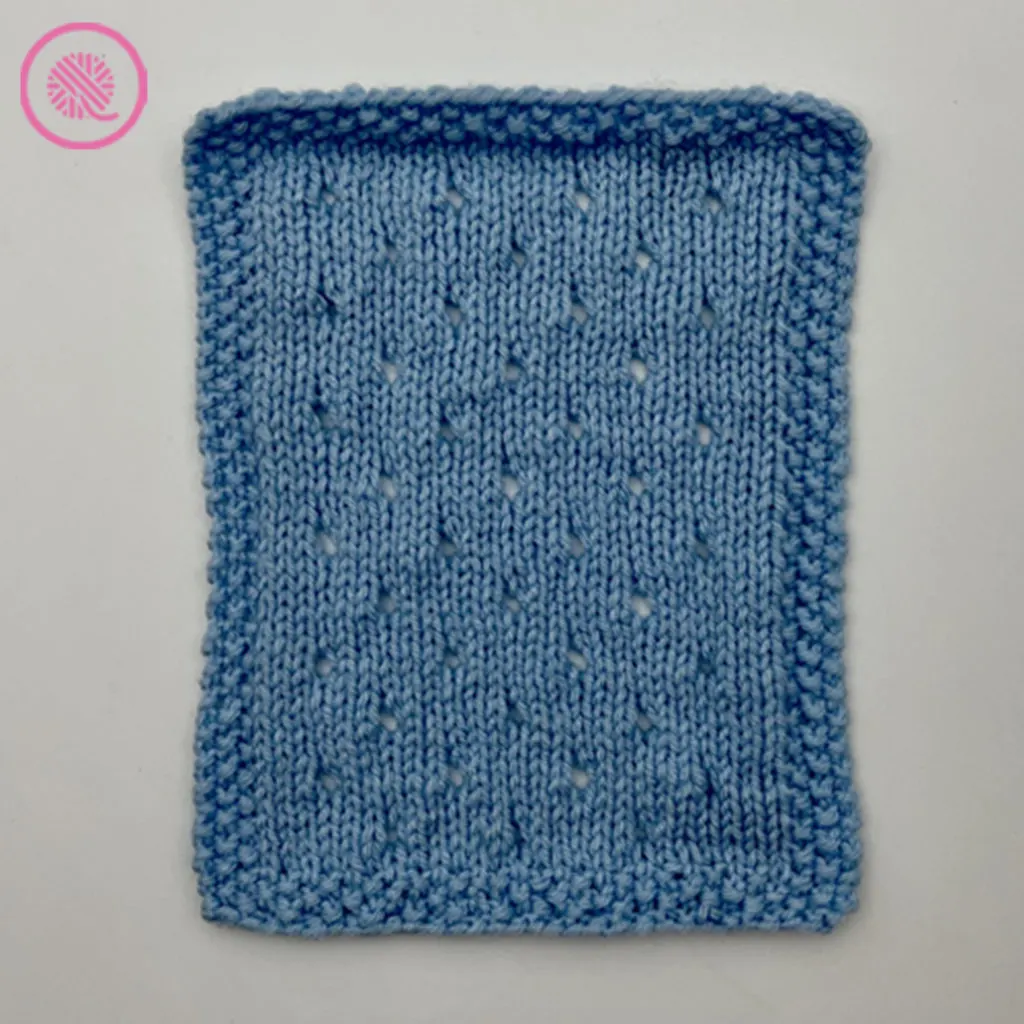
I created the Simple Eyelet Square* to help you apply this knowledge. This easy blanket square pattern uses a checkerboard of eyelets on a stockinette fabric. In the pattern below I used the k2tog, yo eyelet stitch throughout the square. If you’d like to use one of the other eyelets, feel free to do so.
Be sure to scroll all the way down to get the written instructions, knitting chart and watch the tutorial videos. The videos show all 6 eyelet combinations in detail.
*If you’re interested in the other lace patterns shown above (V Eyelet Lace and Garter Inverted V Eyelets), those knitting patterns will be available later this year.
Simple Eyelet Square
By Kristen Mangus
A downloadable PDF of this pattern is available in my Etsy store and from Ravelry at the links below:The Simple Eyelet Square makes a great introduction to knitting lace. With eyelets scattered across a field of stockinette stitch this openwork blanket square will make a beautiful addition to your next project.
Pattern includes written instructions for 2 common sizes and links to fully captioned tutorial videos that teach multiple ways to make the eyelets so you can choose your favorite.
MATERIALS
(Materials list may contain affiliate links to products I used to make this project. Using these links cost you nothing, but helps support GKK.)
Yarn
Medium (#4) worsted weight yarn
Red Heart Super Saver in Light Blue used in sample.
Needles
US 7 (4.5 mm) needles
Knitters Pride Karbonz circular needles used in samples.
Stitch marker
Tapestry needle
ABBREVIATIONS
K = Knit
K2tog = Knit 2 together
P = Purl
Rep = Repeat
RS = Right side
St(s) = Stitch(es)
WS = Wrong side
YO = Yarnover
GAUGE
18 sts x 26 rows in 4” in eyelet stitch
SKILL LEVEL Easy
MEASUREMENTS
Option 1: 7” x 9” (18 cm x 23 cm)
Option 2: 12” x 12” (30.5 cm x 30.5 cm)
NOTES
I’ve included two square sizes in this pattern that are commonly used to make blankets.
The eyelet stitch pattern is a multiple of 6+7 stitches and uses an 8 row repeat.
If there is a + sign after the multiple for a stitch pattern that means there is an extra step to figure out your cast on. For example, if a stitch pattern tells you to cast on a multiple of 6+1. That means, first, you need to find a multiple of 6 that will give you the correct size project. If your gauge gives you 5 sts/in and you want about a 7″ washcloth you need the closest multiple of 6: 36 stitches. Then you need to ADD 1 more stitch to that, so your actual cast on would be 37 stitches for the project.
The written instructions include a seed stitch border: 3 stitches on the sides and 3 rows on the top and bottom. The chart does not show the seed stitch border and is intended only to show the main stitch pattern. If you decide to change the size be sure to add your own border to prevent the edges from curling.
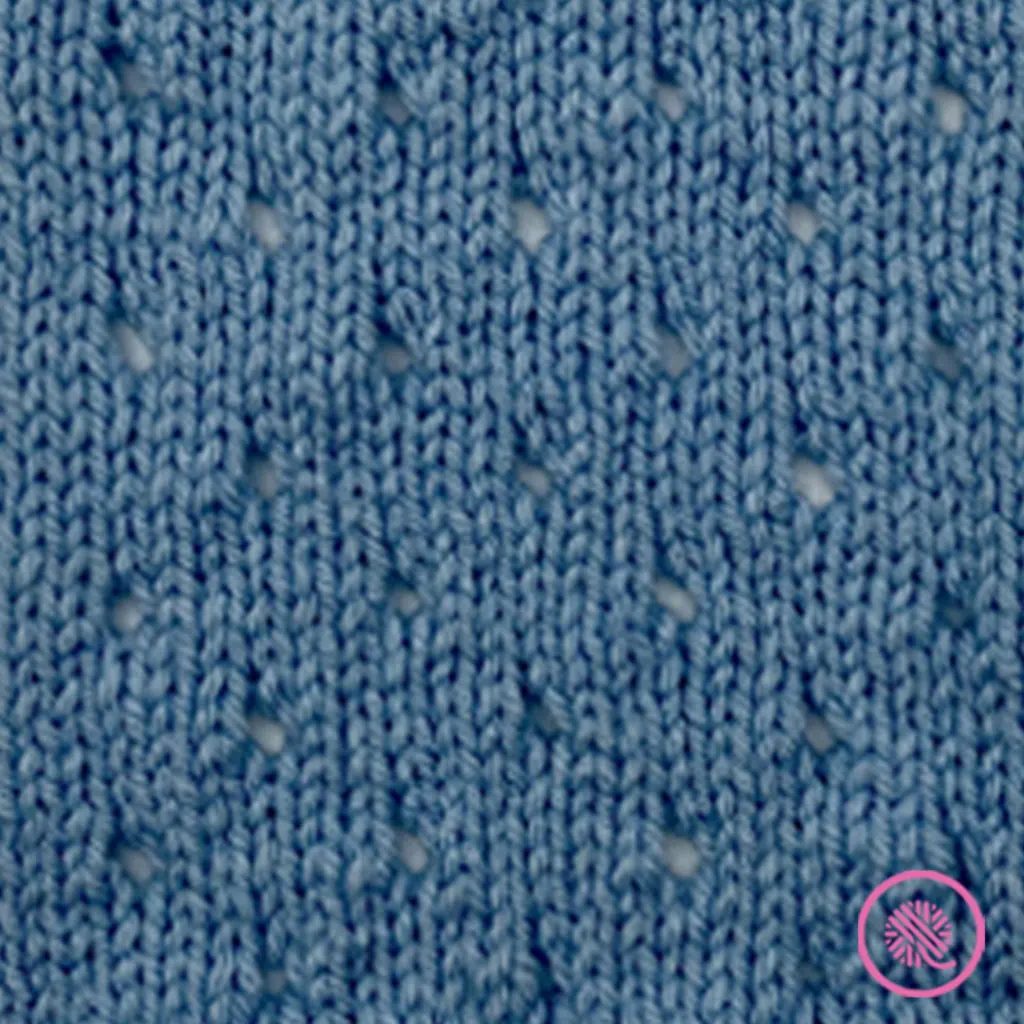
This pattern is written using a YO, k2tog to create each eyelet. The videos below show other methods for making eyelets. You may substitute any of the eyelets shown in the video in this pattern.
INSTRUCTIONS
Option 1 (7” x 9”) Instructions:
Cast on 31 sts.
Row 1 (WS): *K1, p1. Rep from * to last st. K1.
Row 2: *K1, p1. Rep from * to last st. K1.
Row 3: *K1, p1. Rep from* to last st. K1.
Row 4 (RS): K1, p1. Knit to last 2 sts. P1, k1.
Row 5 and all odd rows: K1, p1, k1. Purl to last 3 sts. K1, p1, k1.
Row 6: K1, p1. Knit to last 2 sts. P1, k1.
Row 8: K1, p1. k4. *Yo, k2tog, k4. Rep from * to last 7 sts. Yo, k2tog, k3, p1, k1.
Row 10: K1, p1. Knit to last 2 sts. P1, k1.
Row 12: K1, p1. k7. *Yo, k2tog, k4. Rep from * to last 4 sts. K2, p1, k1.
Row 13: Rep Row 5.
Rep Rows 6-13 five more times or to desired length ending after a Row 9 or Row 13.
Rep Row 6 once more.
Rep Rows 1-3 for top border. Bind off in pattern and weave in ends.
Option 2 (12” x 12”) Instructions:
Cast on 55 sts.
Row 1 (WS): *K1, p1. Rep from * to last st. K1.
Row 2: *K1, p1. Rep from * to last st. K1.
Row 3: *K1, p1. Rep from* to last st. K1.
Row 4 (RS): K1, p1. Knit to last 2 sts. P1, k1.
Row 5 and all odd rows: K1, p1, k1. Purl to last 3 sts. K1, p1, k1.
Row 6: K1, p1. Knit to last 2 sts. P1, k1.
Row 8: K1, p1. k4. *Yo, k2tog, k4. Rep from * to last 7 sts. Yo, k2tog, k3, p1, k1.
Row 10: K1, p1. Knit to last 2 sts. P1, k1.
Row 12: K1, p1. k7. *Yo, k2tog, k4. Rep from * to last 4 sts. K2, p1, k1.
Row 13: Rep Row 5.
Rep Rows 6-13 seven more times or to desired length ending after a Row 9 or Row 13.
Rep Row 6 once more.
Rep Rows 1-3 for top border. Bind off in pattern and weave in ends.
CHART
The chart below shows only the simple eyelet lace stitch pattern used in the middle of the 7” blanket square. It does not include the seed stitch border.
The area in red shows one 6 stitch repeat of the eyelet lace for reference.
PIN IT!
How to Knit 3 Easy Eyelets Tutorial Videos
Select videos are available to GoodKnit Kisses YouTube members only. To get exclusive access to GKK VIP-only content, free PDF patterns, weekly Zoom meetup and more, sign in to YouTube and join as a VIP Member today! Find out more about GKK Membership HERE!
The following video teaches you how to make 3 easy eyelets using 3 different decreases in two ways: putting the yarnover before the decrease or adding the yarnover after you knit the decrease. The following timestamps direct you to the different methods:
00:00:00 Intro
00:01:50 Eyelets explained with 3 stitch samples
00:03:38 Compare right and left leaning decreases
00:07:23 Ssk, yo
00:08:36 Skp, yo
00:09:40 K2tog, yo
00:10:40 Yo, ssk
00:11:59 Yo, skp
00:12:36 Yo, k2tog
00:13:10 Wrap up

