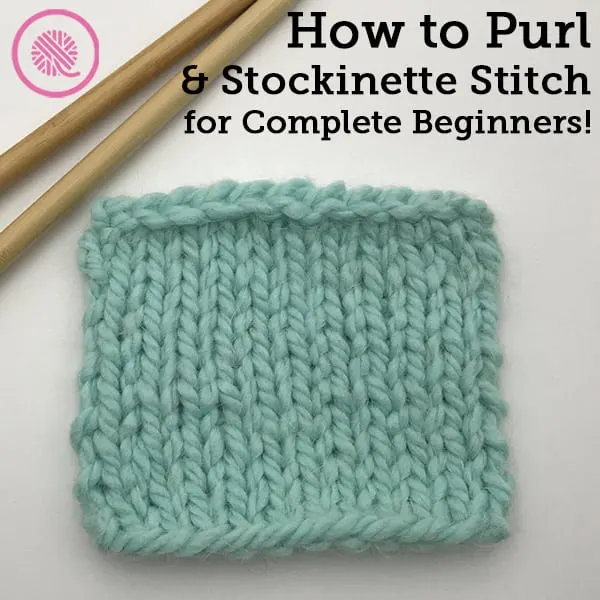
Inside: Learn how to purl on knitting needles. Combine the knit and purl stitches to create the stockinette stitch pattern in this easy to follow video for beginner knitters.
Are you starting to feel a little more comfortable with your needles and yarn yet?
I know the last lesson had A LOT of new skills and ideas. Lesson 2 will review some of those techniques like casting on, binding off and the knit stitch. The new part of this lesson is how to purl.
You may already be asking yourself why I’m doing so much review, but there is a method to my madness. (That’s not always the case, but in this case it’s true.)
If you missed the previous lessons you can get them here:
How to Knit for Complete Beginners Overview
Lesson 1: How to Knit Garter Stitch
What is a purl stitch?
In the simplest terms, the purl stitch is the opposite of the knit stitch. That means that when I work a purl on the front of my project it looks like a knit stitch on the back. Knit stitches look like a letter “V” while purl stitches look more like a dash or hyphen. We call these purl bumps because they stick out on your knitting.
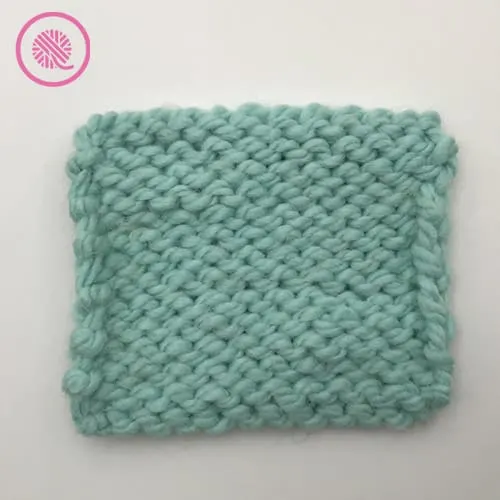
You may have noticed in the last lesson when you work all knit stitches back and forth you end up with bumpy ridges across your knitting. This is the garter stitch pattern.
The ridges form because every knit stitch you work on the back side of your knitting looks like a purl stitch on the front.
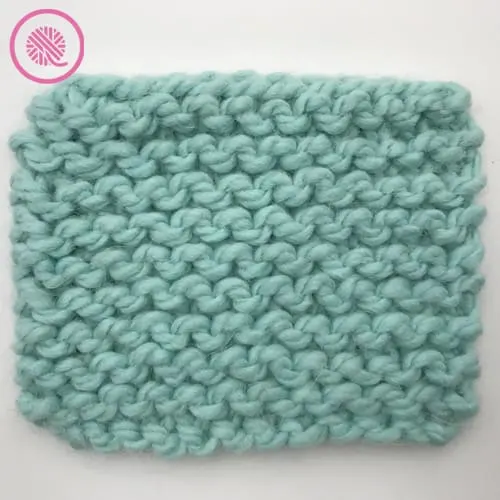
between the purl bumps on both sides.
So how do I get a smooth knit fabric?
That’s where the purl stitch comes in!
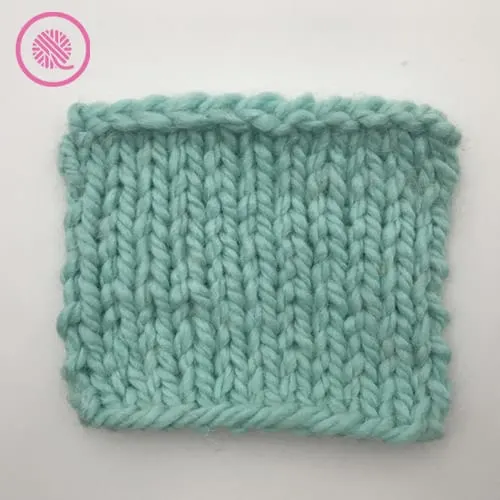
When you work a purl stitch on the back side of your knitting you will create a knit stitch on the front.
This is important for making the front of your knitting into that smooth fabric you want.
The smooth knits that you love to see and feel are the most common stitch pattern. We call this the stockinette stitch pattern.
Stockinette stitch goes by many names including stocking stitch or jersey knit. Keep that in mind when browsing through patterns.
Stockinette stitch is essential for every knitter!
You see stockinette used in just about every kind of knitting. As the name implies it’s commonly used for socks, but also sweaters, hats, blankets, scarves and so much more.
There is one drawback to knitting the stockinette stitch. Your knitting will curl up at the edges. This curling is not a problem if you’re stitching pieces of a sweater together. However, if you want a blanket that lays flat, you may want a different stitch pattern or add a border to the stockinette portion of the blanket. (Hint: That’s a huge spoiler for Lesson 3 when we combine garter and stockinette. Be sure to come back for Lesson 3!)
Because of the issue with curling, I decided not include a dedicated pattern for Lesson 2. Your homework for this lesson is knit a small swatch to practice how to purl.
Once you know how to purl, stockinette stitch opens a world of possibilities as a knitter.
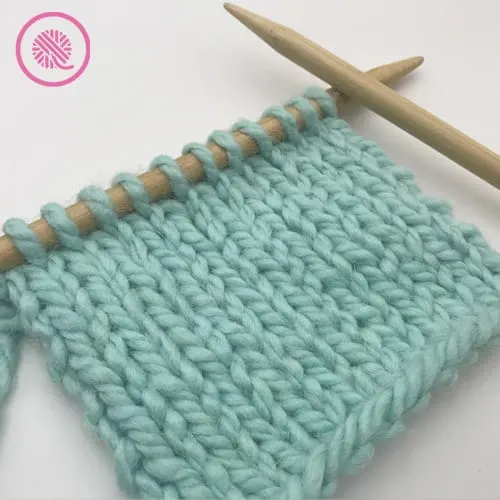
How to Purl:
Now that you know the knit stitch let’s talk about the similarities and differences in how to work a purl stitch.
- First, you want to make sure your working yarn is in front of your needles before your begin.
- Next, like the knit stitch, you put your needle into the front leg of the stich you want to purl keeping the point toward you. (See Fig. 1 below.)
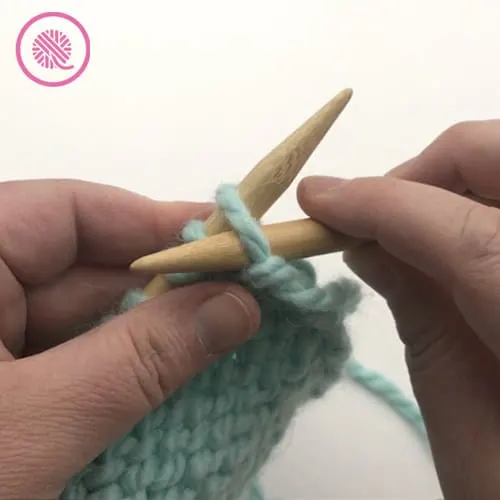
- Wrap the yarn around the needle. (See Fig. 2 below.)
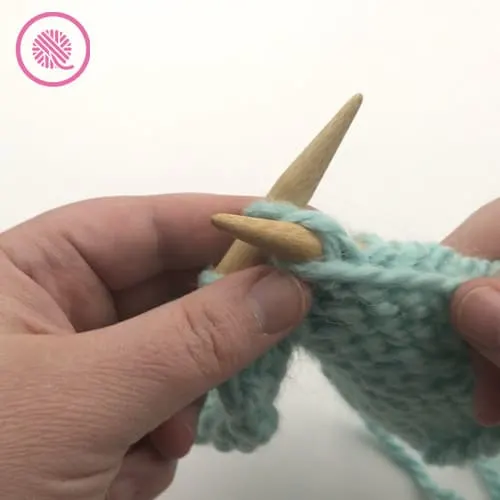
- Pull the new purl stitch through the existing stitch and slide the old stitch off the needle.
Knit a Stockinette Stitch Sample
Cast on 12 stitches.
Row 1: Purl all.
Row 2: Knit all.
Repeat Rows 1 and 2 until you reach your desired length.
Bind off and weave in tails on your sample.
PIN IT!
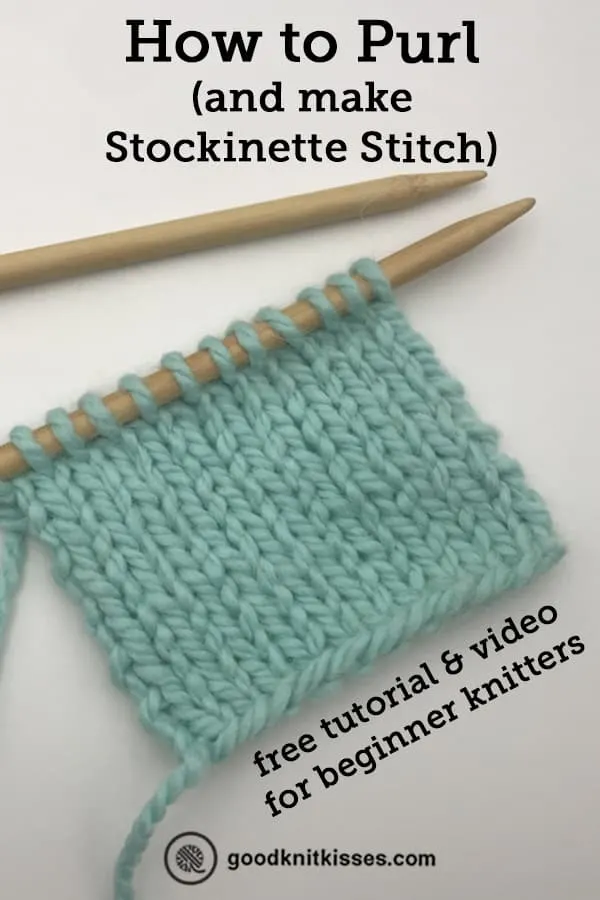
Lesson 2: How to Purl and Knit Stockinette Stitch Tutorial Video
If any of the videos below do not show they may be restricted to GoodKnit Kisses YouTube members only. Find out more about GKK Membership HERE!
Follow the Lesson 2 Time Stamps listed below to jump directly to the portion you need:
00:01:54 Beginning Notes
00:02:21 How to Purl stitch (on existing sample)
00:04:01 Purl repeated
00:06:29 Holding yarn
00:07:11 Starting Stockinette Swatch
00:07:37 Slip knot & Longtail Cast on
00:11:03 Notes on Stockinette setup (Choose Bumpy or Smooth cast on side)
00:11:45 Row 1 Purl
00:13:14 FIXING MISTAKES (un-purling to fix, etc)
00:15:46 Placing stitch marker for stockinette (Use this TIP!)
00:16:37 Row 2 Knit, Right Side, & Stitch marker
00:17:11 KNIT CHAT: Stockinette, Stocking St, Jersey Knit, Reverse Stockinette
00:18:07 Row 3 Purl
00:18:21 Continuing swatch instructions
00:18:51 Bind off /Cast off – TWO WAYS
00:20:12 Bind off in pattern – Purl Bind off
00:22:20 FIXING BIND OFF – Ex. If Knit Bind off on Purl row
00:23:29 Last 2 stitches of Bind off – finishing
00:24:31 Wrap up
Right handed
Left handed
Be sure to follow all the How to Knit for Complete Beginners Lessons.
- How to Knit – Garter Stitch for Complete Beginners includes Basic Garter Scarf pattern
- How to Knit – Purl stitch for Stockinette
- How to Knit – Stockinette with Garter Border includes Basic Bordered Dishcloth pattern
- How to Knit – Ribbing 1×1 and 2×2 includes Easy Ribbed Headband pattern
- How to Knit – Seed Stitch for Beginners includes Seed Stitch Washcloth pattern
- How to Knit – Moss Stitch for Beginners includes Moss Stitch Washcloth pattern
- How to Knit – Basketweave Stitch for Beginners includes Basketweave Cowl pattern
- How to Knit – Knitting in the Round includes Moss Cowl pattern.
- How to Knit – 5 Cast Ons for Beginners
- How to Knit – 4 Increases includes Grandma’s Favorite Dishcloth pattern
- How to Knit – 5 Decreases includes Grandma’s Favorite Dishcloth pattern
- How to Knit – Slip Stitches

