Loom Knit Free Spirit Topper
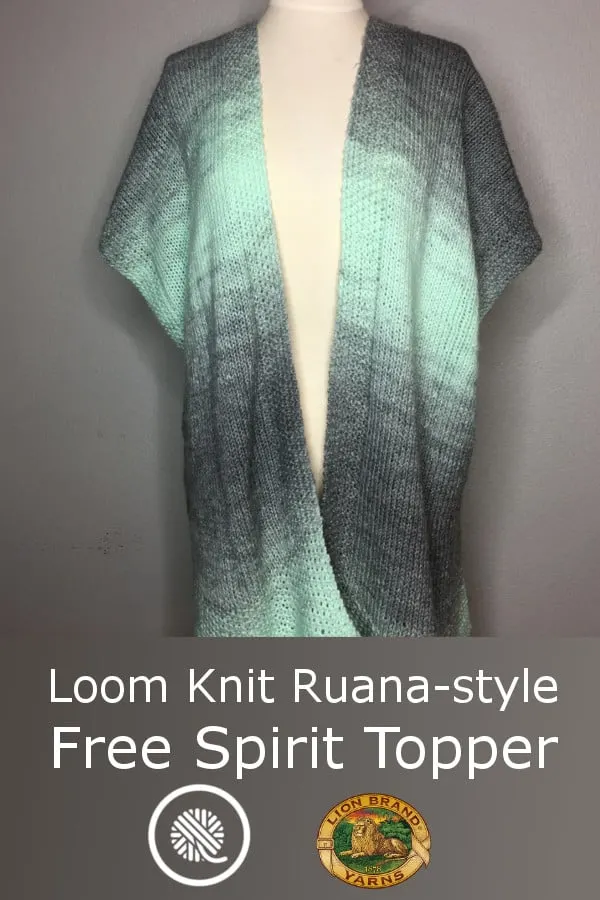
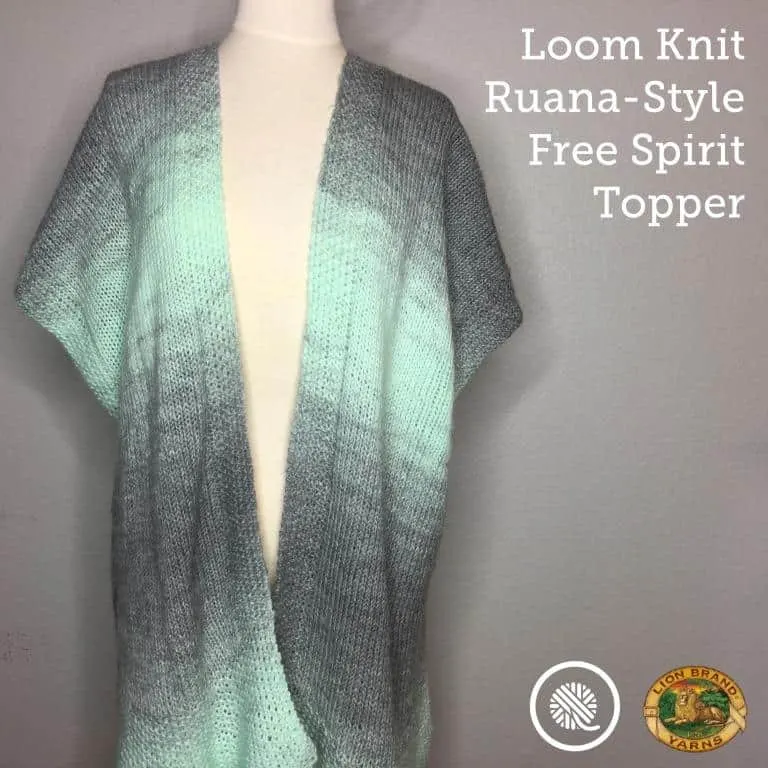
We all have one. That sweater or poncho that brings the warmth and comfort of a hug. The one that you never want to take off … until now. The Free Spirit Topper from Lion Brand Yarn is a ruana-style wrap that is sure to become your new favorite. And now you can knit it on your loom!
I’m thrilled to partner with Lion Brand and bring you this loom knit version of their pattern. I know many of you have been looking for more loom knit sweater and poncho patterns and I’m excited to be able to bring this pattern and tutorial to you. (Hey, needle knitters, you can grab the original pattern HERE!)
The Free Spirit Topper is loom knit using Scarfie yarn. The soft subtle color changes of the yarn add some gentle stripes to the pattern. The best part is that the yarn does all the work for you! This bulky, acrylic/wool blend knits up so quickly you’ll be able to wrap up in your new topper in no time.
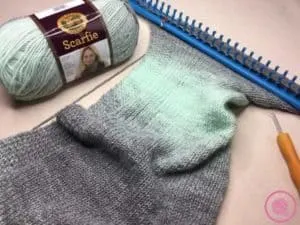
Yarn:
Lion Brand Scarfie – 4 skeins (Color Mint/Silver used in sample.)
Loom:
11/16″ LG (large gauge) loom with at least 54 pegs. (Long 62-peg KnitUK loom used in sample; sample peg settings a Blue Knifty Knitter Long Loom)
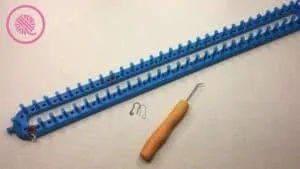
Supplies:
4 stitch markers – 2 for marking pegs, 2 locking stitch markers to place on fabric
measuring tape
scrap yarn (to use as stitch holder)
tapestry needle (for seaming and weaving in ends)
Gauge:
7 sts and 11.5 rows in 2″ (5 cm) of stockinette stitch
Size:
One Size – 30″ x 60″ (76 cm x 152 cm)
Abbreviations:
K – Uwrap knit stitch
P – Purl stitch
st(s) – stitch(es)
Rep – repeat
Techniques:
True Cable cast on
Seed stitch
Add new ball of color-changing yarn
Provisional bind off for accurate measuring
Bind Off in pattern
Seaming panels
Pattern:
RIGHT HALF
Front
Cast on 53 stitches using True Cable Cast On.
Seed Stitch Border
Row 1: *K1, P1. Repeat from * to last stitch. K1.
Row 2: *P1, K1. Repeat from * to last stitch. P1.
Repeat these 2 rows for the Seed Stitch pattern for 4″ (10 cm). [Mine was 36 rows.]
Body
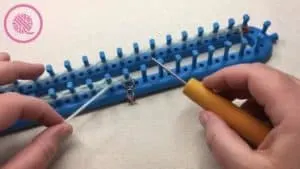
The first 8 stitches and last 8 stitches are a seed stitch border with stockinette stitch in the center. Place a marker on Peg 8 and Peg 46 to mark your border.
Row 3: *K1, P1. Rep from * 3 more times. K to marker. *P1, K1. Rep from * to end of row.
Row 4: *P1, K1. Rep from * 3 more times. K to marker. *K1, P1. Rep from * to end of row.
Repeat Rows 3 and 4 until piece measures 31″ (78.25) from the beginning.
Back
One stitch is added to allow for seaming the center back. This will change the stitch count on one side of your seed stitch border. Leave your stitch markers on the same pegs and follow the new row instructions.
Body
Row 5: Cast on 1 st. P the new st. *K1, P1. Rep from * 3 more times. K to marker. *P1, K1. Rep from * to end of row.
Row 6: *P1, K1. Rep from * 3 more times. K to marker. *K1, P1. Rep from * to last stitch. K1.
Row 7: *P1, K1. Rep from * 3 more times. P1. K to marker. *P1, K1. Rep from * to end of row.
Repeat Rows 6 and 7 until piece measures about 50″ (127 cm) from beginning of panel. Ending after Row 6.
Seed Stitch Border
Row 8: *P1, K1. Rep from * to end of row.
Row 9: *K1, P1. Rep from * to end of row.
Repeat Rows 8 and 9 until piece measures 54″ (137 cm) from beginning of panel. Bind off in pattern.
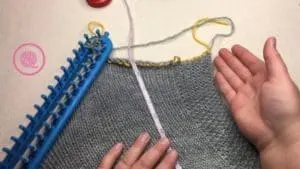
LEFT HALF
Front
Follow instructions as for Right Half until panel measures 31″ from the beginning.
Back
One stitch is added on the opposite side. Leave your stitch markers on the same pegs and follow the new row instructions.
Body
Row 5: *K1, P1. Rep from * 3 more times. K to marker. *P1, K1. Rep from * to end of row. Cast on 1 st.
Row 6: K1. *P1, K1. Rep from * 3 more times. K to marker. *K1, P1. Rep from * to end of row.
Row 7: *K1, P1. Rep from * 3 more times. K to marker. *P1, K1. Rep from * to last st. P1.
Repeat Rows 6 and 7 until piece measures about 50″ (127 cm) from beginning of panel. Ending after Row 6.
Seed Stitch Border
Row 8: *K1, P1. Rep from * to end of row.
Row 9: *P1, K1. Rep from * to end of row.
Repeat Rows 8 and 9 until piece measures 54″ (137 cm) from beginning of panel. Bind off.
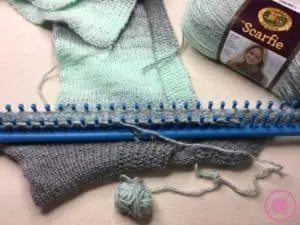
Finishing
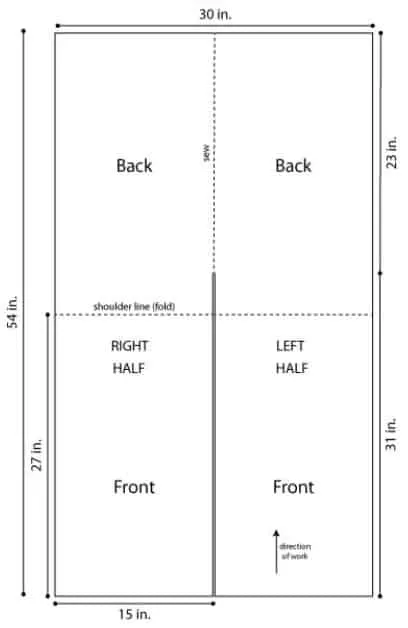
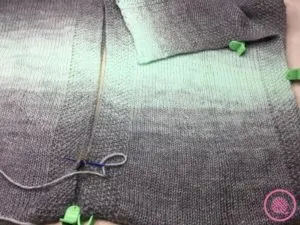
Weave in ends. Sew the panels together according to the following diagram. Lay the right and left panels next to each other making sure the sides with the extra cast on stitch are next to each other. Sew the center back seam.
Check out the full video tutorial for the special loom knitting techniques used to make the Free Spirit Topper.
Want to try it with a different loom or yarn?
I’ll show you how to figure out the correct number of pegs to cast on using what ever loom and yarn you choose. I’ve included a video showing how to do the calculations and our handy Cast On Calculator. Yes, this pattern is THAT versatile!
I hope you enjoyed this video tutorial from GoodKnit Kisses and Lion Brand Yarn! This post contains sponsored content.

Sharvari
Monday 4th of March 2024
Can this be made using large pegs on martha stewart loom?
k
Thursday 22nd of October 2020
also after watching more videos and trying to improve my loom knit skills I swear in the video she says do e-wraps in between the boarder stitches, so I did what she did believing that was an e-wrap, then as I watch more videos realized I was not doing an e-wrap. In the video she does a u-wrap but says e-wrap - confusing, this also pulls the knit tighter and ends up with the measurements being off. I was hoping she would reply to the comments about how to fix the hump that formed in mine but it has been a month since posing the question and no answer. I am deeply disappointed.
k
Wednesday 23rd of September 2020
Did any one have the issue that when you go around to the other side of the loom and you use the one peg on the end, when I took my project off the loom to do a length and width measurement there was a hump in my project right at the spot when the yarn had been on that end peg. The video did not show her project like midway through or when she took it off to measure so I do not know if that is common and if it corrects itself or if it is an issue with something that I am doing and I cannot find any other sources for this online. Did anyone actually make this to completion? So far it is very time consuming and cumbersome working with that rectangle loom, then having that hump issue I am very tempted to start over with the crochet pattern for this.
Patty
Monday 23rd of September 2019
Re: CAST-ON CALCULATOR, LOOM KNIT GAUGE SWATCH, ETC. - I love your YourTube tutorials! Kristen, if you haven't already done so, please add your very helpful cast-on calculator to your YouTube channel. Being somewhat of a newbie, I'd also appreciate it if you could go over simple things like "choosing which crochet hook to use for different yarn weights" and "how to read ball band symbols and graphics" on yarn skeins. (e.g. If the yarn is a 6 weight (super bulky) and the ball band graphic recommends crochet hook "N-13 (9mm)" is Lion Brand referring to US crochet hook size, or what?) Which stitch(es) should we use to measure gauge for loom knitting when following a pattern with different stitches? Can you please summarize the compolete pattern construction with visuals before beginning the steps for your projects? That would be so helpful, especially if we need to modify the pattern. Thanks so much!
Melanie
Friday 7th of June 2019
Ogdenstormcrow I have just started attempting to make this, but was wondering if I didnt add the extra cast on stitch after 31” would that stop the v neck on the back of the garment. I really love this top but I’m not keen on the v neck at the backs prefer it all the way up to my shoulders. Many thanks