Inside: Loom knit I-cord Braided Handle instructions and tutorial videos for left and right handed loom knitters.
I absolutely love the look of loom knit purse or bag!
But those straps!
Most bag patterns have garter stitch or i-cord handles. And I just do not like either of those!
Garter stitch panels have too much stretch so once you load your bag it’s hitting your knees. And i-cords are just too thin to feel comfortable on my shoulder.
I knew when I started designing a new bag pattern that I had to come up with a better idea for the straps.
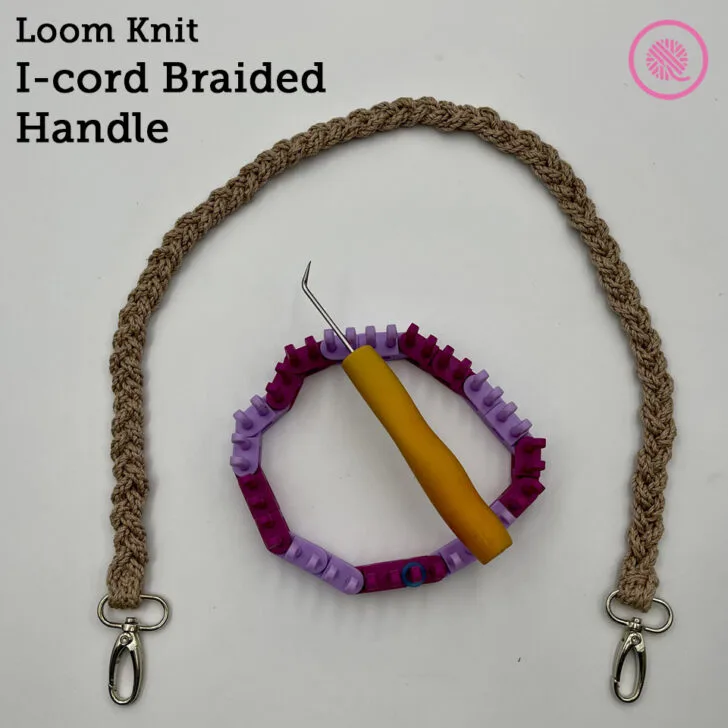
Introducing the Loom Knit I-cord Braided Strap!
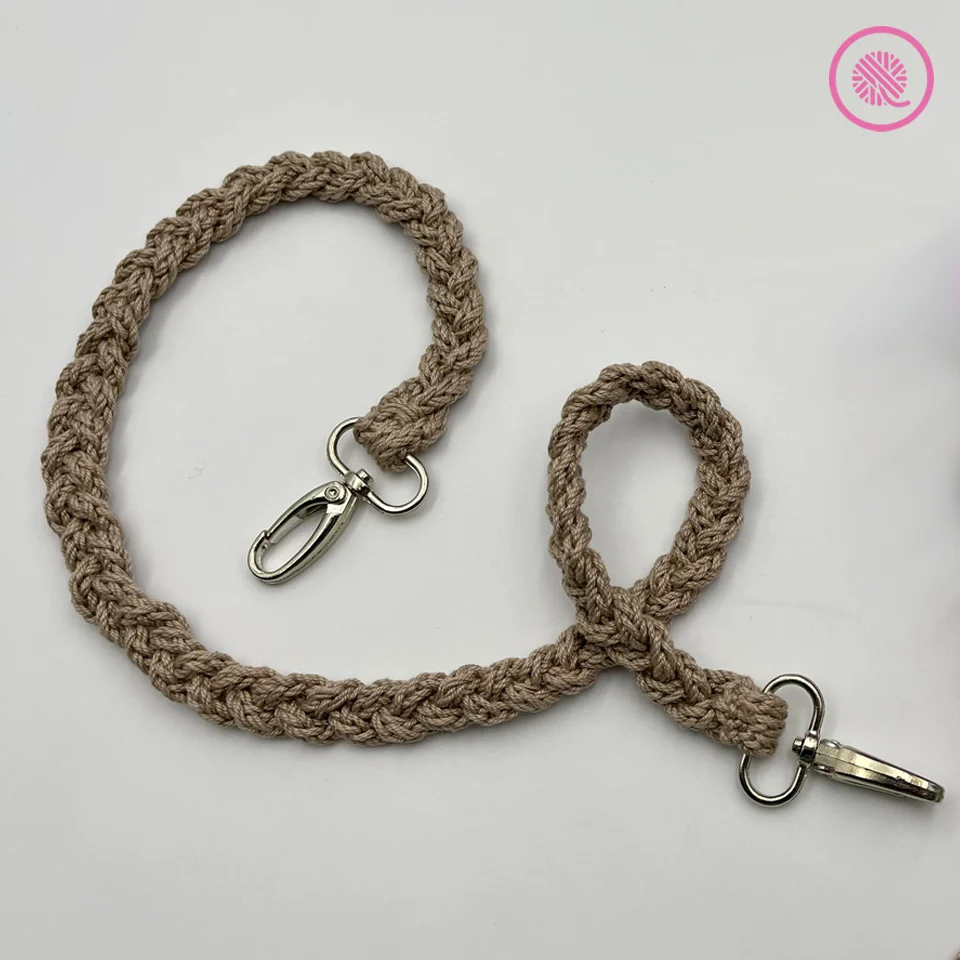
This easy project makes a sturdy strap that feels comfortable on your shoulder. It still has some stretch to it, but not enough to overstretch the yarn. The best part is… this is so simple that even a beginner loom knitter can make them.
I also chose to use swivel snap hooks to make it removable so you can mix and match the handles with different bags. But don’t worry if you don’t have the hooks you can always sew the handle directly onto your bag.
This pattern uses three 2-stitch i-cords braided together. Braiding the i-cords and seaming shortens the total length so loom knit each i-cord at least 2” longer than the length you desire for your final strap.
Swivel Snap Hooks: This product is sewn to either end of the strap and clips onto your bag. This allows you to change the straps. They are found at the affiliate link listed below or in the sewing notions area of your local craft store.
This pattern includes detailed written instructions and links to fully captioned tutorial videos for both right and left handed loom knitters.
Loom Knit I-Cord Braided Handle/Strap
By Kristen Mangus
A downloadable PDF of this pattern is available in my Etsy store or from Ravelry at the links below:
MATERIALS
(Using the affiliate links below costs you nothing, but helps GoodKnit Kisses provide free content to you.)
Yarn
Medium (#4) worsted weight yarn
Yarn Bee Fundamental Cotton (164 yds./3.5 oz., 150 m/100 g) 1 ball needed. Color Camel used in sample. Approx. 30 yds. used for one 30” handle
Loom
⅜” small gauge (SG) loom with at least 2 pegs. KB Flexee Loom Skinny used in sample.
Tapestry needle
Measuring tape
Locking stitch marker (large) or large safety pin
1” Swivel Snap Hooks – 2 per strap
SKILL LEVEL Easy
MEASUREMENTS Approx .5″ x 30” (76 cm) including hooks.
For a refresher on loom knitting basics see the blog posts below to get started:
13 Questions for Beginner Loom Knitters
How to Loom Knit Basics
How to Loom Knit Basic Stitch Patterns
How to Loom Knit in the Round
INSTRUCTIONS
Makes 1 braided strap.
Loom knit 3 I-cords:
- Cast on 2 stitches leaving a 12-18” tail.
- Flat knit both stitches.
- Bring the working yarn around the back of the pegs to the first peg. (You only work the row in one direction for the entire i-cord.)
- Flat knit both again.
- Repeat Steps 2-4 until your i-cord measures 32” or until your desired length plus 2”. (NOTE: Remember to tug on your i-cord to lengthen and set the stitches before you measure.)
- Bind off by cutting a 12-18” yarn tail then wrap and knit over the first peg pulling the yarn tail all the way through. Wrap and knit over the second peg pulling the tail through. Tug on yarn tail to tighten.
Repeat Steps 1-6 to make 3 i-cords.
Seam i-cord ends:
Lay all three cords on table next to each other lining up the end of each cord and making sure the ends are not twisted. Measure 1” (approx. 6 rows) from edge of cords. On next row secure all 3 i-cords together with a large stitch marker making sure to go through the middle of each cord.
Now we are going to attach the ends of the i-cords into a flat panel. Using yarn tail from middle cord, sew through the first stitch of one of the outer cords. Sew through the edge of the stitch on the row above before sewing through the first stitch on all three cords. Now continue sewing through all 3 cords row by row up to the stitch marker. Working back in the opposite direction, continue sewing through all 3 cords row by row back to the beginning. Weave in tail and cut.
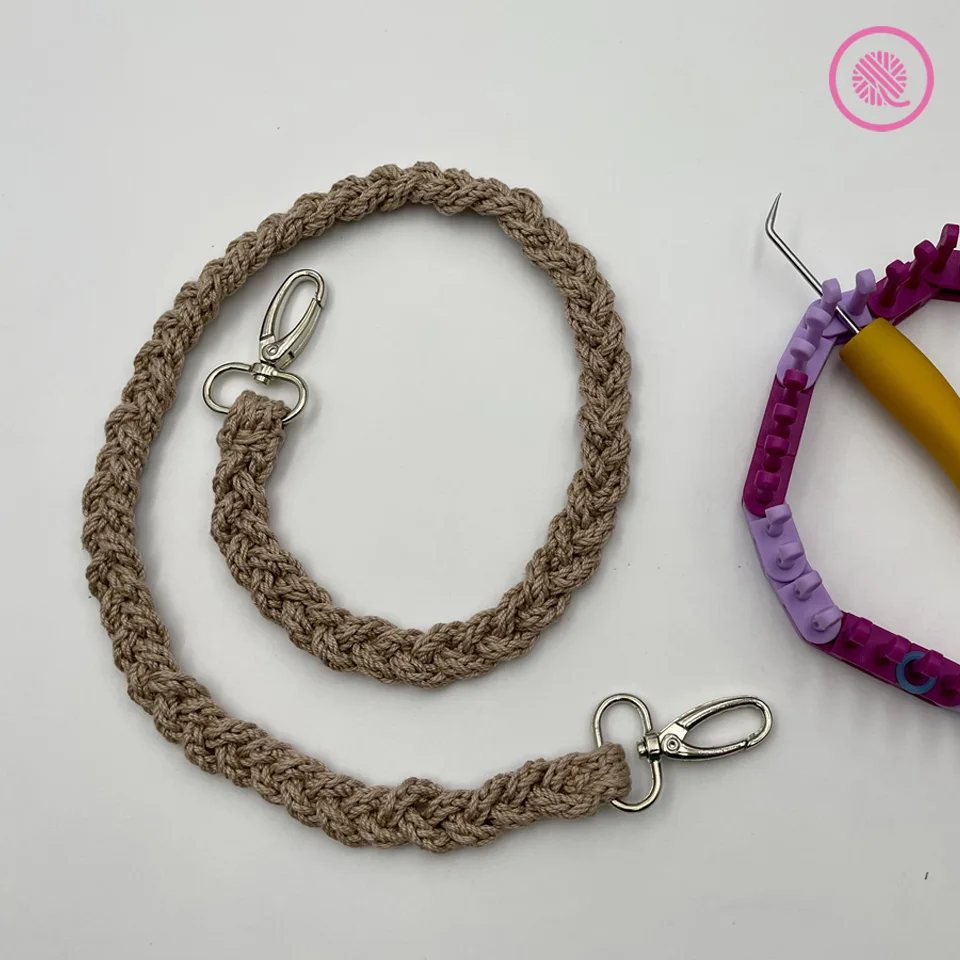
Attach first swivel snap hook:
Slide swivel hook into place pulling through remaining tails. Fold over to line up cord end to stitch marker. Using one yarn tail, sew through both layers from one side to the other making to sure to sew through each i-cord. Sew back through to other side to reinforce. Weave in tail and cut. Repeat this process on the next row down with the other yarn tail. This creates a strong secure seam for the hook. Remove stitch marker.
Braid:
Secure the hook to a table using tape or clip onto something secure for tension. Make a simple 3-strand braid using the instructions below.
- Pick up one outer strand and place it crossing the center stand. Pull the center strand toward the outside edge.
- Pick up the opposite outer strand and cross it over the center strand. Pull the center strand toward the outside edge.
- Repeat Steps and 1 and 2 alternating sides finishing when you have 1” of the i-cord left.
Secure with locking stitch marker as you did with the other end making sure not to twist the cord ends.
Seam ends and attach second hook:
Repeat instructions above to sew the three cords together then attach the second hook.
Repeat all steps to make another strap, if needed.
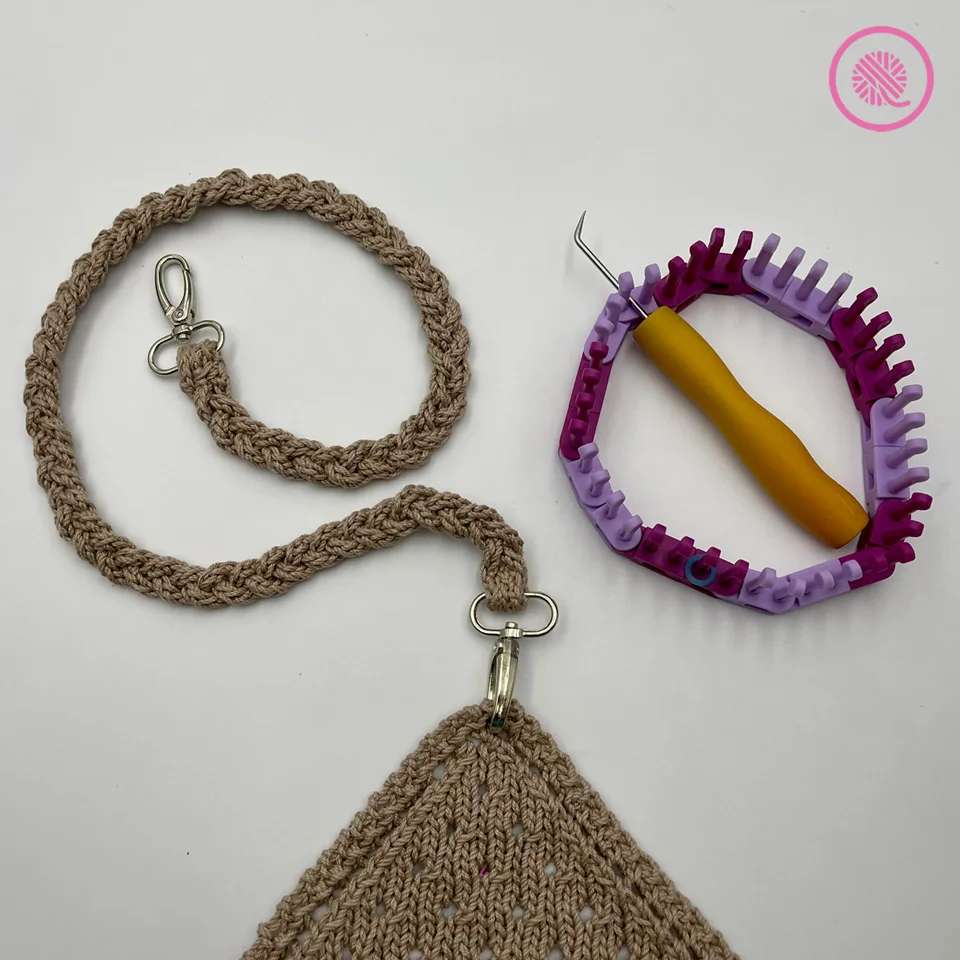
Stay tuned for more pictures!
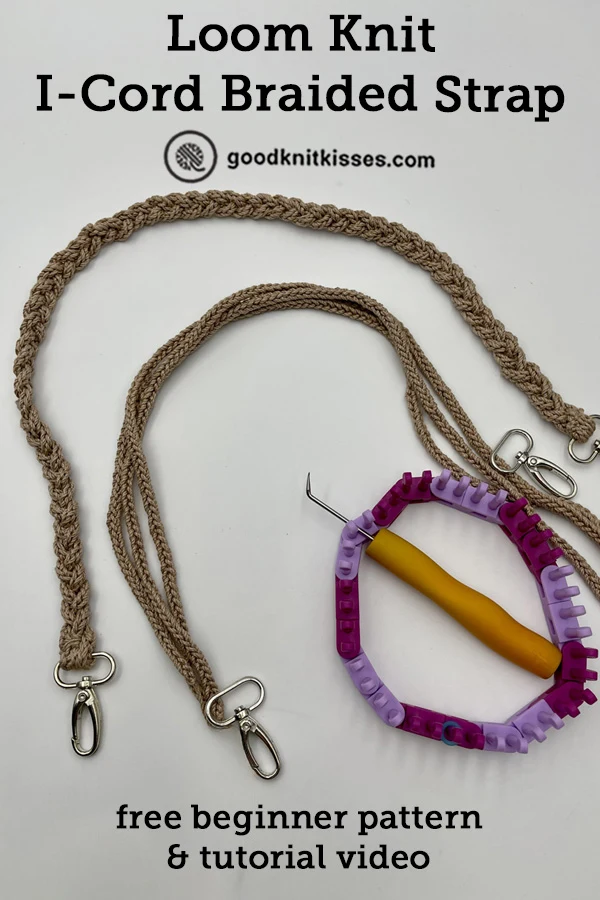
PIN IT!
Loom Knit I-Cord Braided Handle/Strap Tutorial Videos
Select videos are available to GoodKnit Kisses YouTube members only. To get exclusive access to GKK VIP-only content, free PDF patterns, weekly Zoom meetup and more, sign in to YouTube and join as a VIP Member today! Find out more about GKK Membership HERE!



Tricia
Saturday 26th of August 2023
Can we use the Lucet form of an icord for this?
GoodKnit Kisses
Thursday 14th of September 2023
Yes, you can!