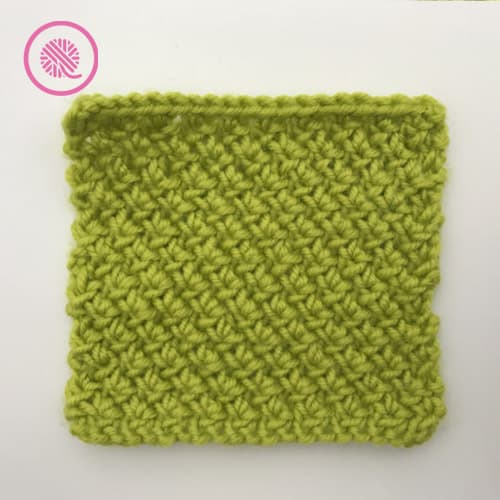
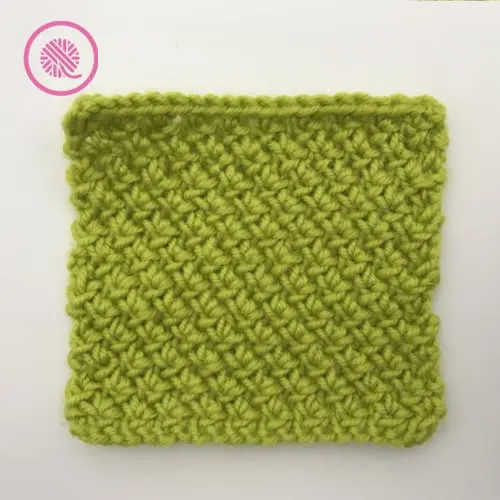
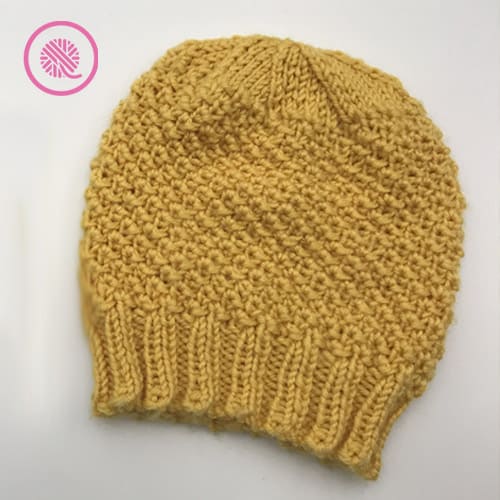
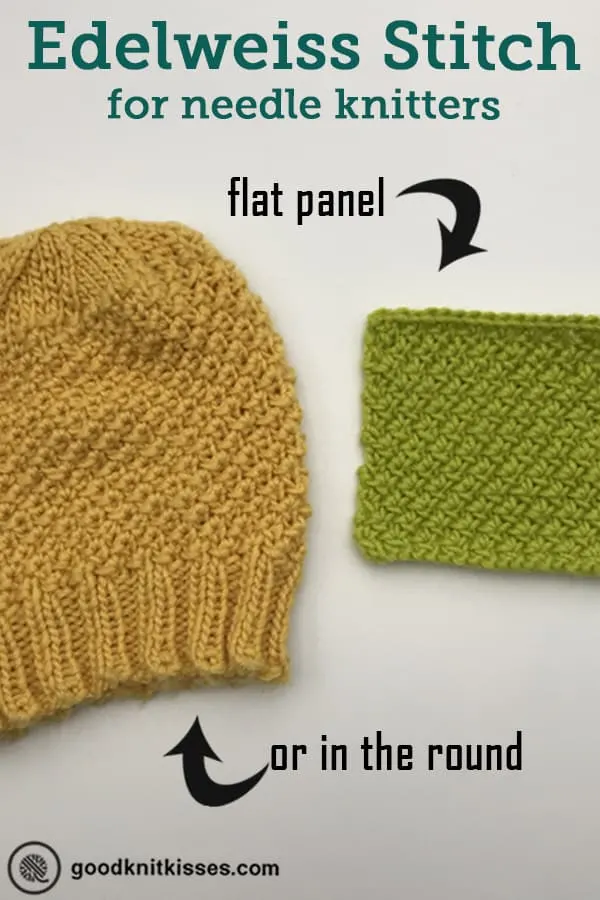
Inside: Learn the needle knit Edelweiss stitch pattern. Instructions & tutorial below to knit a flat panel or work in the round.
A viewer recently asked me to convert the Edelweiss stitch pattern to the knitting loom. While working on it, in addition to incessantly singing the tune, I realized how much I enjoy this stitch and want to share it with my needle knitters as well.

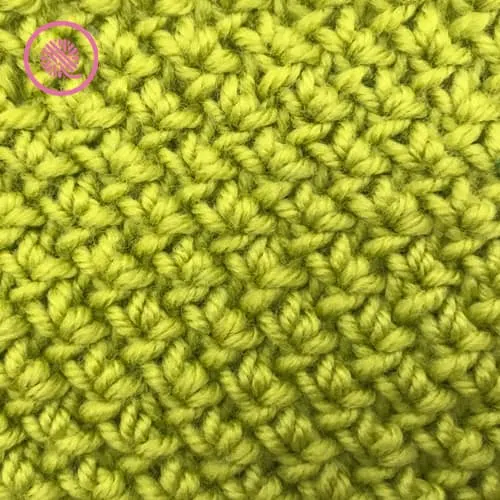
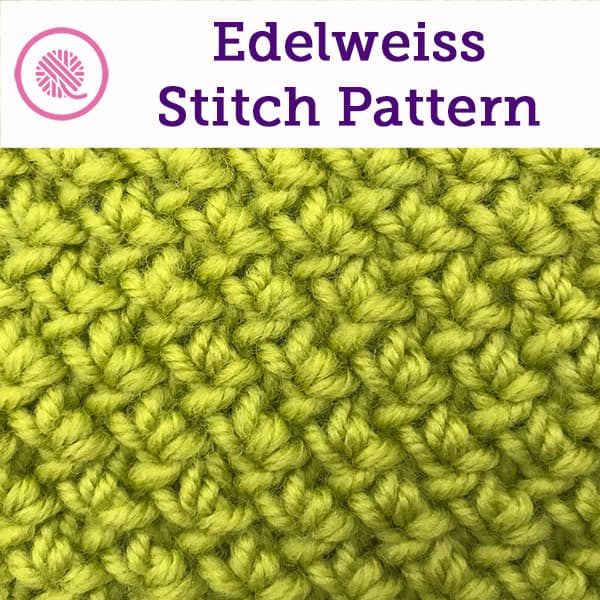
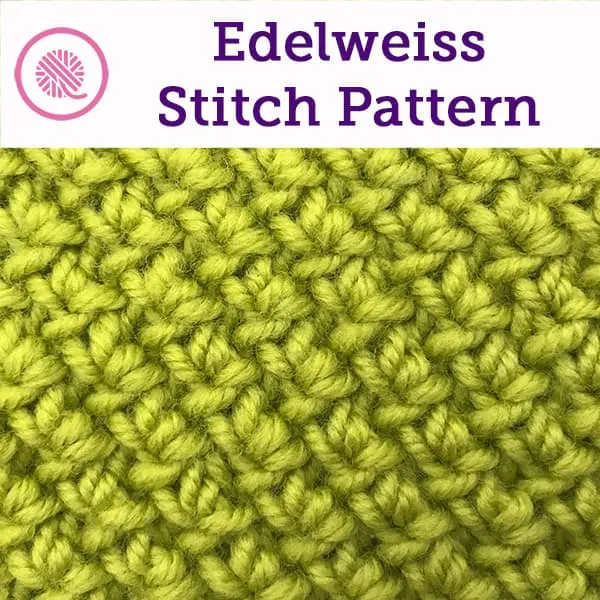
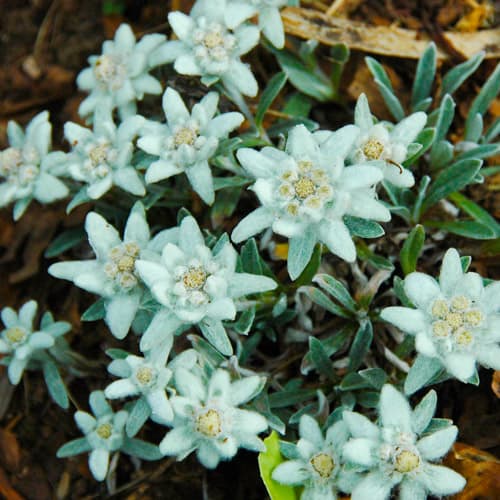
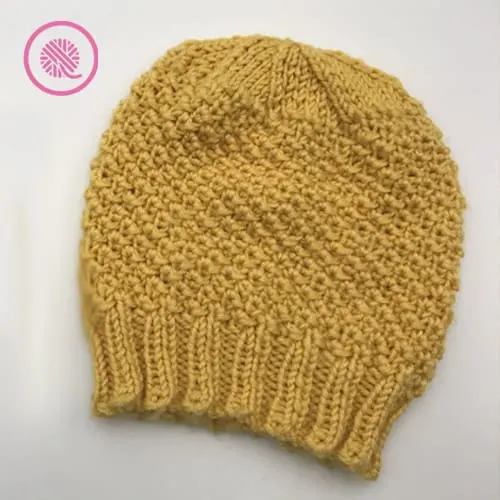
This delicate floral motif resembles the little Alpine flower perfectly. It’s also surprisingly easy to knit up!
Needle Knit Edelweiss Stitch Features:
- Finished fabric doesn’t curl so you don’t need a border
- The fabric is very stretchy and had a slightly open airy feel
- Stitch pattern works both a flat panel or in the round
New to knitting? I’ve got a How to Knit Beginner Video Series to teach you ALL the basics.
Abbreviations:
K = Knit
K2tog = Knit 2 together
P2tog = Purl 2 together
St = stitch
Flat Panel Instructions
Multiple of 2 +1
Row 1: Knit
Row 2: K1, *p2tog, k2tog in same st. Repeat from * to end.
Row 3: Knit
Row 4: *P2tog, k2tog in same st. Repeat from * to last st. K1.
Repeat Rows 1-4 for Edelweiss stitch pattern.
In the Round Instructions
Multiple of 4
Before beginning Rnd 1 on DPNs, slip last stitch on empty needle and stitch marker for beginning of round. This extra stitch keeps marker in place and is used in Rnd 2.
Rnd 1: Knit all.
Rnd 2: K1, *p2tog, k2tog in same st*. Repeat from * to * until 1 st remains. Slip 1 PW and remove marker. Slip previous st back on left needle. P2tog without dropping sts, move yarn to back and place marker on right needle. K2tog in same st.
Rnd 3: Knit all. (NOTE: The first st is already knit when finishing Rnd 2.)
Rnd 4: *P2tog, k2tog in same st*. Repeat from * to *, to the end.
Rep Rnds 1-4 for Edelweiss stitch pattern.

Needle Knit Edelweiss Stitch Tutorial Video
Select videos are available to GoodKnit Kisses YouTube members only. To get exclusive access to GKK VIP-only content, free PDF patterns, weekly Zoom meetup and more, sign in to YouTube and join as a VIP Member today! Find out more about GKK Membership HERE!
Lynn
Sunday 18th of February 2024
Many heartfelt thank you's for including left-handed tutorials! As a beginning left-handed knitter, this is a godsend!