Winter PomPom Wreath | Yarnspirations
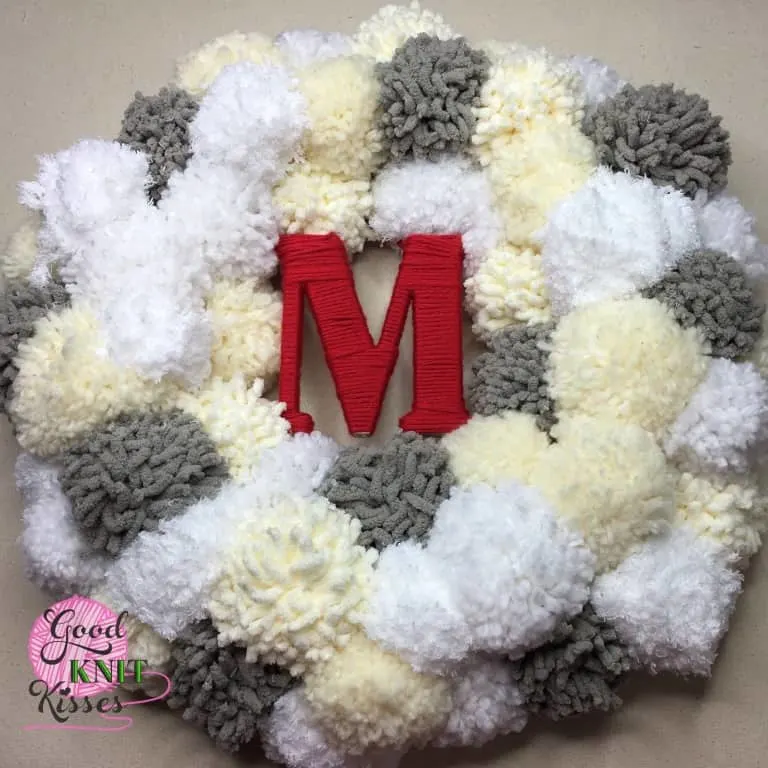
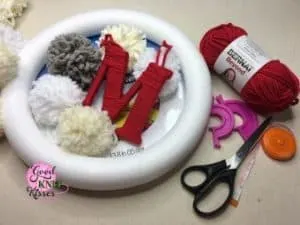
Let it snow! Let it snow! Let it snow! Make your own Winter PomPom Wreath and bring the snow inside. The fluffy pompom snowballs surround your yarn-wrapped initial. This fun wreath features a variety of Bernat yarns from my sponsor, Yarnspirations.
Pompom wreaths are so much fun to make. You can personalize them to fit your home’s decor so easily by swapping colors. I decided to make this one perfectly neutral so I can keep it up all winter long. But you guys know I love color so I added a pop of bright red in the center with a cardboard letter wrapped in yarn. I’ve included how to wrap the letter and hang it on your wreath in this tutorial. You can use this technique to add anything you like to your wreath. Glitter snowflakes, snowman, crochet Christmas tree, a big, beautiful bow! You are only limited by your imagination.
This is a great family craft. I guarantee your kids will love helping make the pom poms. So get the cocoa going, put on a movie and enjoy a craft together on a chilly fall day.
Get your PomPom on!
Pattern
Pom Pom Yarn
Bernat® Softee® Chunky™ (3.5 oz/100 g; 108 yds/99 m)
Contrast A White (28005) 2 balls
Contrast B Natural (28008) 2 balls
Bernat® Blanket™ (10.5 oz/300 g; 220 yds/201 m)
Contrast C Vintage White (10006) 1 ball
Contrast D Pale Grey (10046) 1 ball
Bernat® Pipsqueak™ (8.8 oz/250 g; 254 yds/232 m)
Contrast E Whitey White (58005) 1 ball
Letter Yarn (optional)
Bernat® Beyond™ (4.2 oz/120 g; 80 yds/73 m)
Contrast F Red (23008) 1 ball; enough to wrap large letter
Supplies
14″ styrofoam wreath – NOTE: This is smaller than the size listed for the original pattern.
scissors
measuring tape
small and large pompom makers (optional)
NOTE: I used the Boye PomPom & Tassel Maker available here (affiliate): http://amzn.to/2hNPkUx
Pressed wood letter (optional) I used this one (affiliate): http://amzn.to/2zj6Kj8
Skills taught in this tutorial
Create a hangar and attach it to the wreath (NO glue needed)
Create a hangar for the letter and hang it on the wreath
Make the pompoms
Tie the pom poms onto the wreath
Wrap the letter (NO glue needed so it’s reusable!)
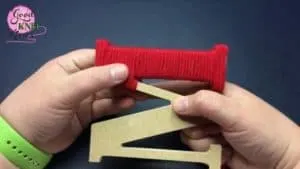
Watch the tutorial below to make yourself a Winter Pom Pom Wreath!
I hope you enjoyed this tutorial and that your Winter PomPom Wreath brings warmth and beauty to your home this winter. If you make this project I’d love to see it. Tag me on social media with #goodknitkisses so I can see your finished wreath!
This post and video tutorial are sponsored by Yarnspirations with permission to use their pattern.
PIN IT!
