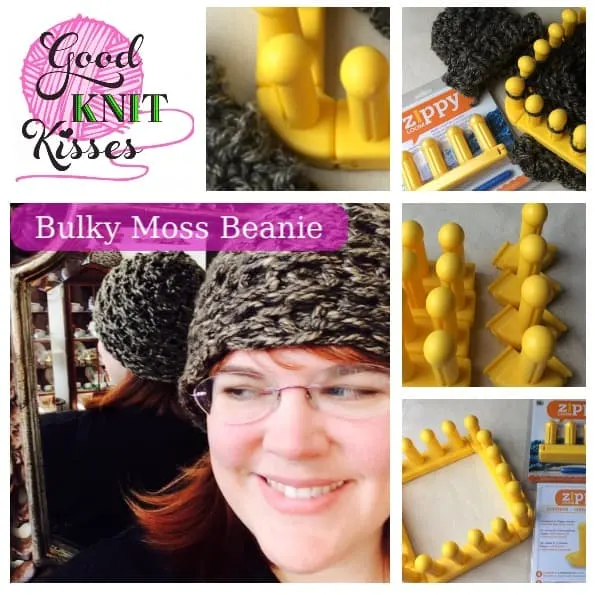
Bulky Moss Beanie
Zippy Loom Hat pattern
Bulky Moss Beanie
{Bulky Moss Cowl}
By Kristen Mangus
October 30, 2015
Make a Zippy Loom Hat with the Bulky Moss Beanie. This pattern can also be used for a cowl as well; notes for cowl are in “{ }”. Need 4-6 Zippy looms and 1 set of Zippy corners. See video loom along at bottom of blog.
Note: You can also make this hat on other looms that can knit in-the-round. Use a peg count that is divisible by 4. To make yours, in extra jumbo stitches, use two pegs as one. Mark pegs with a small rubber band, connecting two pegs if you need a visual reminder. The 48 peg 5/8″ gauge type loom works best for that (Think CinDwood alternate, old purple KK or Horizon Laptop Knit). It will give you 24 pegs instead of the 20 in this pattern. For a standard stitch size you will still use a multiple of 4 pegs and each peg is used on any size circular loom.
An ad-free downloadable PDF of this pattern is available for purchase in my GoodKnit Kisses online store, Etsy or Ravelry at the links below:
Loom(s):
4 KB Zippy looms {Need 6 for a cowl}
4 KB Zippy corners
Yarn:
Super Bulky #6 yarn. Lion Brand Hometown USA was used in sample. 1 skein {2 for a cowl}
Abbreviations:
K- Knit (flat knit all)
P- Purl
Bet – between
WY – Working Yarn
Notes:
*Connect all parts together “in the round”. Make sure all zippy peg grooves are facing outward. It will look like a square. HINT: First connect 3 Zippy looms together with all four connectors. Place 4th zippy loom on last by sliding it into place on the last two connectors at the same time.
*This hat uses the full stitch pattern to the edge of the brim for a seamless skull cap design. Alternate brim for pattern – If you want a “brim” look I suggest a 4-row brim of knit 2, purl 2.
Notes on marking your new Zippy loom hat set-up:
The zippy pegs are large and stitch markers are too small. You can tell the first peg if you start the slip knot on a zippy face and notice the tail hanging down as a visual “marker”. Also, you can use a small rubber band around the base of the peg, a piece of yarn, or place a piece of tape on the loom base in front of the peg.
Best Zippy Hat loom cast-on:
Cast on all 20 (28) pegs by e-wrapping all pegs ONE time then flat knit all pegs in round.
*All Knits are flat knit in main pattern.
Round 1: *K2, P2*, repeat bet *,*
Round 2: *K2, P2*, repeat bet *,*
Round 3: *P2, K2*, repeat bet *,*
Round 4: *P2, K2*, repeat bet *,*
Repeat Rounds 1-4 seven times.
Repeat Round 1-2; hat should be 8″ {or repeat in pattern until desired length}.
Modified Gather bind off your Zippy Loom hat: {Use stretchy basic bind-off for cowl}
Measure WY around loom 1 1/2 times. Cut WY.
Round 1: Purl gather bind off all odd stitches. To begin, *Place WY below 1st peg loop and pull all of tail through loop. Take loop off peg. Place WY behind 2nd peg.* Move on to the next stitch and repeat between *,* for the remaining round.
Round 2: Knit gather bind off all even stitches. To begin, *Place WY above 1st peg with loop and pull all of tail through loop. Take loop off peg. Place WY behind 2nd peg.* Move on to the next available stitch and repeat between *,* for the remaining round.
Your Zippy Loom Hat should now be off the loom. Turn inside out and tighten the stitches. Close hat by tying a knot and weave in remaining tails. Turn hat back right side out.
I hope you enjoy your Zippy Loom Hat made with the Bulky Moss Beanie! Be sure to try a Bulky Moss Cowl by using 6 zippy looms. You’ll need two skeins of yarn. Cast on all stitches and knit until the desired length. Use stretchy basic bind off to finish. Have fun! -Kristen
To purchase your Zippy corners and loom go to the KnittingBoard website, buy at a local retailer or visit:
Zippy loom corners http://go.magik.ly/r/goodknitkisses/10bcd/
Zippy Loom http://go.magik.ly/r/goodknitkisses/10bcf/
Note Affiliate links above


Betty
Saturday 29th of December 2018
Thanks just got my zippy
Betty
Saturday 29th of December 2018
Thanks just got my zippy